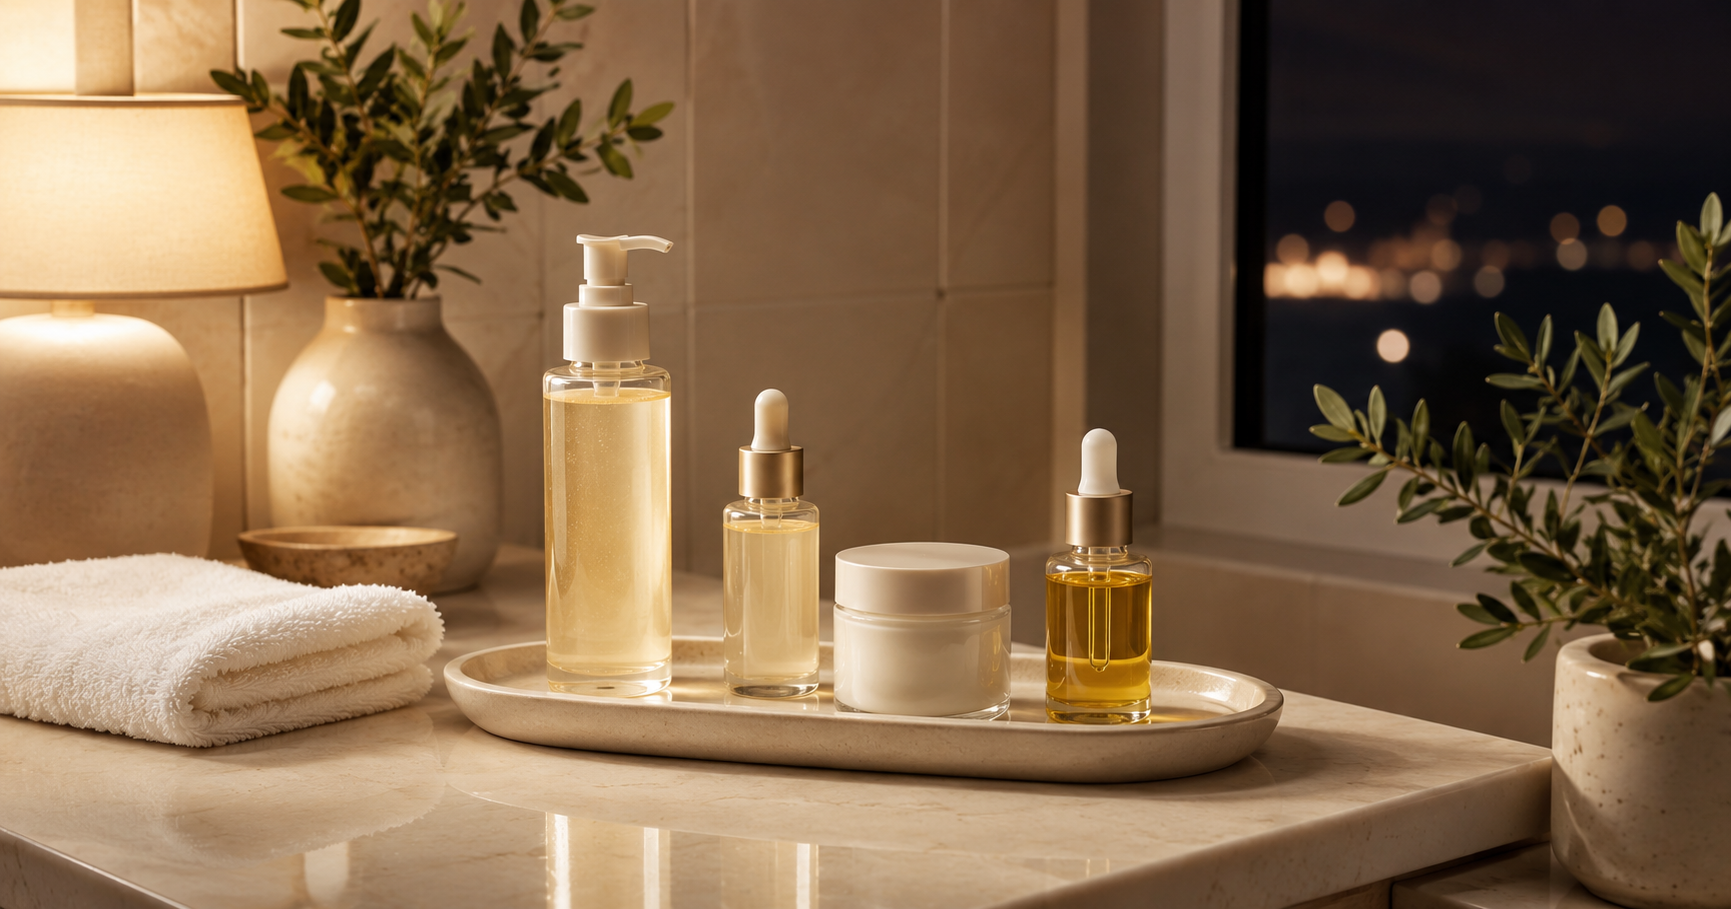
Why a Simple Nighttime Skincare Routine Matters
A thoughtful nighttime skincare routine can help your skin feel clean, comfortable, hydrated, and ready for the next day. It also gives you a consistent opportunity to remove makeup, sunscreen, excess oil, dirt, and other buildup that collects on your skin throughout the day.
The best routine does not need to include a crowded shelf of expensive products. In fact, using too many formulas at once can make it difficult to understand what your skin actually needs. A simple routine built around cleansing, targeted care, hydration, and moisture is often easier to follow and adjust.
These nighttime skincare routine steps are designed for anyone who wants a practical evening routine without making skincare feel complicated. You can use all 10 steps when appropriate or simplify the routine based on your skin type, current concerns, and available time.
The most important goal is consistency. A basic routine you follow regularly is usually more useful than an elaborate routine you only complete occasionally.
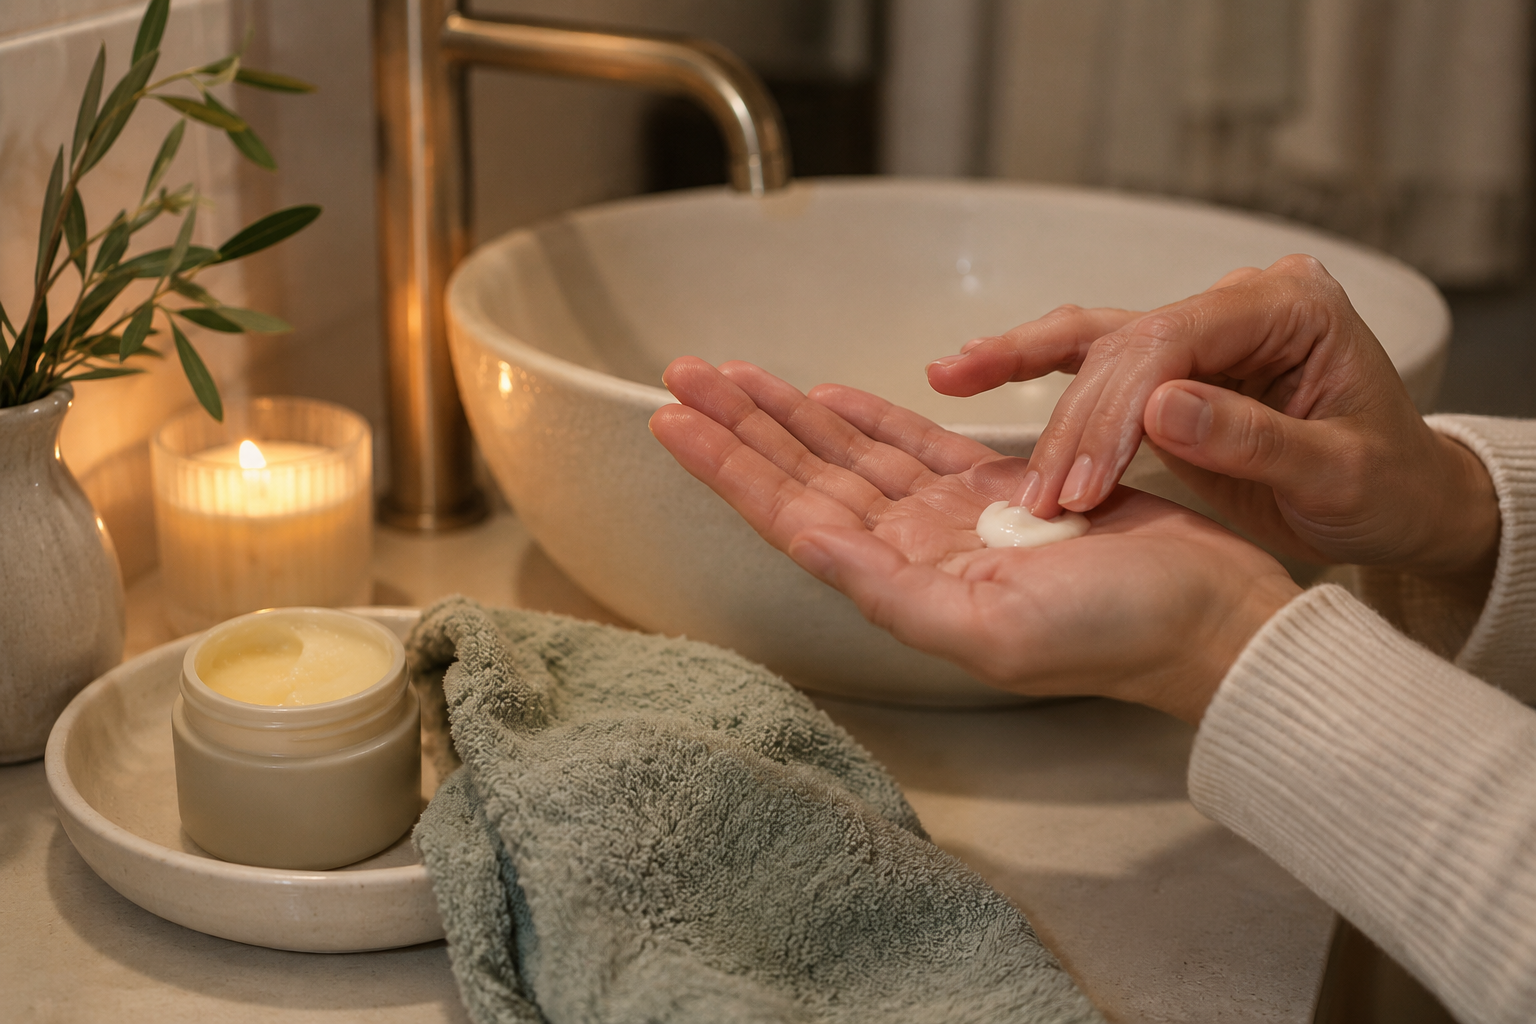
Step 1: Wash Your Hands and Prepare Your Skin
Before touching your face, wash your hands with soap and water. Your hands come into contact with phones, keyboards, door handles, and many other surfaces throughout the day. Starting with clean hands helps prevent transferring unnecessary dirt and oil to your face.
Pull your hair away from your face with a soft headband or hair tie. Remove any earrings or accessories that might interfere with cleansing around your jawline, ears, or neck.
This is also a good time to gather the products you plan to use. Keeping your routine organized can make it feel more relaxing and prevent you from applying products in the wrong order.
A clean towel, reusable cleansing cloth, and small tray for your daily products can make your nighttime routine more efficient.
Step 2: Remove Makeup and Sunscreen
If you wear makeup, water-resistant sunscreen, or long-lasting complexion products, begin with a makeup-removing step. A cleansing balm, cleansing oil, or gentle micellar water can help loosen products that may not come off completely with a regular face wash.
Massage an oil or balm cleanser over dry skin using gentle circular motions. Pay attention to areas where makeup and sunscreen tend to collect, including around the nose, hairline, eyebrows, and jawline. Add a small amount of lukewarm water to emulsify the cleanser before rinsing it away.
When removing eye makeup, avoid aggressive rubbing. Hold a saturated cotton pad or reusable round over closed eyes for several seconds, then wipe gently. Repeat as needed instead of pulling at the delicate skin around the eyes.
You may not need this separate step on days when you wear no makeup and use a sunscreen that rinses away easily. However, it can be especially helpful after wearing heavier or water-resistant products.
Step 3: Cleanse With a Gentle Face Wash
After removing makeup and sunscreen, cleanse your skin with a gentle face wash suited to your skin type. This second cleanse removes remaining residue, sweat, oil, and everyday buildup.
Use lukewarm water rather than very hot water. Hot water can leave the skin feeling dry, tight, or uncomfortable. Massage the cleanser over your face for approximately 30 to 60 seconds, including the sides of your nose, chin, hairline, and jaw.
Rinse thoroughly and gently pat your face with a clean towel. Avoid scrubbing your skin dry.
A cream or lotion cleanser may feel comfortable on dry or sensitive skin. A lightweight gel cleanser may work well for normal, combination, or oily skin. Regardless of texture, your cleanser should leave your face feeling refreshed rather than stripped.
If your skin feels unusually tight immediately after cleansing, consider using less product, shortening your cleansing time, or switching to a milder formula.
Step 4: Use Exfoliation Only When Needed
Exfoliation can help remove accumulated dead skin cells and improve the appearance of dull or uneven texture. However, it does not need to be part of every nighttime routine.
Many people find that exfoliating one to three nights per week is enough. The appropriate frequency depends on your skin type, product strength, and how your skin responds.
Exfoliating acids, enzyme products, and gentle physical exfoliants should be used carefully. Applying multiple exfoliating products in the same routine can cause redness, dryness, stinging, or increased sensitivity.
Choose one exfoliating product and follow its directions. Avoid combining it with several other strong treatments unless a qualified skincare professional has recommended that combination.
On nights when you exfoliate, keep the rest of your routine simple and soothing. Hydrating serum and moisturizer may be all you need afterward.
If your skin is already irritated, peeling, sunburned, or unusually sensitive, skip exfoliation and concentrate on gentle cleansing and moisturizing.
Step 5: Apply a Hydrating Toner or Essence
A toner or essence is an optional step, but it can add a comfortable layer of hydration after cleansing. Modern hydrating toners are often designed to soften the skin and prepare it for serums and moisturizers.
Pour a small amount into clean hands and gently press it over your face. You can also apply it with a cotton pad, although using your hands may reduce product waste.
Look for a simple formula with moisturizing ingredients when your goal is hydration. Avoid choosing a toner solely because it creates a strong tingling or tightening sensation. Skincare does not need to sting to be effective.
People with dry or dehydrated skin may enjoy applying one or two light layers. Those with oily skin may prefer a single layer or may decide to skip this step entirely.
If your cleanser and serum already provide enough hydration, toner is not essential. Think of it as a customizable step rather than a requirement.
Step 6: Apply One Targeted Treatment
Targeted treatments are products intended to address a specific concern, such as uneven tone, breakouts, rough texture, fine lines, or dryness. This is often the step where routines become unnecessarily complicated.
Instead of layering several active products every night, choose one main treatment and use it consistently according to its directions. Introducing products gradually makes it easier to notice whether they are helping or irritating your skin.
Common nighttime treatments include retinoid products, niacinamide serums, azelaic acid formulas, blemish treatments, and pigment-supporting serums. These products can vary greatly in strength, so follow the label and begin slowly.
Patch test unfamiliar products before applying them across your entire face. Apply a small amount to a limited area and observe how your skin responds before regular use.
Some active ingredients may increase dryness or sensitivity. Avoid combining strong exfoliating acids, retinoids, and multiple acne treatments in the same routine unless you have professional guidance.
Because certain nighttime treatments can make skin more sensitive to sunlight, apply broad-spectrum sunscreen the following morning.
Step 7: Add a Hydrating Serum
A hydrating serum can help your skin feel smoother and more comfortable, especially if you live in a dry climate, spend time in air-conditioned spaces, or use treatments that reduce moisture.
Look for ingredients such as glycerin, hyaluronic acid, panthenol, beta-glucan, or soothing plant-based extracts. Apply a few drops over slightly damp skin and gently press the serum across your face and neck.
More product is not necessarily better. A thin, even layer is usually enough. Allow it to absorb briefly before moving to your moisturizer.
If your targeted treatment is already a hydrating serum, you may not need a separate product. Combining steps is an easy way to shorten your nighttime routine.
Hydrating serums are useful for most skin types, including oily skin. Oily skin can still become dehydrated, particularly after harsh cleansing or excessive exfoliation.

Step 8: Use Eye Cream if It Serves a Purpose
Eye cream is another optional nighttime skincare step. A separate eye product may be helpful when you want extra moisture around the eyes or prefer a formula created specifically for that delicate area.
Use a small amount, approximately the size of a grain of rice for each eye. Tap the product gently around the orbital bone using your ring finger. Avoid applying it too close to your lash line unless the product directions specifically recommend doing so.
A regular fragrance-free facial moisturizer may also work around the eye area for many people. You do not need a separate eye cream simply because it appears on a traditional skincare checklist.
If you use an eye treatment containing active ingredients, introduce it gradually and stop using it if you experience persistent burning, swelling, or irritation.
Step 9: Seal Everything In With Moisturizer
Moisturizer is one of the most important parts of a simple nighttime skincare routine. It helps reduce moisture loss and supports a comfortable skin barrier.
Apply moisturizer after your serums and treatments. Smooth it gently over your face and neck without pulling at the skin.
Dry skin may benefit from a richer cream containing ceramides, fatty acids, shea butter, or squalane. Oily or combination skin may prefer a lightweight gel-cream or lotion. Sensitive skin often responds well to simple, fragrance-free products with a shorter ingredient list.
If certain areas become drier than others, apply a slightly thicker layer to those spots. You do not have to use the same amount over your entire face.
Your moisturizer should leave your skin feeling comfortable rather than excessively greasy, sticky, or tight. Seasonal weather changes may require you to switch textures throughout the year.
Step 10: Finish With Lip Care and Optional Face Oil
Complete your routine by applying a moisturizing lip balm. Lips can lose moisture overnight, especially in dry weather or rooms with air conditioning.
If your skin is very dry, you may also apply a few drops of facial oil over your moisturizer. Oil is usually the final facial step because it can help seal in the lighter products underneath.
A face oil is not required for every skin type. People who are oily, breakout-prone, or sensitive to certain plant oils may prefer to skip it. You can also apply oil only to dry areas instead of covering your entire face.
This final step is a good opportunity to extend your routine beyond your face. Apply hand cream, moisturize your cuticles, and use body lotion on areas that tend to become dry.
The Correct Order for Nighttime Skincare Products
A simple way to remember product order is to begin with cleansing and move from thinner textures to thicker textures.
- Makeup remover or oil cleanser
- Water-based face cleanser
- Exfoliant on selected nights
- Hydrating toner or essence
- Targeted treatment
- Hydrating serum
- Eye cream
- Moisturizer
- Face oil or occlusive product
- Lip balm and hand care
You do not need to wait several minutes between every layer. Allow each product to absorb enough that it is not sliding around before applying the next one. Some treatments have specific application instructions, so always follow the product label.
How to Adjust the Routine for Your Skin Type
Your nighttime routine should reflect how your skin behaves rather than following every trending skincare step.
For dry skin: Choose a creamy cleanser, hydrating serum, and richer moisturizer. Limit exfoliation and consider adding a face oil to particularly dry areas.
For oily skin: Use a gentle gel cleanser, lightweight hydrating serum, and non-heavy moisturizer. Avoid aggressive cleansing, which can leave the skin uncomfortable without necessarily solving excess oil.
For combination skin: Use lightweight hydration over the entire face and add richer moisturizer only where needed. This targeted approach can keep dry areas comfortable without overwhelming oilier areas.
For sensitive skin: Keep the routine minimal. Choose fragrance-free products, introduce one new formula at a time, and avoid layering multiple strong active ingredients.
For breakout-prone skin: Select non-comedogenic products when possible and focus on consistent, gentle care. Resist the urge to scrub or dry out blemishes aggressively.
A Simple Beginner Nighttime Routine
If 10 steps feel overwhelming, begin with a basic three-step routine:
- Cleanse: Remove makeup and wash your face gently.
- Treat: Apply one serum or targeted product if needed.
- Moisturize: Finish with a moisturizer suited to your skin type.
Once you have followed these steps consistently for several weeks, you can decide whether toner, eye cream, exfoliation, or facial oil would add a meaningful benefit.
Adding products slowly also helps you identify which formulas work well for your skin. When several new products are introduced at once, it becomes harder to identify the cause of irritation or breakouts.
Common Nighttime Skincare Mistakes to Avoid
- Using too many active ingredients: More treatments do not always produce faster or better results.
- Scrubbing the skin aggressively: Rough cleansing and drying can leave skin irritated.
- Skipping moisturizer because your skin is oily: Choose a lighter formula instead of skipping hydration completely.
- Exfoliating every night: Frequent exfoliation can cause sensitivity and damage the skin barrier.
- Using dirty towels or pillowcases: Wash items that regularly touch your face.
- Applying more product than needed: Excess product can feel uncomfortable and may not improve results.
- Changing routines too frequently: Give a simple routine time before replacing every product.
- Ignoring persistent irritation: Stop using products that repeatedly cause burning, swelling, or significant discomfort.
Small Habits That Support Your Evening Routine
Skincare products are only one part of an effective evening routine. Small practical habits can make the process easier and more consistent.
Keep your most frequently used products together so you do not have to search for them every night. Clean reusable applicators and makeup-removing cloths regularly. Change your pillowcase on a consistent schedule, especially if you use heavy hair products or tend to sleep with your face against the pillow.
Try completing your routine before you become extremely tired. Washing your face shortly after dinner or when you change into comfortable clothes may be easier than waiting until the moment you are ready to fall asleep.
A calm routine can also become a signal that the day is ending. Dim the lights, put away your phone, and give yourself a few quiet minutes to complete each step without rushing.
How Long Does a Nighttime Skincare Routine Need to Take?
A complete routine can take approximately five to 10 minutes. A basic cleanse-and-moisturize routine can take even less time.
You do not need a long ritual every evening. On busy or tiring nights, focus on removing makeup, cleansing gently, and applying moisturizer. These essential steps are better than skipping skincare because you cannot complete an elaborate routine.
Prepare a simplified backup routine for nights when your schedule is full. Keep makeup remover, cleanser, and moisturizer easily accessible so the routine feels manageable.
When Should You Expect to Notice a Difference?
Hydrating products may make the skin feel more comfortable fairly quickly, while changes involving tone, texture, or breakouts generally require more consistency. Results vary depending on your skin, the products you use, and the concern you are addressing.
Avoid switching products after only a few uses unless they cause irritation. Take occasional photos in similar lighting or make short notes about dryness, comfort, texture, and sensitivity. Tracking gradual changes can be more useful than inspecting your skin closely every day.
Persistent acne, painful irritation, unexplained rashes, or ongoing skin concerns should be discussed with a dermatologist or qualified healthcare professional.
Final Thoughts on Building a Nighttime Skincare Routine
The best nighttime skincare routine is not the one with the most products. It is the one that cleans your skin thoroughly, addresses your most important concern, supports hydration, and fits realistically into your evening.
Begin with the essentials, add optional steps thoughtfully, and pay attention to how your skin responds. Avoid comparing your routine to complicated routines online or assuming that every trending ingredient belongs on your shelf.
With gentle products, sensible layering, and consistent habits, these nighttime skincare routine steps can become an easy and relaxing part of your evening self-care routine.