Easy Halloween Nail Art Ideas You Can Actually Do at Home
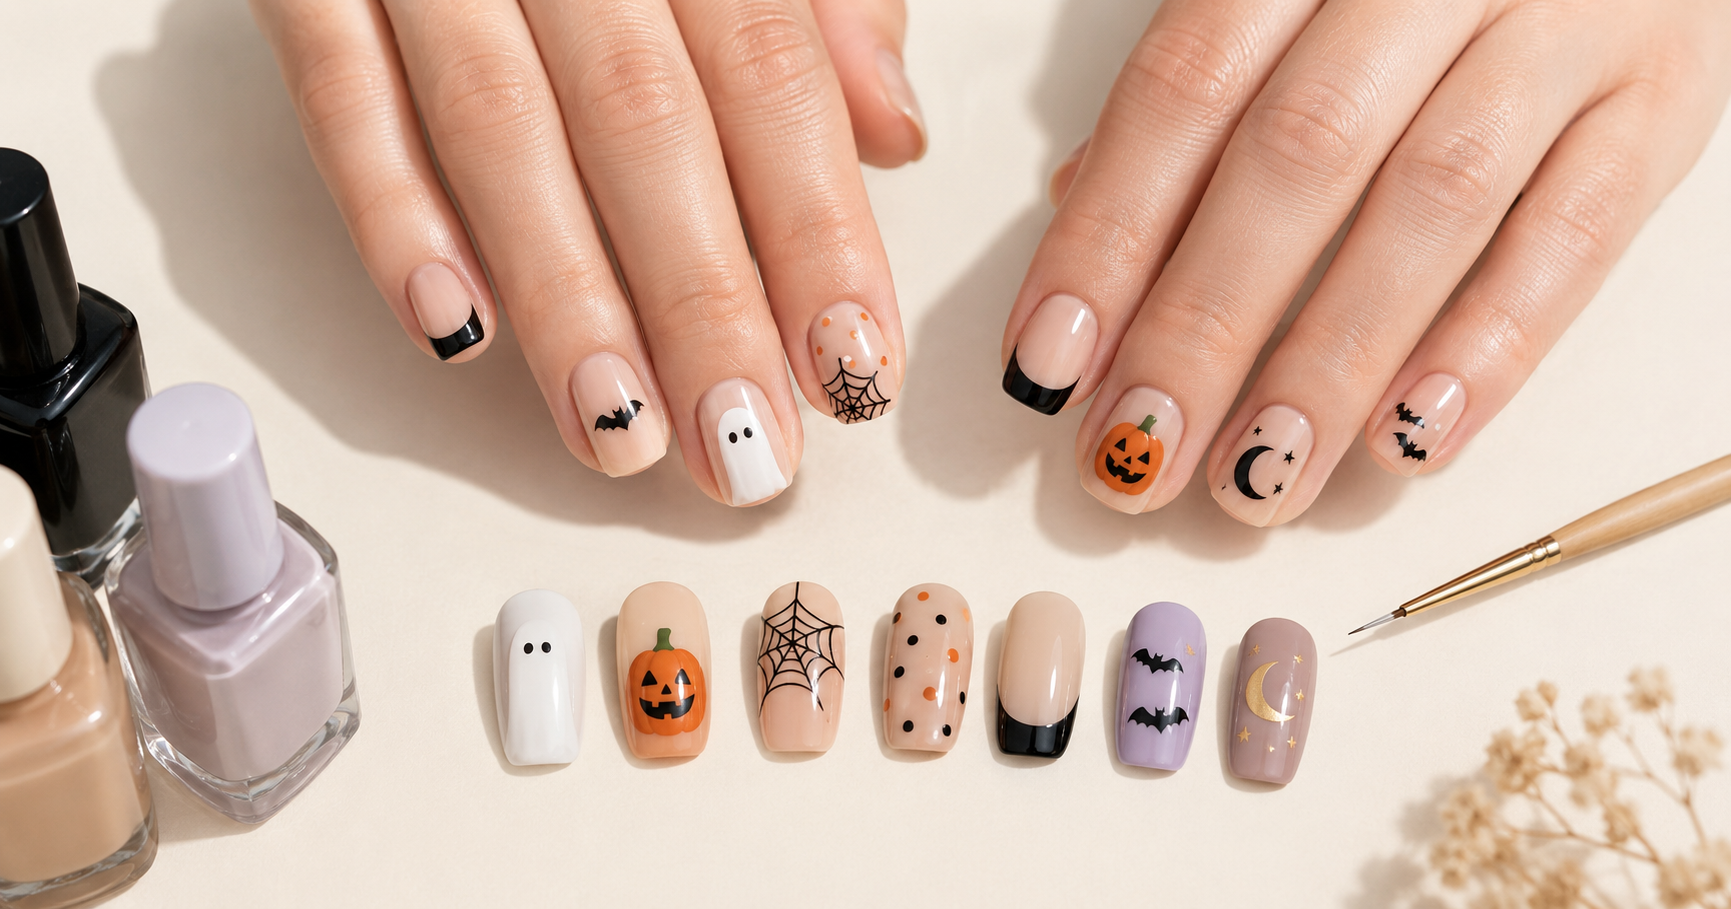
Halloween nail art does not have to involve complicated hand-painted characters, professional tools, or hours at a nail salon. Some of the best seasonal manicures are surprisingly simple, especially when you build the design around basic shapes, small accents, and a limited color palette.
If you want festive nails without attempting an advanced manicure, these easy Halloween nail art ideas are designed with at-home DIYers in mind. You can recreate many of them with regular nail polish, a dotting tool or toothpick, a thin nail art brush, and a little patience.
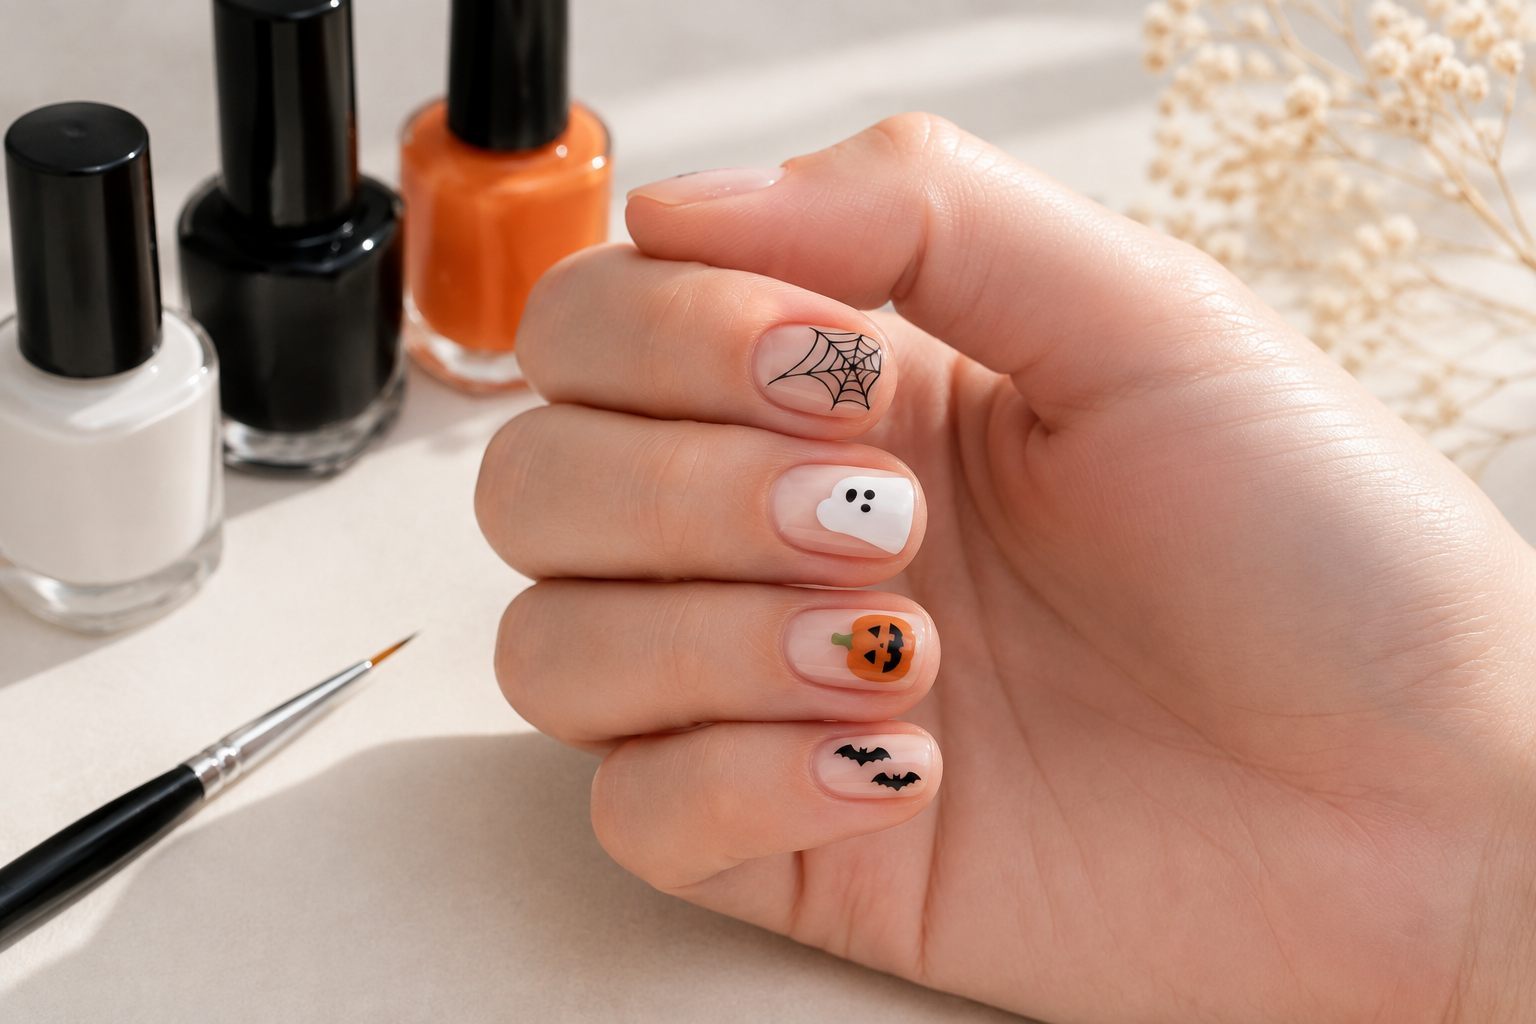
Better yet, Halloween nails do not have to be extremely dark or dramatic. Cute ghosts, tiny pumpkins, delicate spiderwebs, miniature bats, and subtle black-and-white details can all give your manicure a seasonal look while still feeling wearable.
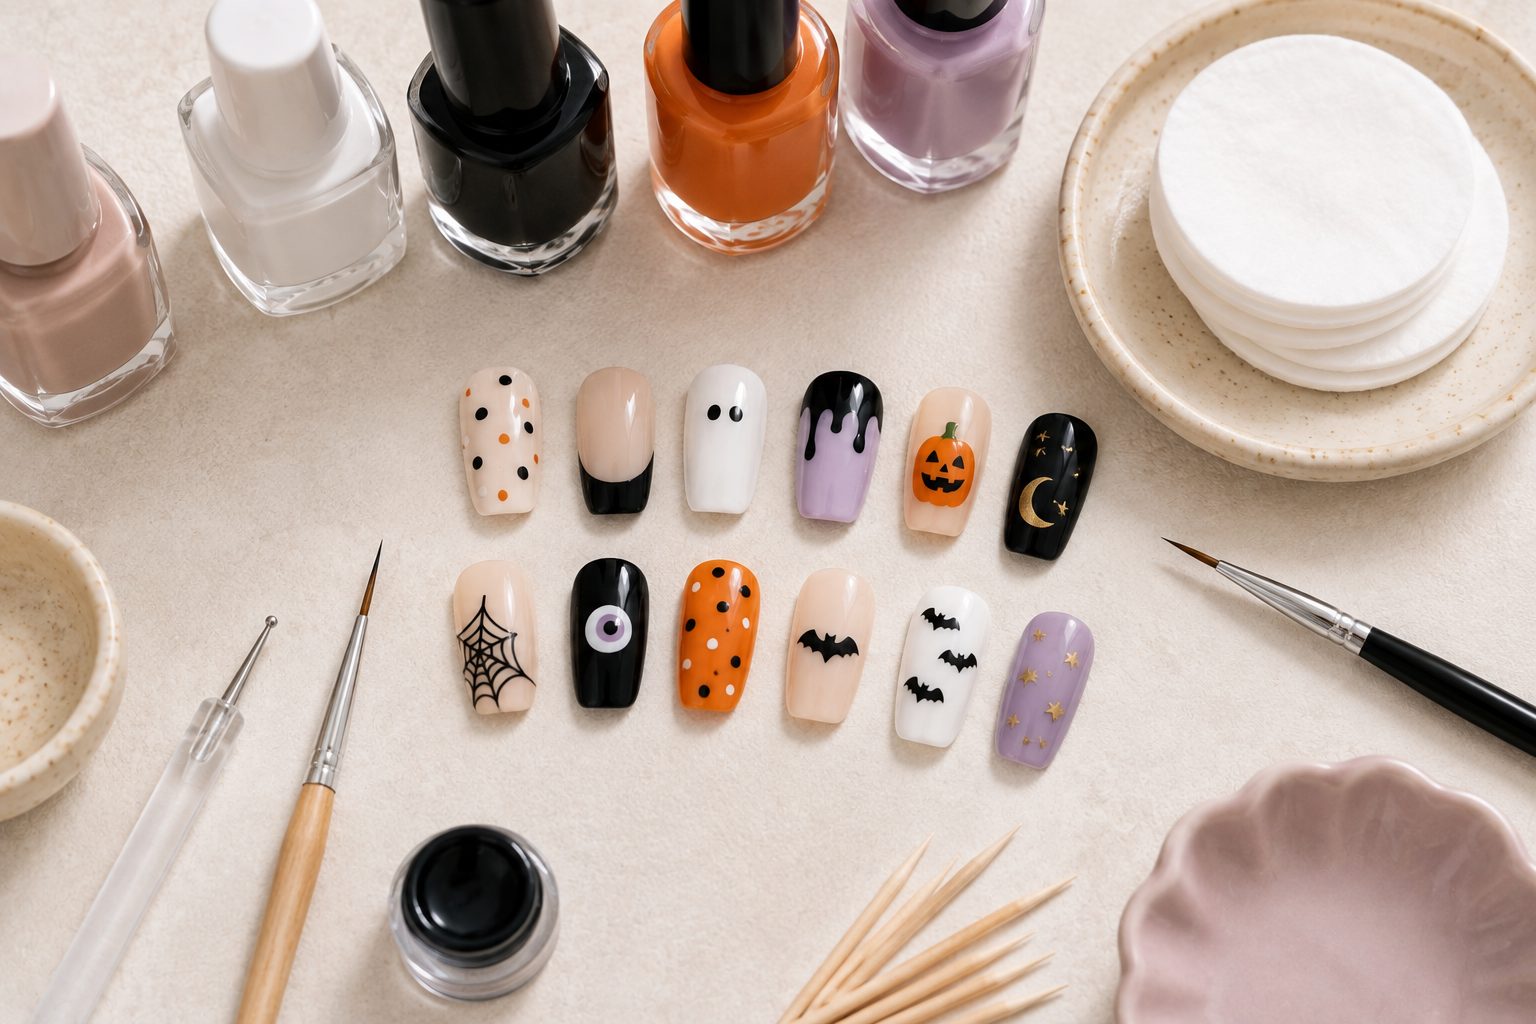
Below are 14 Halloween nail designs ranging from extremely simple accent nails to slightly more detailed looks you can customize for short, medium, or long nails.
What You Need for Easy DIY Halloween Nails
You do not need an entire professional nail kit to try Halloween nail art. Start with the polish colors you already own and add only the tools that make the designs you want easier.
A basic Halloween nail kit might include:
- Base coat to create a smoother surface and help protect your natural nails.
- Black nail polish for bats, cats, spiderwebs, eyes, and other classic Halloween details.
- White nail polish for ghosts, skeleton-inspired details, and contrast.
- Orange nail polish for pumpkins and traditional Halloween accents.
- A neutral polish such as nude, beige, pale pink, or milky white for minimalist designs.
- A dotting tool or toothpick for eyes, dots, and small details.
- A thin nail art brush for lines, webs, stems, and simple illustrations.
- Top coat to seal the finished manicure and smooth out the design.
If drawing tiny details feels intimidating, nail stickers and decals are also useful. There is nothing wrong with combining hand-painted elements with stickers, especially when your goal is a polished manicure you can realistically complete at home.
1. Tiny White Ghost Nails
Ghosts are one of the easiest Halloween motifs to turn into nail art because they do not need perfectly symmetrical shapes. In fact, slightly different ghost shapes can make the manicure look more playful.
Begin with a nude, pale pink, beige, or sheer base. Once it dries, paint a small rounded white shape extending toward the tip of one or two nails. Give the bottom of each ghost a few soft curves rather than trying to create a perfectly straight edge.
Use a toothpick or tiny dotting tool dipped in black polish to add two eyes. You can add a small mouth, but two simple black dots are enough to make the design recognizable.
Keep ghosts on just two or three accent nails and leave the remaining nails neutral if you want an especially easy, understated manicure.
2. Simple Pumpkin Accent Nails
You do not need to paint a detailed jack-o’-lantern on every nail to create a pumpkin manicure. A tiny pumpkin accent can deliver plenty of Halloween style.
Paint your nails with a creamy neutral base. On one or two accent nails, use orange polish to create a small rounded pumpkin. Add one or two slightly darker curved lines if you want to suggest the pumpkin’s sections, then finish it with a tiny brown, black, or green stem.
For an even easier variation, paint most of the nail orange and add a small stem near the cuticle. The simplified design gives you the pumpkin effect without requiring detailed artwork.
3. Minimal Black Bat Nails
Tiny black bats look striking against a neutral background and can make a simple manicure immediately feel appropriate for October.
Start with a nude, milky white, light beige, or pale gray base. Use a fine nail art brush and black polish to create tiny bat silhouettes on one or two nails. The easiest bat can be made from a small center mark with two curved wing shapes extending outward.
Do not worry about making every bat identical. Varying the size and angle can actually make the pattern look more natural.
If hand-painting bats feels too detailed, small bat nail stickers over a neutral manicure create the same visual effect with much less effort.
4. Easy Spiderweb Corner Nails
A spiderweb looks intricate, but a corner web is much easier to paint than a design covering the entire nail.
Choose a nude, white, gray, or black base. From one corner of the nail, paint three or four thin lines radiating outward. Connect those lines using short curved strokes.
You only need a few connecting lines for the design to read as a spiderweb. Keeping the web in one corner also gives you more room for small imperfections.
Try white webs over black polish for a bold manicure or black webs over a sheer nude base for something lighter and more minimalist.
5. Black and Orange Polka Dot Nails
If detailed nail art is not your strength, dots are one of the most beginner-friendly ways to create a Halloween manicure.
Apply a neutral or cream base and let it dry. Use a dotting tool, the rounded end of a bobby pin, or a toothpick to add small black and orange dots.
You can scatter them randomly, create neat rows, or concentrate the dots near the tips for a confetti-style effect. Mix in a few white dots if you want a softer color palette.
This design is especially practical because you can repeat the pattern across every nail without needing to draw recognizable objects.
6. Cute Black Cat Accent Nail
A tiny black cat can become the focal point of an otherwise simple Halloween manicure.
Instead of trying to draw an entire cat, create just a cat head. Paint a small black circle or rounded shape and add two pointed ears. Once it is dry, use yellow, green, or white polish to create two tiny eyes.
Place the cat on one accent nail and keep the rest of the manicure solid black, orange, cream, or nude.
For an even simpler version, paint two pointed black ears emerging from the tip of a neutral nail and add eyes below them.
7. Beginner-Friendly Dripping Polish Nails
Dripping nail art creates a dramatic Halloween effect without requiring precise lines.
Start with a nude, pale pink, white, or another contrasting base. Paint a thin section of black, red, orange, or deep plum polish across the tip. Extend a few rounded drips downward at different lengths.
The irregularity is part of the design, which makes this style particularly forgiving for beginners.
Black drips create a graphic Halloween look, while deep red offers a more dramatic effect. Orange over a creamy base is a playful alternative if you prefer cute seasonal nails rather than scary ones.
8. Mini Candy Corn Nails
Candy corn gives you an instantly recognizable Halloween color combination without requiring complicated illustrations.
For a straightforward version, create stripes of yellow, orange, and white on one or two accent nails. Keep the sections relatively simple rather than worrying about reproducing the exact candy shape.
You can also paint tiny triangular candy corn pieces over a nude background. Use a small brush to create the yellow base, orange middle, and white tip.
Pair candy corn accent nails with solid orange or creamy white nails to keep the finished manicure from looking too busy.
9. Simple Skeleton Stitch Nails
For a graphic Halloween manicure, try a stitch-inspired design rather than attempting to paint an entire skeleton.
Apply black polish to the nail and let it dry completely. Use a fine brush and white polish to draw one thin line, then add several short lines crossing it.
The result has a stitched, skeleton-inspired appearance that works particularly well as an accent nail.
You can reverse the colors and use black lines over a white base, or try the pattern on a nude background for a softer look.
10. Easy Eyeball Nail Art
Eyeballs are ideal for beginners because the design is primarily made with dots.
Start with any base color you like. Add a larger white dot and allow it to dry. Place a smaller colored or black dot in the center, followed by an even smaller black pupil if needed.
Create just one eye per nail for a clean graphic design, or scatter several tiny eyes across one accent nail.
A nude base keeps the manicure simple, while purple, orange, or black backgrounds make the design more colorful and playful.
11. Crescent Moon and Star Nails
Halloween nail art can feel seasonal without featuring obvious pumpkins, ghosts, or spiders. Tiny moons and stars create a slightly witchy look that can still feel elegant.
Choose a black, deep plum, navy, nude, or milky base. Add small stars using tiny dots and short intersecting lines. For a crescent moon, paint a small circle and partially cover one side with your base color once the first layer dries.
Gold or silver details can create a celestial look, while white moons and stars are easier if you are working with basic polish colors.
This is also a good design to keep wearing after Halloween because the celestial theme is not limited to the holiday itself.
12. Mini Jack-o’-Lantern Faces
If painting complete pumpkins feels difficult, turn orange nails into jack-o’-lanterns using only a few black details.
Paint one or more nails orange. Once the polish is fully dry, use a toothpick or thin brush to add two small triangular eyes and a simple mouth.
You do not need to make the face elaborate. A few clean black shapes are enough to make an orange nail look like a miniature jack-o’-lantern.
Use the design on a single accent nail alongside solid black nails for a quick manicure, or create different expressions across several orange nails for a more playful set.
13. Black French Tips With Halloween Details
A black French manicure is one of the easiest ways to make a classic nail style feel appropriate for Halloween.
Apply a nude or sheer base, then replace the usual white French tip with black. You can stop there for an understated October manicure or add one tiny seasonal detail to a few nails.
A miniature ghost, star, bat, spider, or orange dot near the tip adds just enough Halloween personality without overwhelming the design.
If creating a crisp curved tip is difficult, use nail guide stickers or carefully clean the edge with a small brush.
14. Mix-and-Match Halloween Nails
When you cannot choose one Halloween design, combine several of the easiest motifs into a mix-and-match manicure.
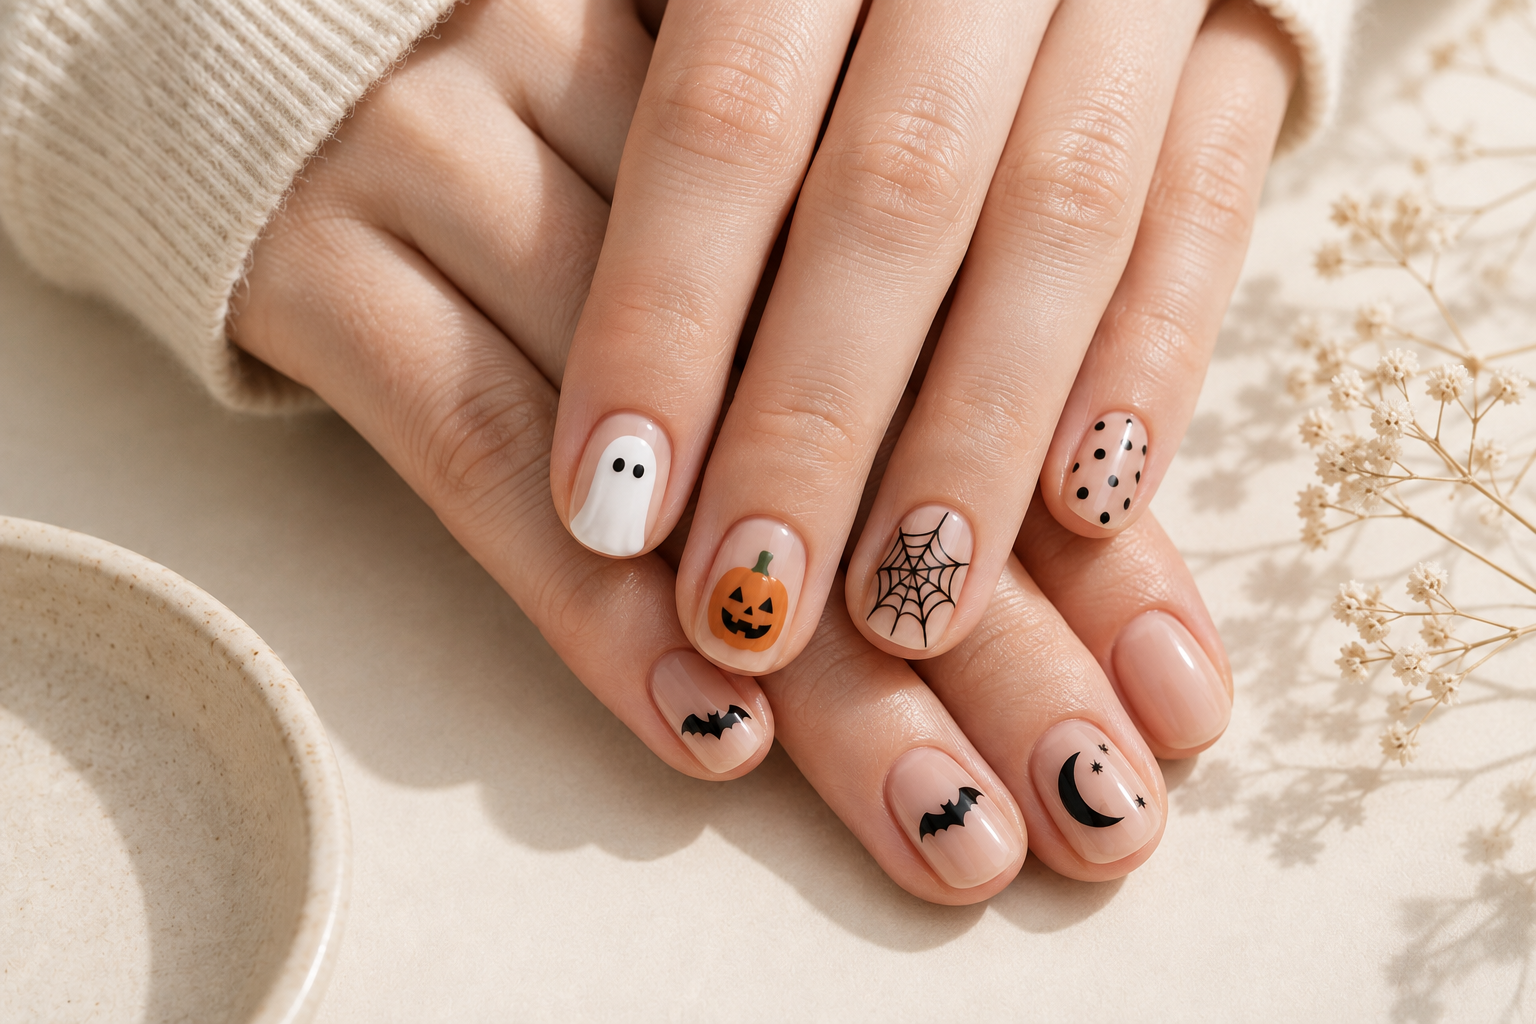
For example, paint one nail with a tiny ghost, one with a pumpkin, one with a spiderweb corner, one with black dots, and one with a simple bat. Repeat or rearrange the designs on your other hand.
The key to making mismatched nails feel cohesive is limiting your color palette. Black, white, orange, and nude work especially well together. You could also create a softer palette with cream, muted orange, dusty lavender, and black.
Because every nail is intentionally different, small variations in your artwork will look like part of the design rather than mistakes.
How to Make DIY Halloween Nail Art Look Neater
Simple nail art can still look polished when you focus on preparation and finishing rather than trying to make every tiny illustration perfect.
- Prep your nails first. Shape your nails and make sure the surface is clean and dry before applying polish.
- Use thin coats. Two thin layers of polish usually dry more evenly than one thick coat.
- Let the base color dry. Trying to paint details over wet polish can cause colors to drag or blend together.
- Use less polish on your brush. Small Halloween details are easier to control when your nail art brush is not overloaded.
- Practice on paper first. Test ghosts, bats, pumpkins, or webs on a piece of paper before painting your nails.
- Clean around the edges. A small angled brush can help tidy polish around the nail for a cleaner finish.
- Seal everything with top coat. Wait until the artwork is sufficiently dry, then apply top coat carefully to protect the design.
Easy Halloween Nail Color Combinations to Try
Classic orange and black are not your only options. Changing the color palette can completely transform even the simplest Halloween design.
- Black, white, and nude: ideal for minimalist ghosts, bats, webs, and celestial designs.
- Orange, cream, and black: a warm classic combination for pumpkins and cute seasonal manicures.
- Dusty lavender, black, and white: a softer witchy palette for moons, stars, cats, and ghosts.
- Deep plum, black, and gold: a moodier combination for sophisticated Halloween nails.
- Muted orange, beige, and brown: perfect for a subtle manicure that blends Halloween and fall style.
Using only two or three main colors is also an easy way to make DIY nail art look more coordinated.
How to Choose a Halloween Nail Design You Can Actually DIY
Before choosing a manicure from a photo, look closely at how many individual details it requires. A beautiful design may be much harder to recreate than it initially appears.
If you are new to nail art, start with dots, lines, French tips, drips, or one simple accent nail. Ghosts and pumpkins are also beginner-friendly because their shapes do not need to be perfectly precise.
More detailed bats, cats, moons, and spiderwebs become easier once you are comfortable controlling a thin brush.
You can also simplify almost any inspiration image. Instead of recreating ten detailed nails, choose your favorite element and use it on one or two fingers. Paint the remaining nails in coordinating solid colors.
This approach usually takes less time and can make the final manicure look more intentional.
How to Make Your Halloween Manicure Last Longer
After spending time on your Halloween nail art, a few finishing habits can help preserve it.
Make sure each layer has enough time to dry before adding the next. Thick, partially dry layers are more likely to dent or smudge. When applying your top coat, cover the entire design and lightly run the brush along the free edge of the nail.
Wear gloves when doing household chores that involve prolonged exposure to water or cleaning products, and avoid using your nails to scrape or open objects.
If a small section chips, you may not need to redo the entire manicure. Touch up the damaged area with the matching color and add another thin layer of top coat once it dries.
Final Ideas for Easy Halloween Nails at Home
The easiest Halloween manicures are often the ones that do not try to fit every spooky-season symbol onto every nail. A tiny ghost, miniature pumpkin, black French tip, delicate spiderweb, or pair of bat silhouettes can make an otherwise simple manicure feel festive.
Start with the designs that match your current skill level and the nail tools you already have. If you are completely new to DIY nail art, try polka dots, drips, eyeballs, or a single ghost accent nail. Once those feel comfortable, experiment with spiderwebs, bats, cats, and mix-and-match designs.
Most importantly, give yourself permission to simplify the inspiration you see. Halloween nail art does not need salon-level detail to look cute and seasonal. With a coordinated color palette, a few basic tools, and one or two recognizable Halloween details, you can create an at-home manicure that feels fun, polished, and ready for spooky season.