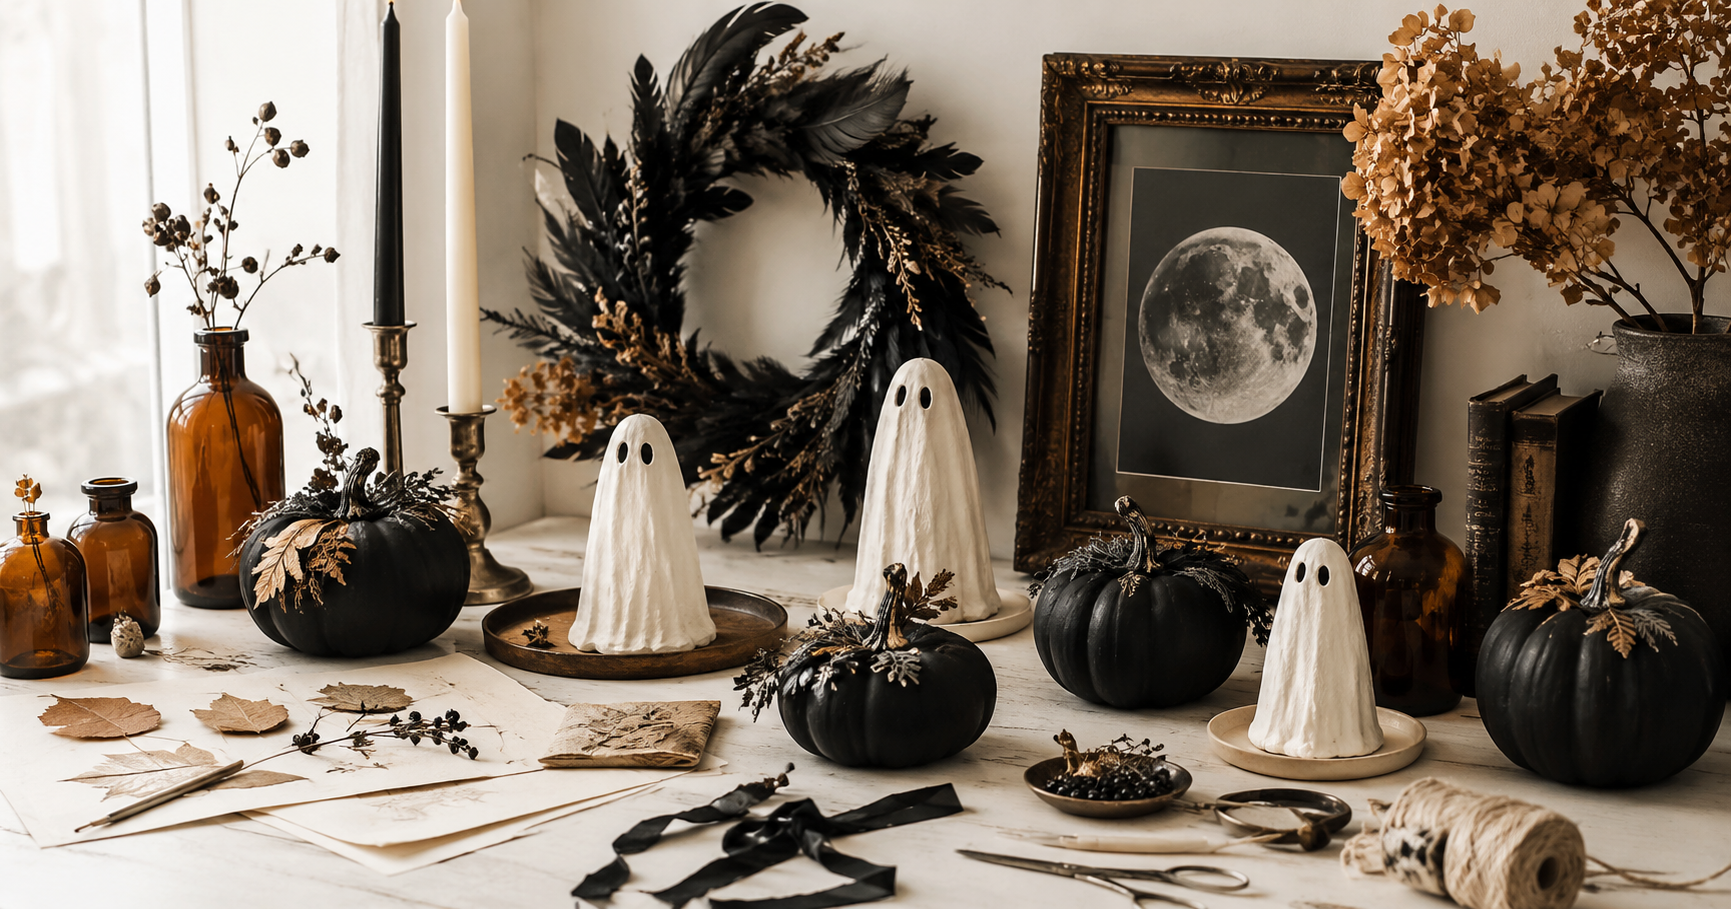
Halloween Crafts Can Be Spooky Without Looking Childish
Halloween crafting does not have to mean googly eyes, neon orange foam, glitter-covered spiders, or decorations that look like they came from a classroom project. If you love making things but want your seasonal decor to feel more polished, there are plenty of Halloween craft ideas for adults that balance spooky details with a stylish, grown-up aesthetic.
The key is choosing projects that work with the way you already decorate. Instead of filling every surface with bright Halloween colors, try natural materials, restrained color palettes, interesting textures, vintage-inspired details, and handmade pieces that could comfortably sit alongside your regular home decor.
You also do not need advanced crafting skills. Many sophisticated-looking Halloween projects rely on inexpensive supplies such as taper candles, thrifted frames, glass jars, cheesecloth, craft paint, air-dry clay, branches, and faux pumpkins.
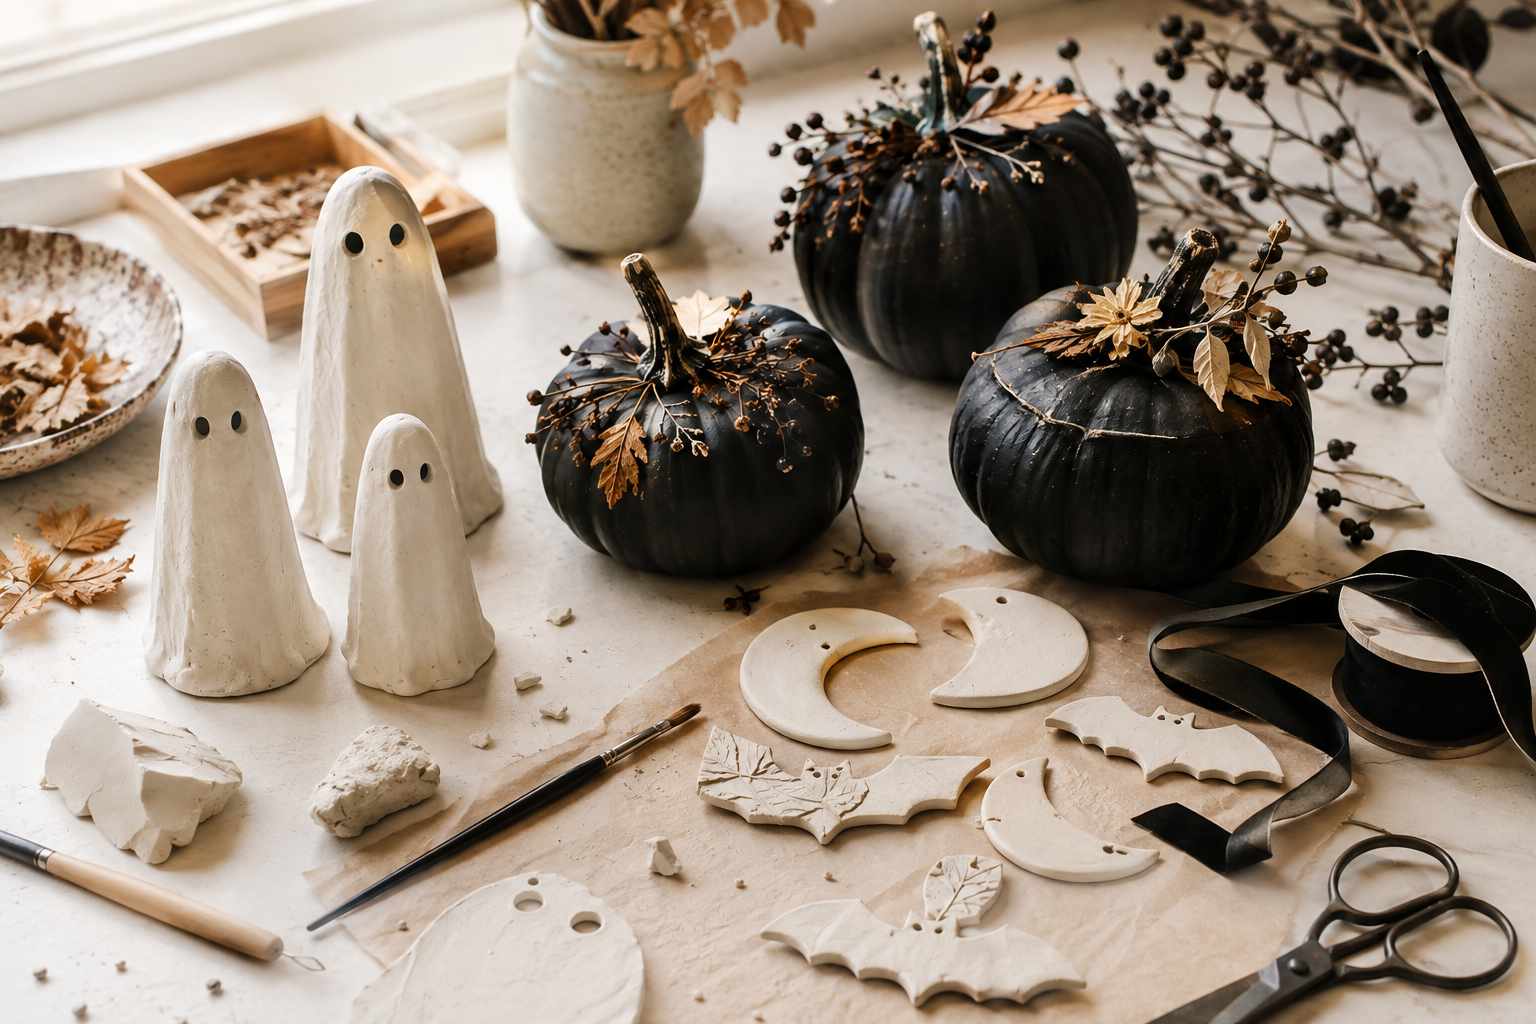
Whether you prefer moody gothic decor, neutral Halloween styling, vintage-inspired pieces, or subtle spooky accents, these 16 projects offer plenty of inspiration without feeling cheesy.
1. Make Matte Black Botanical Pumpkins
Give inexpensive faux pumpkins a dramatic makeover with matte black paint and delicate botanical details. This project works especially well when you combine several pumpkin shapes rather than using identical ones.
Paint the pumpkins matte black, charcoal, or a very deep brown. Once dry, add small dried leaves, pressed flowers, thin painted vines, or subtle metallic botanical details.
For a more understated look, keep the stems natural and use only one botanical accent on each pumpkin. Arrange the finished pieces on a mantel, entry table, bookshelf, or dining table with cream candles and dried branches.
The result feels seasonal without depending on traditional jack-o’-lantern faces.
2. Create Ghost Candles From Taper Candles
Simple ghost candles are an easy way to introduce Halloween personality without covering your home in novelty decorations.
Start with white or ivory taper candles. Carefully soften the wax using warm water so the candles become slightly flexible. Gently bend each candle into an irregular, ghostlike shape, then allow it to cool completely.
Add tiny black eyes with a wax-safe decorative method, or leave them plain if you prefer an abstract look.
Display several together in mismatched vintage brass or black candleholders. Keeping the palette neutral makes this playful project look surprisingly sophisticated.
Never leave decorative candles unattended while burning, and keep embellishments away from the flame.
3. Craft an Elegant Black Feather Wreath
A Halloween wreath does not need plastic skeletons and bright orange ribbon to make an impact. A monochromatic feather wreath can feel dramatic enough for Halloween while still looking refined.
Cover a basic wreath form with black feathers, securing them in overlapping layers so the base disappears. Keep the shape relatively simple rather than adding lots of extra decorations.
You can finish the wreath with a narrow velvet ribbon, a small antique-style key, or one miniature raven accent. Hang it against a light-colored door for strong contrast.
This is especially effective for anyone who likes gothic, Victorian, or dark romantic Halloween decor.
4. Turn Thrifted Frames Into Spooky Vintage Art
Thrift stores are excellent sources for inexpensive Halloween craft materials, particularly old frames. Look for ornate wood or metal frames with interesting shapes and details.
Paint them matte black, aged gold, dark bronze, or leave naturally distressed finishes untouched. Fill the frames with your own original silhouette art, botanical drawings, moon phases, moth illustrations, haunted-house sketches, or vintage-inspired Halloween designs.
Create a small gallery wall or layer several frames on a mantel. Mixing different frame sizes makes the arrangement feel collected rather than overly coordinated.
After Halloween, you can simply replace the artwork and reuse the frames.
5. Make Air-Dry Clay Ghosts
Air-dry clay is ideal for creating minimalist Halloween decorations that look closer to handmade pottery than children’s crafts.
Roll the clay and shape small standing ghosts with softly uneven edges. Instead of making every ghost identical, vary the height, shape, and movement slightly.
Create small eye holes before allowing the clay to dry according to the manufacturer’s instructions. Once completely dry, lightly sand rough areas if needed.
Leave the ghosts natural white for a ceramic-inspired finish, or paint them warm ivory, matte black, or stone gray. A group of three or five looks charming on a bookshelf or console table.
6. DIY Moody Potion Bottles
Transform recycled glass bottles and jars into decorative potion bottles for a grown-up apothecary display.
Choose bottles in several shapes and sizes. Amber glass is especially attractive, although clear glass can be aged using translucent paint or other decorative finishes intended for glass.
Create your own fictional labels using names such as Midnight Tonic, Moonwater, or Raven’s Remedy rather than copying branded designs. Print them on cream paper and lightly distress the edges.
Finish the bottles with corks, twine, wax-style decorative seals, or dried herbs around the outside. Keep them purely decorative and clearly separate from anything intended for consumption.
7. Create a Dried Floral Halloween Arrangement
If your decorating style is more botanical than theatrical, make a Halloween arrangement using dried materials.
Combine dried eucalyptus, dark grasses, bare branches, seed pods, preserved leaves, and muted flowers in a vintage vase or matte ceramic vessel.
Use black, burgundy, rust, brown, cream, and muted plum rather than vivid Halloween orange. A few naturally twisted branches can provide enough eerie character without requiring obvious Halloween props.
Place the arrangement in an entryway or use a smaller version as a dining table centerpiece.
8. Make Minimalist Clay Moon and Bat Ornaments
Small clay ornaments are not limited to Christmas. They can be used as Halloween accents on branches, cabinet knobs, wreaths, garlands, or wrapped seasonal gifts.
Roll air-dry clay to an even thickness and cut simple crescent moons, stars, bats, or abstract ghost shapes. Add a small hanging hole before drying.
Once hardened, leave them natural or paint them in a limited palette of black, cream, taupe, and muted metallic tones.
Thread each ornament with thin black ribbon or neutral twine. Display them from a collection of bare branches for a simple Halloween centerpiece.
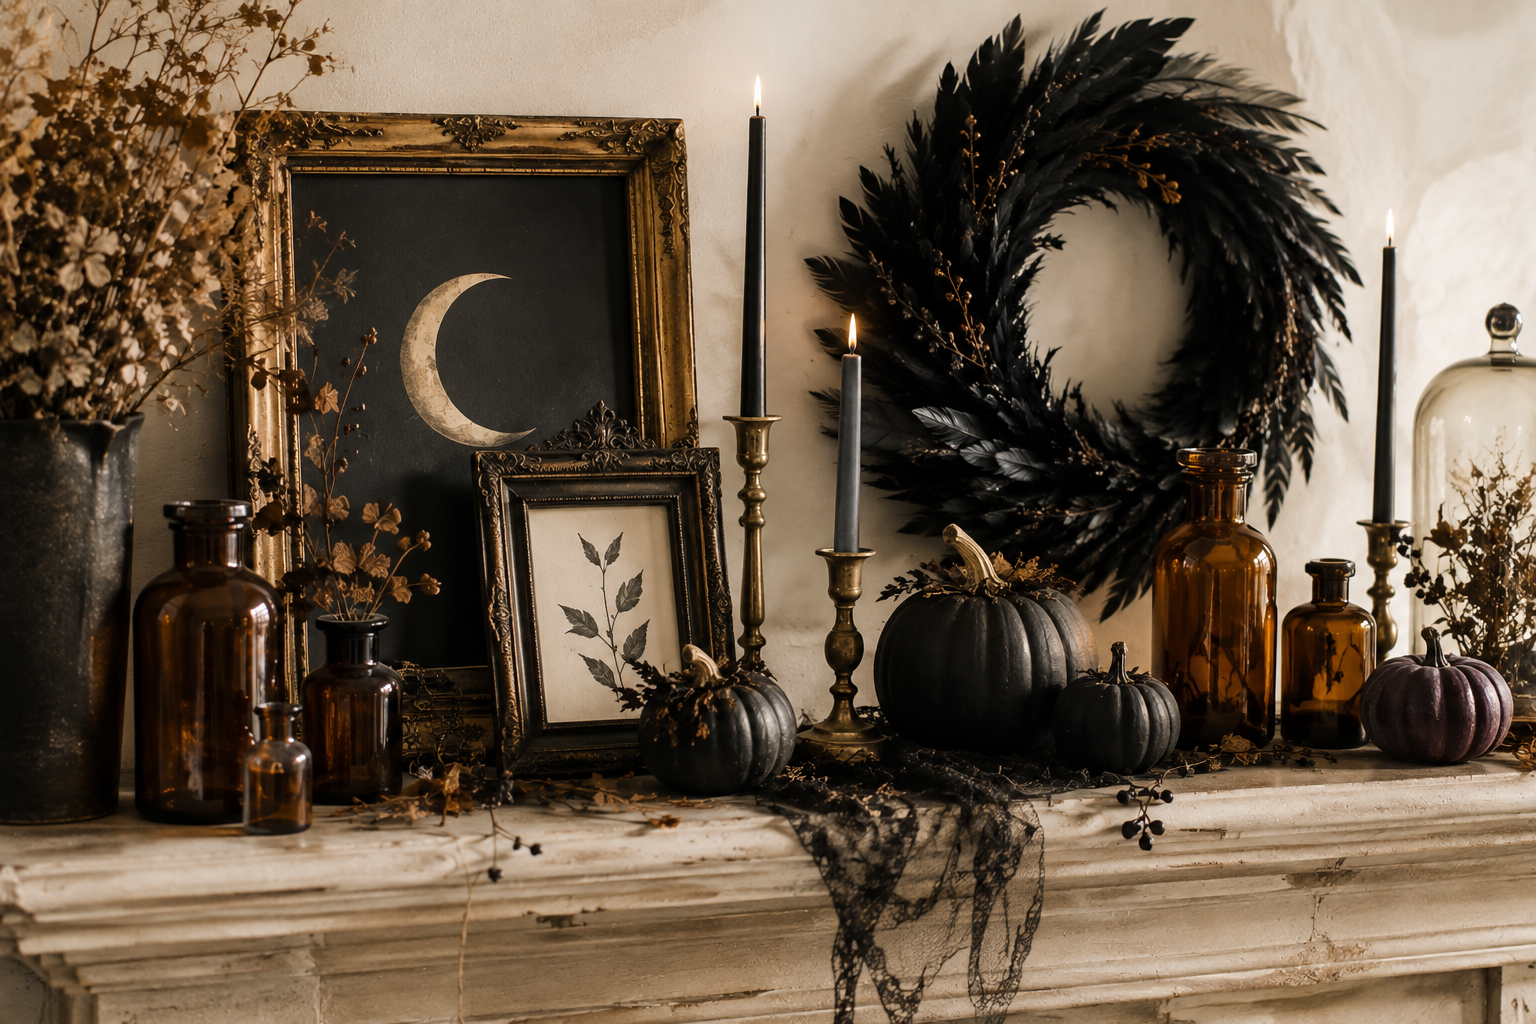
9. DIY Dripping Black Candles
Dripping candles instantly create an old-world haunted-house atmosphere, making them perfect for moody Halloween displays.
For the simplest version, use black taper candles that naturally develop interesting wax drips as they burn. Place them in vintage-inspired holders on a heat-resistant surface and allow their irregular shapes to become part of the display.
If you prefer decorations that will not be lit, create faux candles from appropriate craft materials and add dimensional faux wax details using supplies intended for decorative projects.
Group candles at different heights beside old books, small pumpkins, or dark dried flowers. Follow all candle fire-safety guidance whenever real flames are used.
10. Make a Sophisticated Halloween Garland
Skip brightly colored paper garlands and make something more textural instead.
Cut simple bat, moon, star, or ghost shapes from heavyweight black, cream, or kraft cardstock. Choose one or two shapes rather than combining every Halloween symbol into the same garland.
Attach the pieces to black thread or natural twine, leaving generous spacing between each shape. A little negative space makes the finished project feel much more refined.
Drape the garland loosely across a fireplace mantel, mirror, bookshelf, or entryway console.
11. Create Pressed Botanical Pumpkins
Pressed flowers and leaves are an unexpected way to decorate pumpkins for Halloween, especially if you prefer nature-inspired seasonal decor.
Use cream, white, pale green, or muted orange faux pumpkins as your base. Arrange small dried leaves and pressed flowers around the pumpkin in a loose botanical pattern.
Secure them with a decoupage medium suitable for your pumpkin’s surface, following the product directions carefully. Allow everything to dry thoroughly before handling.
The finished pumpkins can transition beautifully from early fall into Halloween, which makes them especially useful for decorators who do not want to completely redo their home in October.
12. Make a Halloween Shadow Box
A shadow box lets you create a miniature spooky scene that can be displayed year after year.
Start with a deep frame or unfinished wooden shadow box. Paint the interior in a muted neutral shade or line it with subtly patterned paper.
Build a small scene using handmade paper houses, bare miniature trees, a crescent moon, tiny pumpkins, or black cardstock bats. Layer the elements at different depths to give the scene dimension.
Keep the composition restrained. A tiny haunted house beneath a moon can be more visually effective than filling every inch of the box.
13. Transform Glass Jars Into Frosted Ghost Lanterns
Recycled jars can become subtle Halloween lanterns with just a few materials.
Clean the jars thoroughly and apply a frosted glass effect using a craft product designed for glass. Once dry, add simple ghost faces sparingly with black paint or adhesive vinyl.
Place battery-operated LED candles inside for a warm glow. Using LEDs rather than open flames makes these particularly convenient for bookshelves, mantels, and covered entry displays.
Create several jars in different sizes and cluster them together for a stronger visual effect.
14. Make a Vintage-Inspired Halloween Sign
If you enjoy seasonal signs but dislike mass-produced Halloween slogans, make your own using a simple wooden board or thrifted panel.
Paint the background cream, charcoal, black, or muted rust. Add a short original phrase or a simple graphic such as a crescent moon, raven, pumpkin, or botanical motif.
For an aged appearance, lightly distress the edges once the paint is completely dry. Avoid overdoing the distressing; subtle wear generally looks more convincing.
Lean the finished sign against the wall on an entry console or incorporate it into a mantel display.
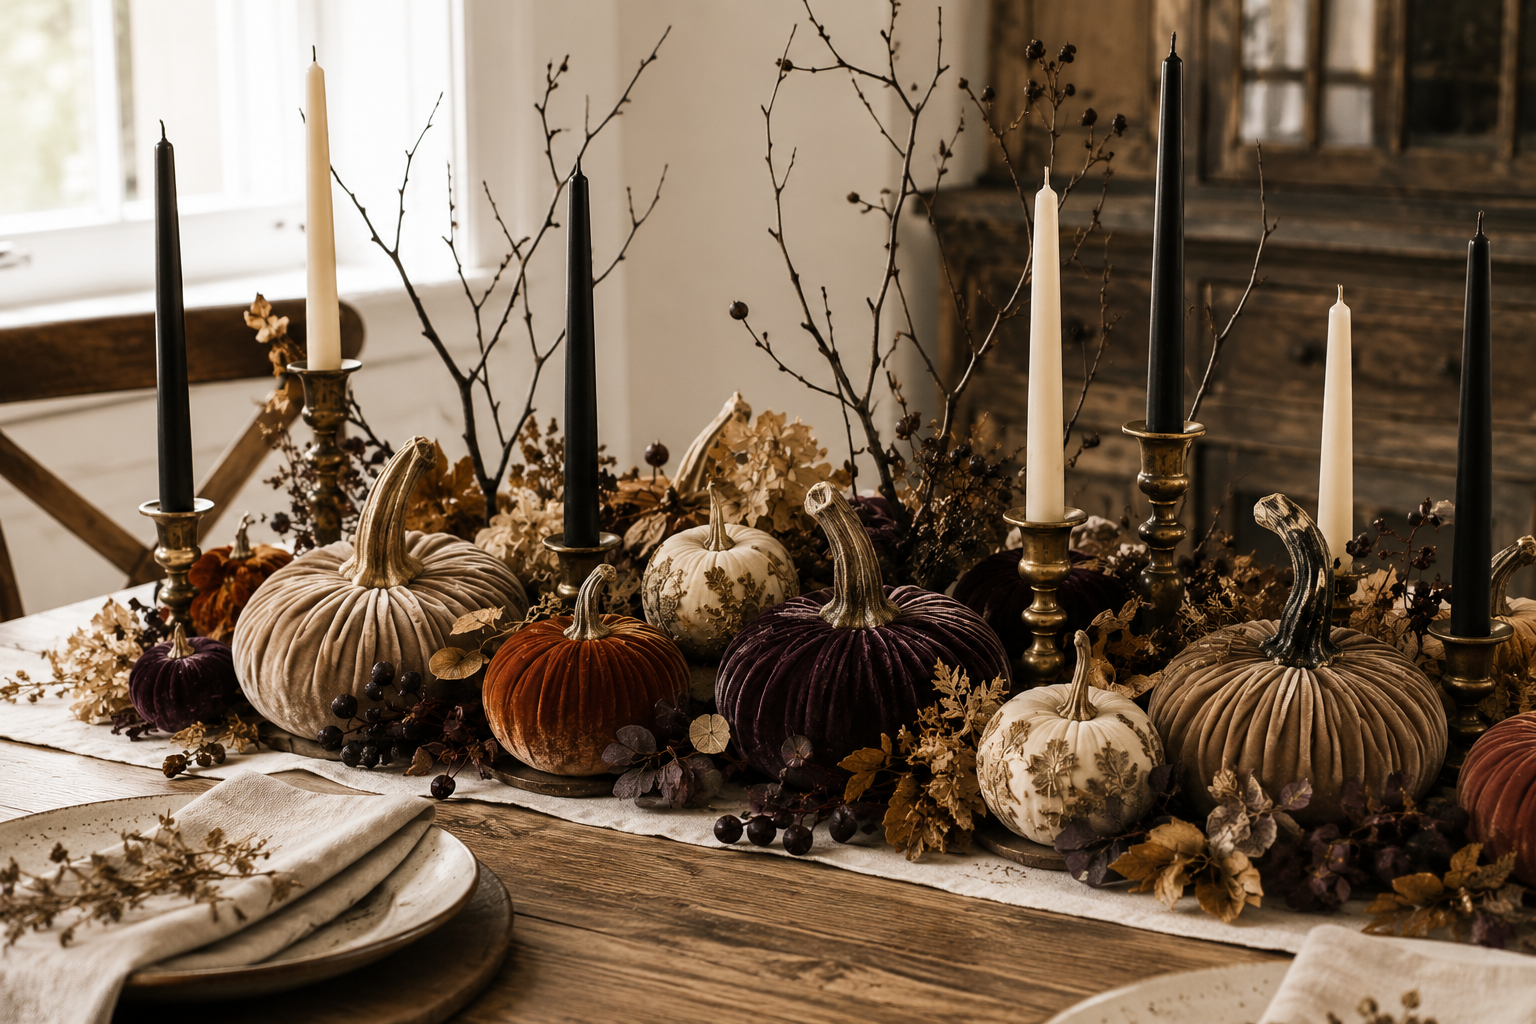
15. Craft Velvet Pumpkins
Velvet pumpkins are soft, textural, and easy to coordinate with sophisticated fall decor.
Choose velvet in colors such as rust, caramel, olive, plum, taupe, charcoal, or cream. Cut a circle of fabric, stitch loosely around the perimeter, and fill the center with stuffing.
Pull the thread to gather the top and secure it tightly. Add a dried pumpkin stem, small wooden stem, or twisted piece of fabric to finish the shape.
Make several sizes and arrange them together in a shallow bowl or across a mantel. The rich texture gives them enough visual interest that additional decoration is unnecessary.
16. Create a Dark Botanical Halloween Centerpiece
Finish your Halloween crafting with a centerpiece that combines several grown-up seasonal elements.
Start with a low tray or shallow vintage-style container. Add a few small pumpkins, dark foliage, dried flowers, black or cream taper candles, and natural branches.
Choose one dominant palette and repeat it throughout the arrangement. Black, cream, muted rust, dark plum, and warm brown work particularly well together.
Vary the height of the elements but keep the centerpiece low enough for comfortable conversation if you plan to use it on a dining table. If real candles are included, maintain safe clearance around dried botanicals and other combustible materials.
This type of arrangement works well because it does not rely on one obvious Halloween symbol. Instead, color, texture, candlelight, and subtle spooky details establish the mood.
How to Make Halloween Crafts Look More Grown-Up
The difference between a polished Halloween project and something that feels overly juvenile often comes down to editing. You can use ghosts, pumpkins, bats, and other familiar Halloween motifs without making the finished result feel childish.
- Limit your color palette. Try black and cream, rust and taupe, deep plum and charcoal, or another small group of coordinating colors.
- Use natural materials. Dried branches, pressed leaves, wood, linen, clay, glass, and dried flowers instantly add texture.
- Choose matte finishes. Matte black and softly aged finishes often look more sophisticated than shiny plastic.
- Repeat one motif. Five simple bats can look more intentional than a project containing bats, spiders, ghosts, pumpkins, and skeletons at once.
- Use vintage pieces. Thrifted frames, brass candleholders, old bottles, wooden boxes, and aged-looking vessels add character.
- Leave negative space. You do not need to decorate every available surface.
Best Supplies to Keep for Adult Halloween Crafting
If you plan to make several Halloween projects, building a small reusable craft collection can save both money and time. Many of these materials also work for fall, Thanksgiving, and other seasonal projects.
- Matte black, cream, and neutral craft paint
- Air-dry clay
- Black and neutral cardstock
- Natural twine and narrow ribbon
- Faux and dried botanicals
- Battery-operated LED candles
- Glass jars and bottles
- Faux pumpkins in several sizes
- Thrifted frames and candleholders
- Craft brushes and an appropriate adhesive for each material
- Neutral fabric scraps and velvet
Before buying everything new, check what you already own. Glass jars, old picture frames, leftover fabric, cardboard, and empty bottles can often become the starting point for attractive seasonal decor.
Choose Projects That Fit Your Halloween Style
You certainly do not need to make all 16 projects. Choose two or three that complement one another and the rest of your home.
If you love neutral Halloween decor, start with clay ghosts, cream botanical pumpkins, and simple ghost lanterns. For a gothic Halloween look, try the feather wreath, black candles, vintage frames, and dark floral arrangements.
For a natural autumn aesthetic, focus on pressed botanical pumpkins, dried arrangements, clay ornaments, and velvet pumpkins. If your taste leans vintage, thrifted frames, potion bottles, distressed signs, and aged candleholders are particularly easy to combine.
Repeating colors and materials throughout your projects will help separate pieces feel like one intentional seasonal collection.
A Stylish Halloween Can Still Be Handmade
The best Halloween craft ideas for adults do not have to hide the fact that they are handmade. Slight imperfections in clay, hand-painted details, naturally irregular branches, distressed frames, and hand-sewn fabric can give seasonal decor more character than perfectly identical store-bought pieces.
What makes these projects feel grown-up is not complexity. It is thoughtful material selection, restrained color, useful styling, and knowing when a project is finished.
Start with a craft that fits naturally into a room you already decorate. Make a few clay ghosts for a bookshelf, transform thrifted frames into spooky artwork, create velvet pumpkins for the living room, or build a dark botanical centerpiece for an October dinner.
With the right materials and a little editing, handmade Halloween decor can feel spooky, creative, and seasonal without looking cheesy.