Creative Fall Craft Ideas for Adults to Start This Season
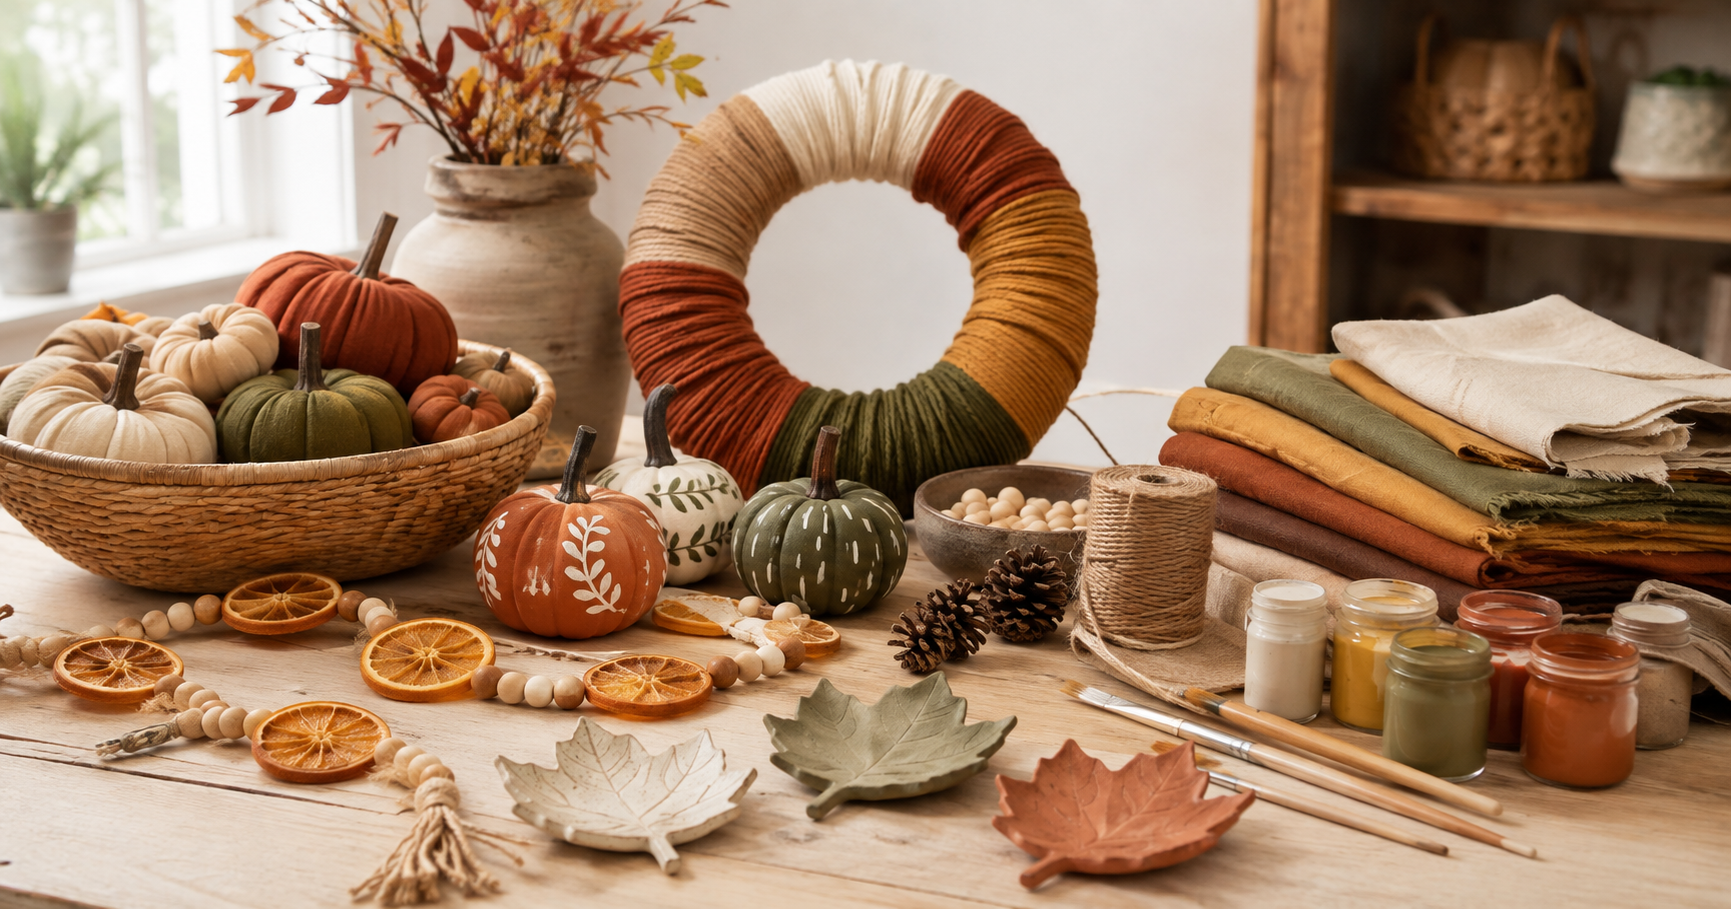
Fall is one of the best seasons for crafting. The colors are warm, the materials are easy to find, and even simple projects can make a home feel noticeably cozier. Starting your projects before autumn reaches its peak also gives you time to gather supplies, experiment with different colors, and enjoy your finished decorations throughout the season.
These fall craft ideas for adults include decorative projects for walls, tables, shelves, entryways, and quiet crafting afternoons at home. Some can be completed in less than an hour, while others are ideal for a relaxed weekend project.
You do not need advanced skills or an expensive collection of tools. Many of these ideas use affordable materials such as fabric scraps, paper, twine, paint, pinecones, air-dry clay, wood beads, and artificial leaves. Choose one project to begin with or combine several ideas to create a coordinated fall collection.
Helpful Supplies to Gather Before You Begin
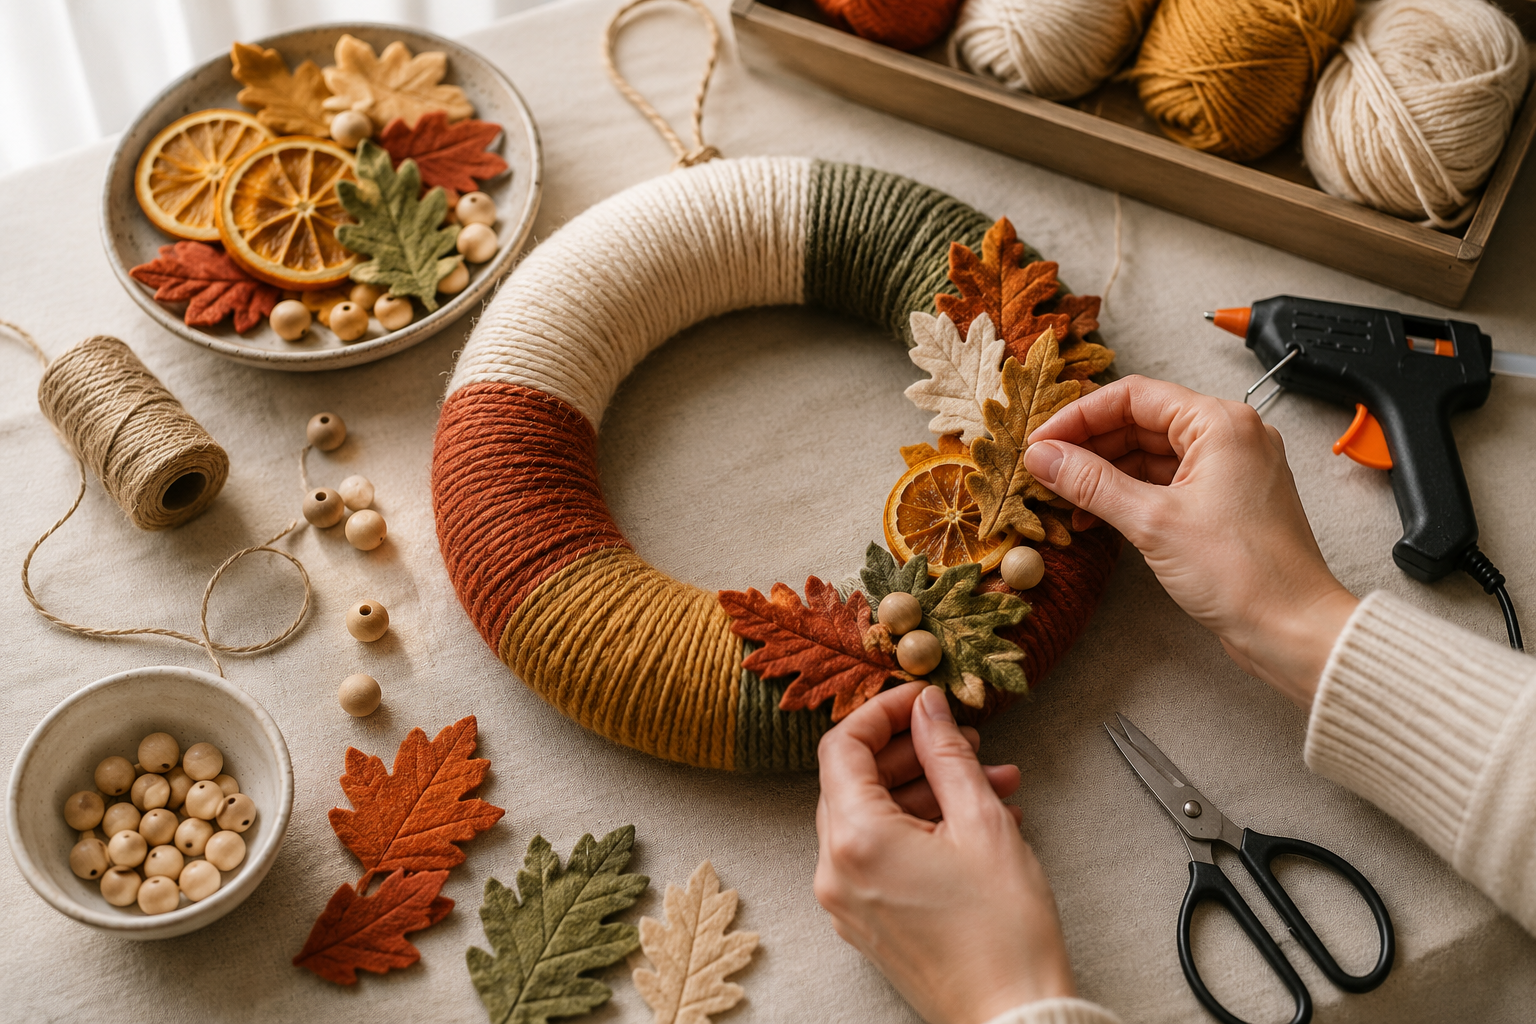
A small collection of versatile craft supplies can be used across several of these projects. Before shopping, check your existing craft storage, recycling bin, kitchen cabinets, and seasonal decor boxes. You may already have jars, fabric, ribbon, paper, frames, or leftover paint that can be reused.
- Hot glue gun and glue sticks
- Craft glue or decoupage adhesive
- Scissors and a craft knife
- Paintbrushes and small foam brushes
- Acrylic paint in warm seasonal colors
- Twine, ribbon, yarn, and thin floral wire
- Artificial leaves, dried stems, or pinecones
- Wood beads and unfinished wood shapes
- Fabric scraps, felt, or old sweaters
- Air-dry clay and a small rolling pin
- Glass jars, thrifted frames, and basic wreath forms
For a modern autumn palette, try cream, rust, terracotta, muted mustard, warm brown, olive green, and charcoal. A smaller, coordinated palette often makes handmade projects look more polished and easier to display together.
1. Make a Dried Orange and Wood Bead Garland
A dried orange garland brings natural color and texture to a mantel, open shelf, window, or dining room wall. Thinly slice oranges, blot away excess moisture, and dry them slowly in the oven on a low temperature until they are firm and no longer damp.
Thread the slices onto sturdy twine, alternating them with unfinished wood beads, cinnamon sticks, or small wooden shapes. Keep the spacing loose for a casual natural look, or arrange the pieces close together for a fuller garland.
This project can be adapted to fit rustic, farmhouse, Scandinavian, or traditional fall decor. Store the finished garland in a dry place when the season ends, and keep dried materials away from open flames or strong heat sources.
2. Paint a Collection of Mini Pumpkins
Painted mini pumpkins are an easy alternative to bright orange seasonal decorations. Use artificial pumpkins if you want to reuse them every year, or paint real pumpkins for a temporary centerpiece.
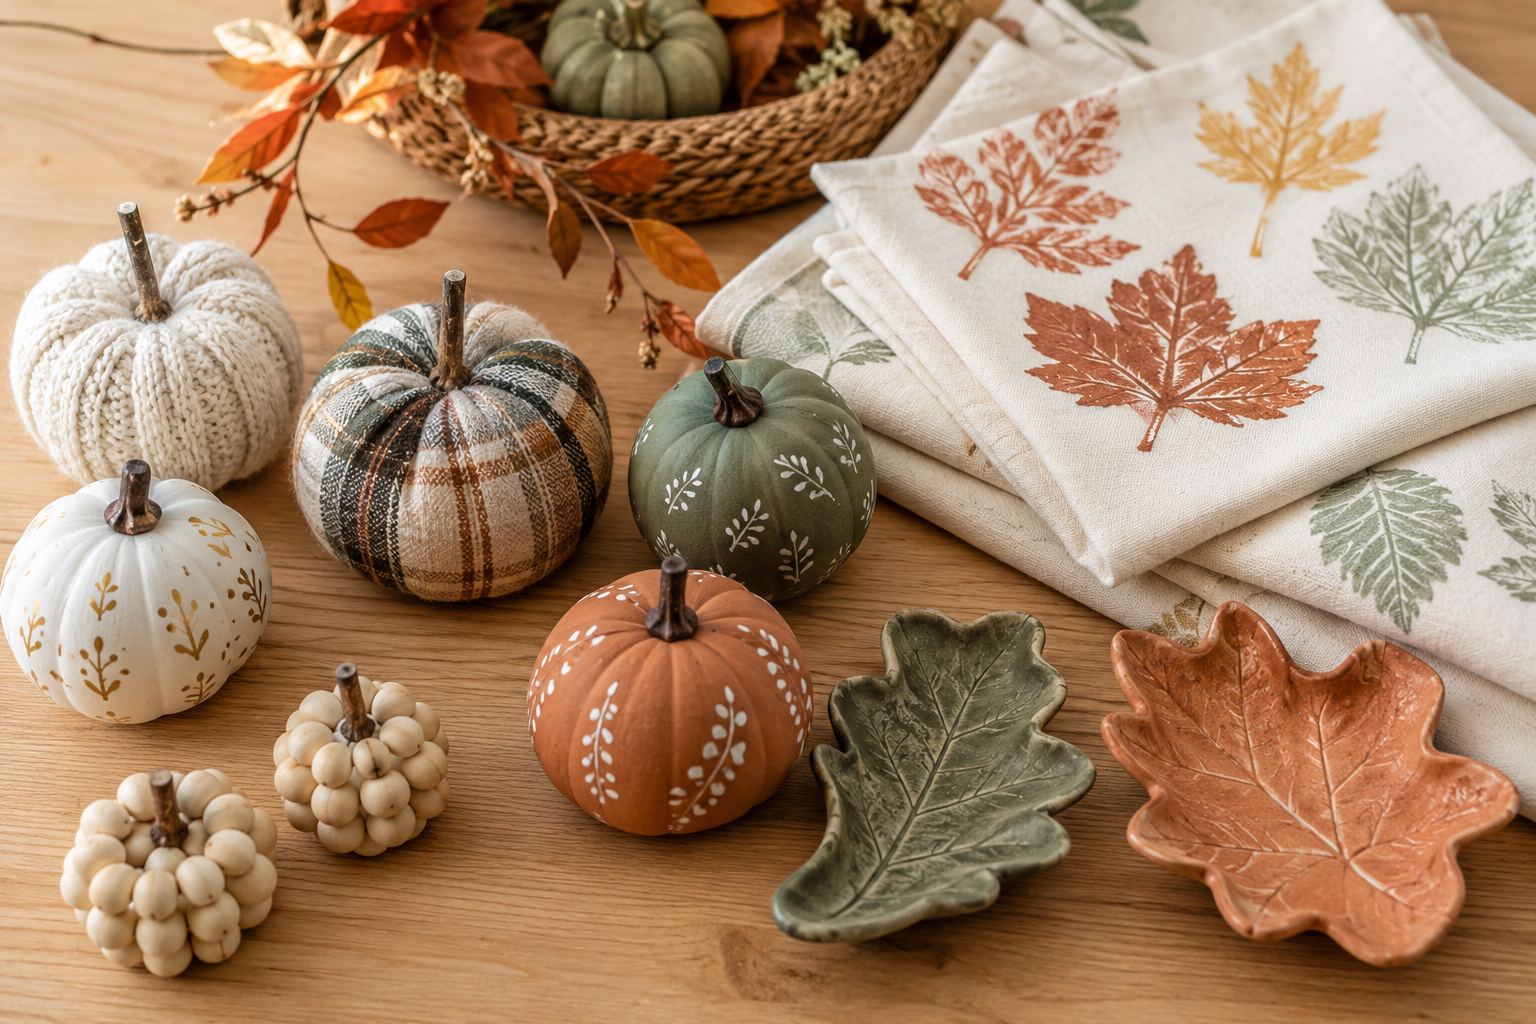
Apply one or two coats of matte acrylic or chalk-style paint. Cream, muted sage, terracotta, dusty blue, and warm taupe create an understated autumn look. Add small details such as thin stripes, simple leaf patterns, tiny dots, or color-blocked sections.
Group the finished pumpkins on a tray with a candle, a small vase, and a few dried stems. Painting several pumpkins in related colors makes the collection look intentional without requiring complicated techniques.
3. Create a Yarn-Wrapped Fall Wreath
A yarn-wrapped wreath adds softness and color to a front door, interior door, or blank wall. Begin with a foam or straw wreath form and wrap it tightly with thick yarn. Secure the yarn at the back with hot glue as you work.
Decorate one side of the wreath with felt leaves, dried flowers, artificial berries, miniature pumpkins, or a wide fabric bow. Leaving part of the yarn visible keeps the design from becoming overly busy.
Choose chunky cream yarn for a cozy neutral style, or use rust, mustard, and burgundy for a bolder seasonal look. Because the base is lightweight, this wreath is also easy to hang with a removable hook.
4. Frame Pressed Leaves as Autumn Wall Art
Pressed leaf art is one of the simplest ways to turn outdoor materials into attractive seasonal decor. Collect leaves with interesting shapes and colors, making sure they are dry and free from damage.
Place the leaves between sheets of plain paper and press them inside a heavy book. Once they are flat and dry, arrange them on neutral cardstock or handmade paper. A single large leaf creates a minimalist display, while several smaller leaves can form a botanical grid.
Use thrifted frames to keep the project affordable. Matching frames create a clean gallery wall, while a mix of wood and antique-style frames produces a collected vintage look.
5. Assemble Wood Bead Pumpkins
Wood bead pumpkins are small enough for shelves, trays, desks, and place settings. Thread unfinished wood beads onto flexible wire, then shape the beaded strand into a round pumpkin form. Twist the wire ends together securely at the top.
Add a short wood piece, cinnamon stick, or tightly rolled strip of brown felt for the stem. Finish the pumpkin with a small ribbon, raffia bow, or felt leaf.
Leave the beads natural for a warm minimalist appearance, or paint them before assembling the pumpkin. White, terracotta, muted green, and dark brown work especially well in fall displays.
6. Sew or Glue Fabric Scrap Pumpkins
Fabric pumpkins are a useful project for leftover material, old shirts, worn sweaters, and small upholstery samples. Cut a large circle from the fabric, sew a loose running stitch around the edge, and pull the thread gently to gather the material.
Fill the center with fiberfill, fabric scraps, or clean reusable stuffing. Pull the thread closed and secure it firmly. A hot glue version can also be made by folding and attaching the fabric around a small ball of stuffing.
Use twine to create pumpkin-like sections, then add a small branch, wooden dowel, or rolled felt stem. Mixing velvet, plaid, linen, and chunky knit fabrics adds variety to a basket or table display.
7. Shape Air-Dry Clay Leaf Dishes
Small clay leaf dishes are practical for holding rings, keys, paper clips, or other lightweight items. Roll air-dry clay into an even sheet and place a clean leaf on top. Press gently so the veins and outline transfer into the clay.
Cut around the leaf with a craft knife, remove the real leaf, and curve the clay slightly over a small bowl. Allow it to dry completely according to the clay instructions.
Paint the finished dish in a solid autumn color or highlight the raised veins with a contrasting shade. A clear craft sealer can provide a more finished surface, but the dish should remain decorative rather than being used for food.
8. Decorate Cozy Fall Candle Jars
Plain glass jars can be transformed into warm seasonal candle holders with simple craft materials. Wrap the outside with twine, burlap ribbon, pressed leaves, paper cutouts, or narrow fabric strips.
For a cleaner style, paint the lower portion of each jar and leave the upper section clear. Small leaf shapes can also be attached temporarily as stencils before painting.
Battery-operated candles are a convenient choice, especially when paper, fabric, twine, or dried materials are part of the design. Arrange several jars together on a tray to create a soft evening display for an entryway or living room.
9. Make Leaf-Stamped Tea Towels
Leaf-stamped tea towels bring a handmade seasonal detail into the kitchen without adding extra clutter. Start with plain cotton towels that have been washed and dried.
Apply a thin layer of fabric paint to the textured side of a leaf. Press it firmly onto the towel, cover it with scrap paper, and smooth it carefully before lifting the leaf away. Practice on spare fabric first so you can determine the right amount of paint.
Create a border along one edge, scatter leaves across the entire towel, or repeat one simple leaf shape in a neat pattern. Follow the paint instructions for drying and heat-setting so the design remains durable.
10. Build a Decorative Fall Tray
A seasonal tray is less about one complicated craft and more about combining several small handmade details. Begin with a wood tray, shallow basket, cutting board, or thrifted serving piece.
Add a painted pumpkin, a small jar of dried stems, a candle, wood beads, and a simple handmade sign. Vary the heights so each object is visible, and leave some open space so the arrangement does not feel crowded.
A tray is especially useful in a small home because the entire display can be moved when the table or countertop is needed. It can also be refreshed later with winter greenery or spring flowers.
11. Turn Pinecones Into Autumn Flowers
Pinecones can be cut and painted to resemble layered flowers. Use sturdy pruning shears to separate sections of clean, dry pinecones. Always work slowly and protect your work surface because the pieces can be rough or brittle.
Paint the cut sections in muted seasonal shades and add a contrasting center. Attach them to a wreath, frame, wood sign, or small branch arrangement with hot glue.
For a simpler project, leave the pinecones whole, paint only the tips, and display them in a wooden bowl with acorns and wood beads. This adds fall texture without requiring a large amount of seasonal storage space.
12. Cut Decorative Leaves From Old Book Pages
Old book pages, damaged sheet music, paper grocery bags, and leftover scrapbook paper can be turned into lightweight autumn leaves. Draw or trace several leaf shapes, cut them out, and fold each one slightly down the center to add dimension.
Attach the paper leaves to twine for a garland, glue them around a wreath form, or scatter them across a table as reusable decorations. Ink or lightly paint the edges for a vintage effect.
When working with books, use pages from damaged or unwanted copies rather than valuable editions. Combining printed paper with solid kraft paper helps the finished project feel balanced rather than visually busy.
13. Make No-Sew Sweater Pillow Covers
An old sweater can become a cozy fall pillow cover with minimal sewing. Place a pillow insert inside the sweater body to determine the correct size, then trim the fabric with extra room along the edges.
For a no-sew version, turn the fabric inside out and use strong fabric adhesive along three sides. Allow it to dry, turn the cover right side out, insert the pillow, and close the final edge with adhesive or hidden safety pins.
Chunky knit, cable-knit, and soft neutral sweaters work especially well. Inspect the material for weak areas before cutting, and choose inserts you already own to keep the project affordable.
14. Create an Acorn and Pinecone Bowl Filler
Natural bowl filler is an easy project for coffee tables, entryway consoles, and open shelves. Gather clean pinecones, acorns, small branches, and seed pods. Make sure all outdoor materials are completely dry before bringing them inside.
Leave the pieces natural or add small amounts of paint to selected areas. Metallic bronze, matte cream, and deep brown can create subtle contrast without covering the natural texture.
Place the materials in a shallow wooden bowl with a few artificial leaves or dried orange slices. Keep the arrangement loose and avoid using natural items that show signs of moisture, insects, or deterioration.
15. Design a Seasonal Gratitude Board
A gratitude board combines seasonal decor with a meaningful family or personal routine. Use a corkboard, framed fabric panel, magnetic board, or painted wood sign as the base.
Cut small leaf shapes from cardstock and keep them in a nearby envelope or basket. Throughout the season, write one thing you appreciate on each leaf and attach it to the board.
Choose paper colors that coordinate with your decor, such as rust, cream, mustard, olive, and burgundy. By the end of the season, the board becomes a layered display filled with memories, encouraging notes, and everyday moments worth remembering.
How to Make Your Fall Crafts Look More Polished
A handmade project does not need to be perfect, but a few simple decisions can help it look more finished and easier to display.
- Limit the color palette. Choose three or four main colors and repeat them across your projects.
- Use texture for interest. Combine smooth paint, natural wood, soft fabric, paper, clay, and dried materials.
- Repeat materials. Using the same ribbon, beads, or paint colors creates a coordinated collection.
- Leave open space. Not every surface or section needs to be covered with decorations.
- Finish the back. Hide glue, trim loose threads, and attach hanging hardware neatly.
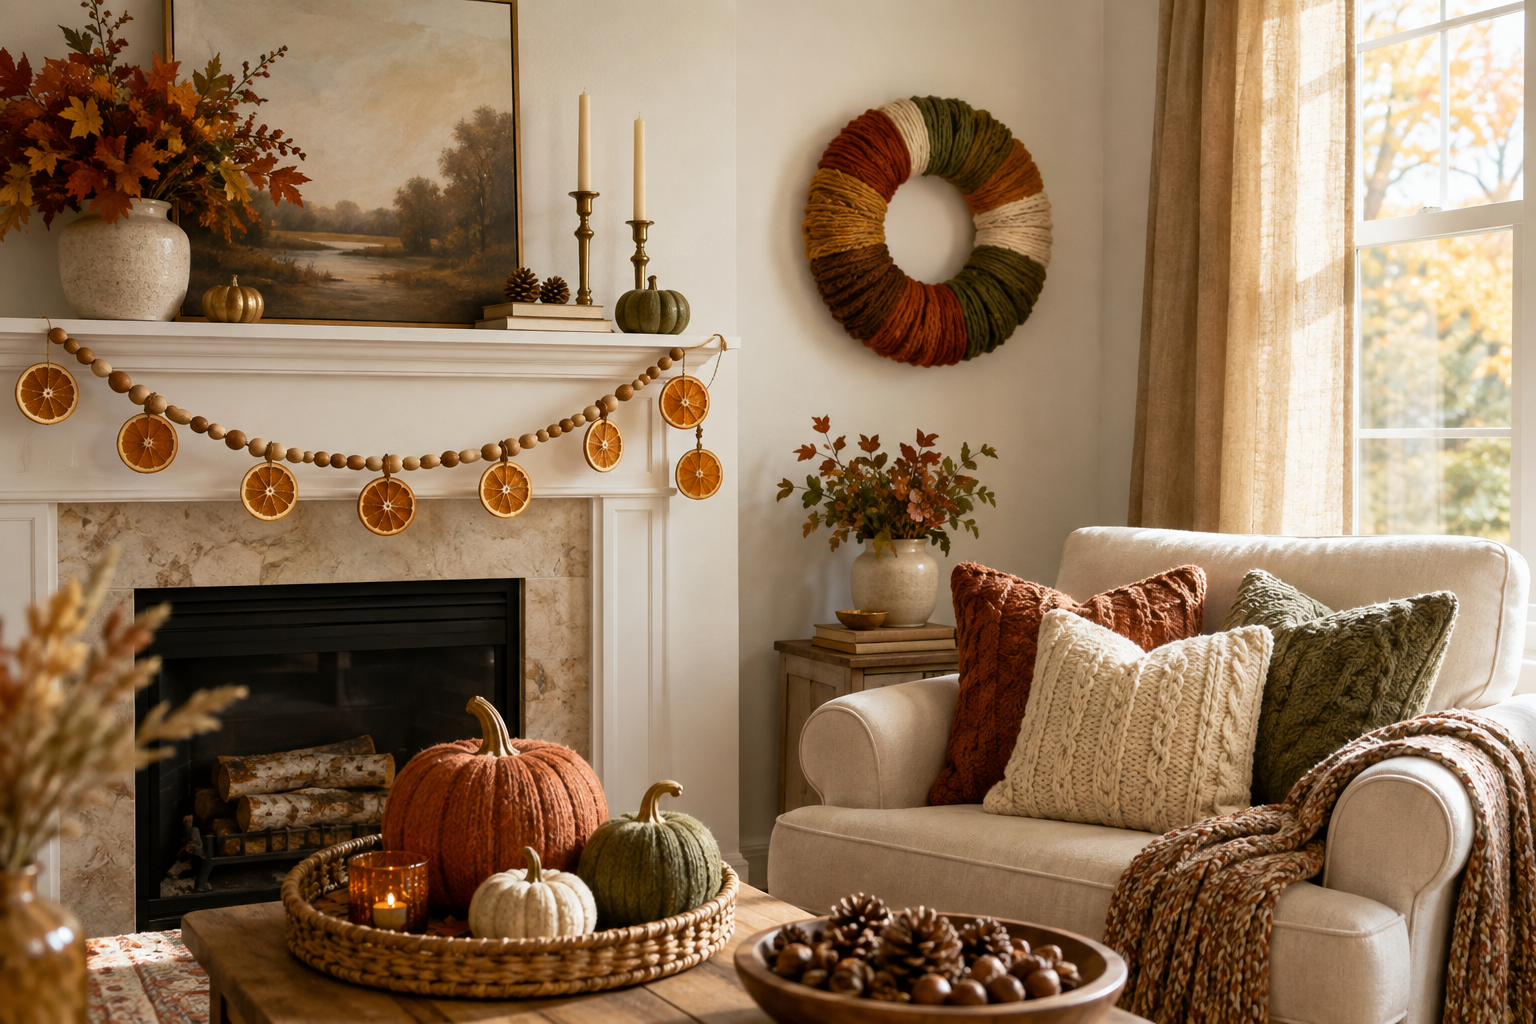
- Display crafts in small groups. Three coordinated items often create a stronger arrangement than many unrelated pieces.
Ways to Keep Fall Crafting Affordable
Seasonal crafting can become expensive when every project requires new supplies. Start with materials that can be used in several ways. One package of wood beads, for example, can become part of a garland, tray decoration, wreath, and pumpkin project.
Thrift stores are useful for frames, trays, sweaters, jars, baskets, fabric, and unfinished wood pieces. Dollar stores can also be helpful for basic wreath forms, artificial leaves, ribbon, foam pumpkins, and small seasonal accessories.
Plan two or three projects that share the same materials before shopping. This reduces waste and makes it easier to create a consistent style throughout your home.
When to Begin Making Fall Crafts
You can start gathering ideas and supplies in late summer, especially when you want time to complete several projects. Lightweight paper crafts, painted pumpkins, garlands, and wreaths are easy to prepare before the weather changes.
Natural projects can be completed later as leaves, acorns, branches, and pinecones become available. Starting early also gives you time to repair, repaint, or reuse decorations from previous years instead of replacing everything at once.
Enjoy a More Creative Autumn at Home
The best fall craft ideas for adults are projects that fit your available time, decorating style, and current skill level. You might spend an afternoon painting mini pumpkins, make a wreath over the weekend, or slowly build a coordinated collection throughout the season.
Begin with one project that uses supplies you already have. Once you choose a color palette and a few favorite materials, it becomes easier to adapt additional ideas and create fall decor that feels personal, cozy, and intentionally handmade.