Easy Paper Crafts You Can Make With Simple Supplies
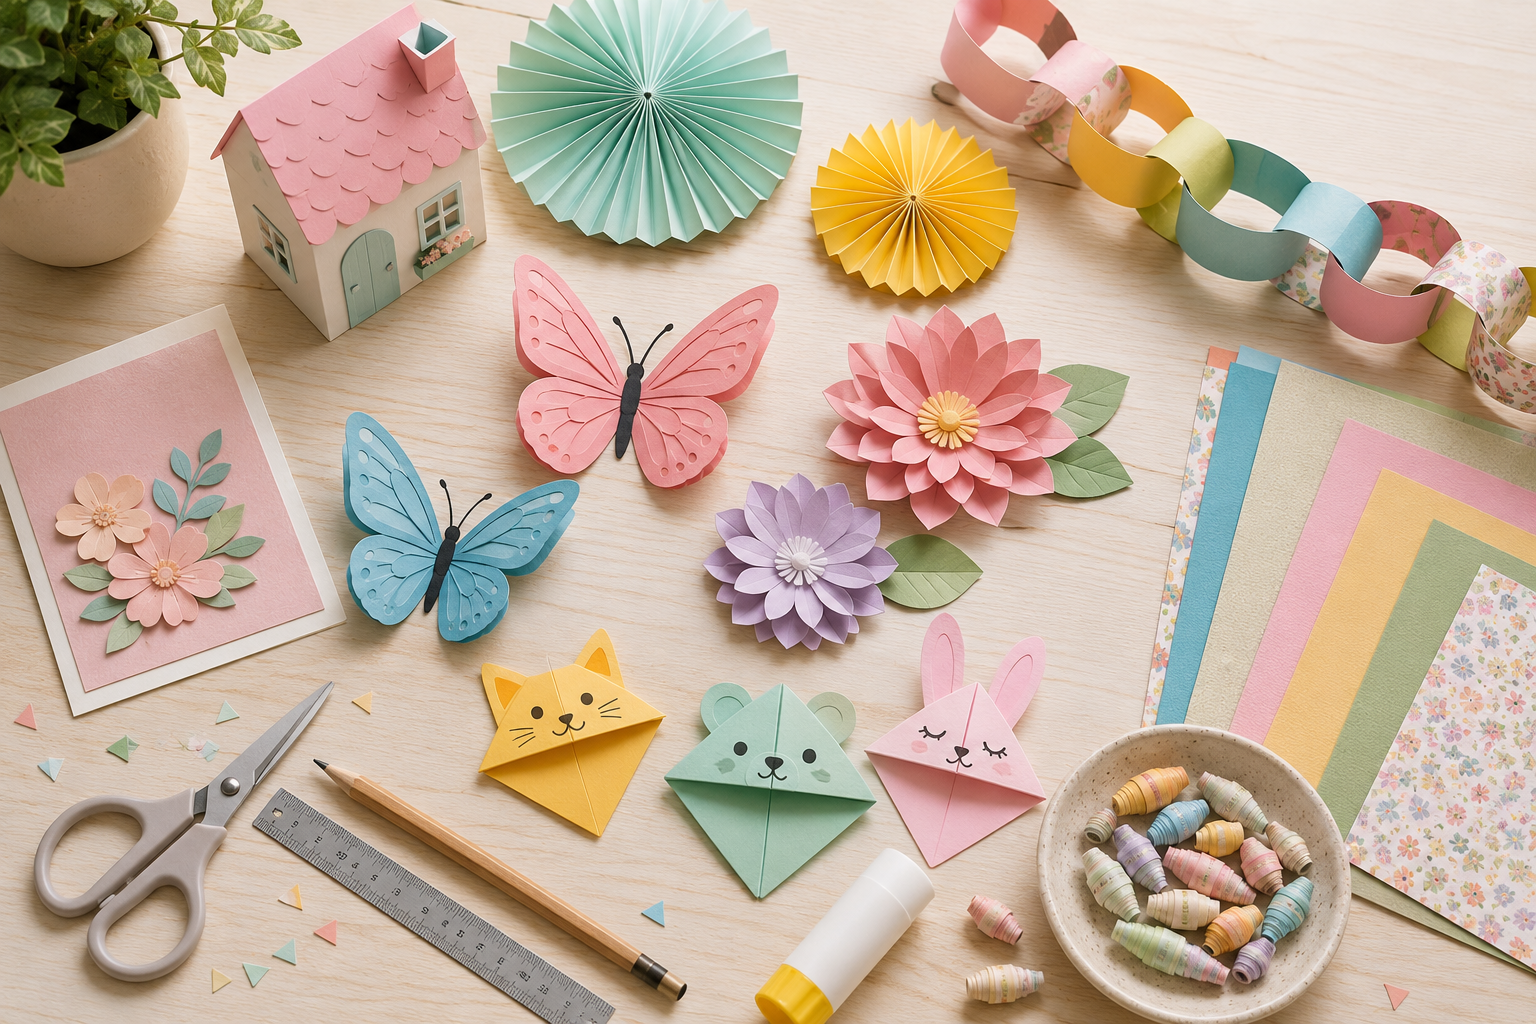
Paper crafts are one of the easiest ways to start making something creative at home. You do not need a large craft room, expensive tools, or advanced skills. A few sheets of paper, scissors, glue, and a little time are enough to create decorations, toys, cards, and useful items.
These easy paper craft ideas are especially helpful for beginners, parents planning an afternoon activity, teachers looking for low-prep projects, and anyone who wants a relaxing creative break. Most of the projects can be adjusted for children or adults simply by changing the paper colors, patterns, size, or level of detail.
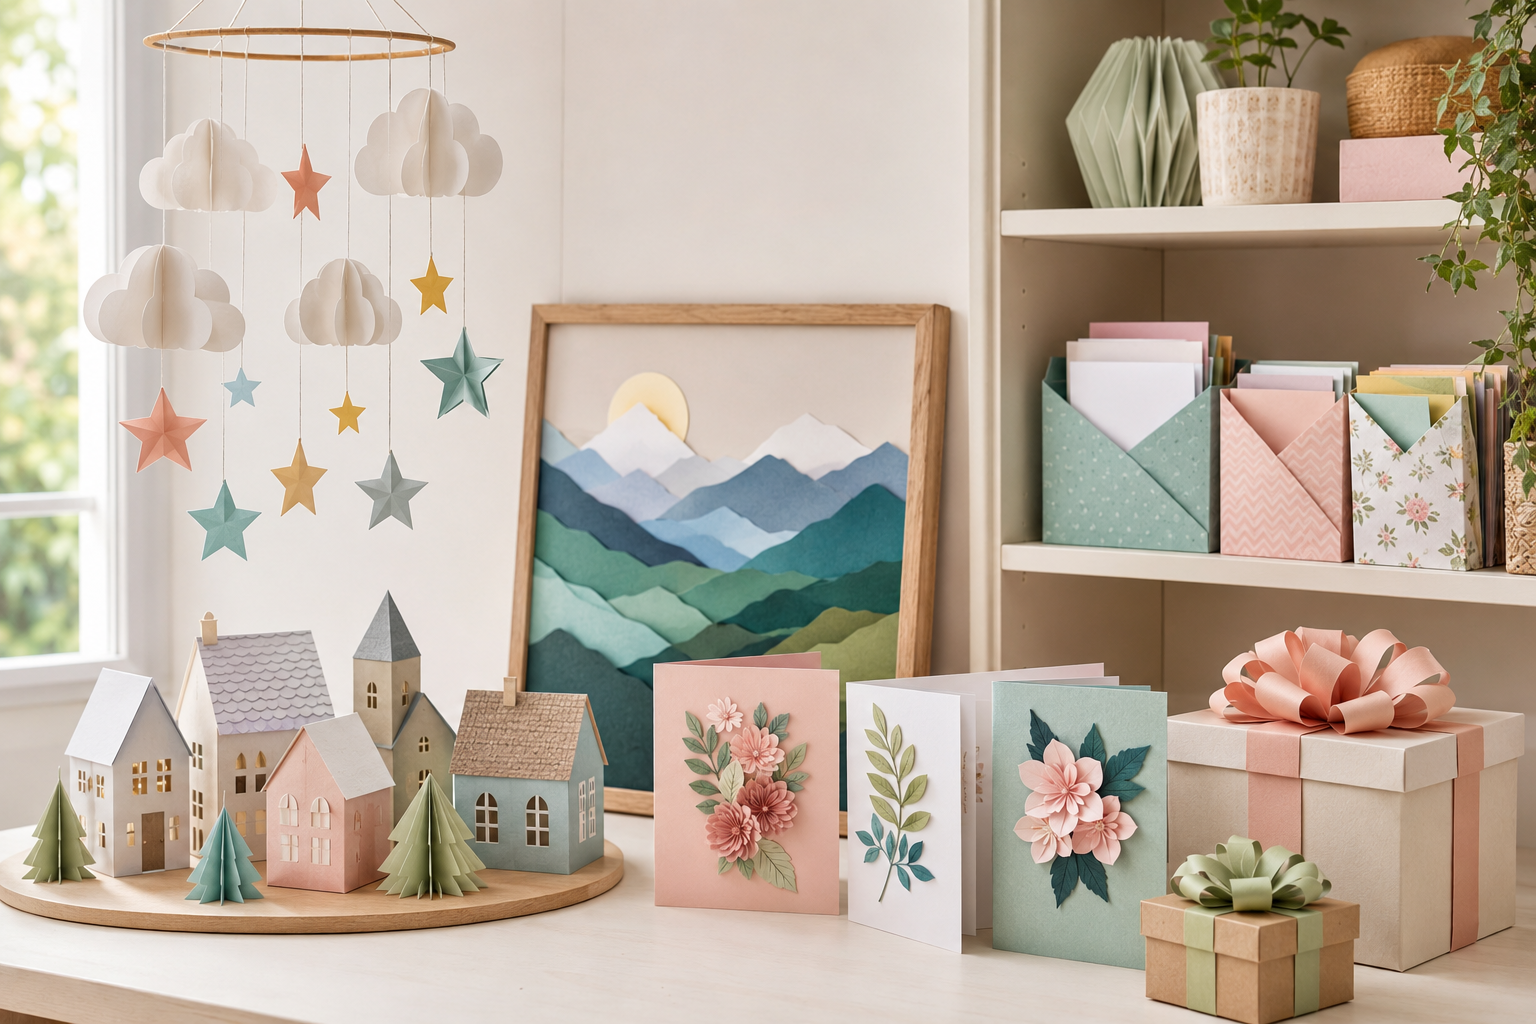
Before you begin, gather a basic set of supplies. You may not need every item for every project, but having them nearby makes crafting easier.
- Construction paper, cardstock, scrapbook paper, or printer paper
- Scissors
- Glue stick or craft glue
- Pencil and ruler
- Markers, crayons, or colored pencils
- Tape
- String, yarn, or ribbon
- Optional decorative supplies such as stickers, buttons, or paper punches
1. Folded Paper Butterflies
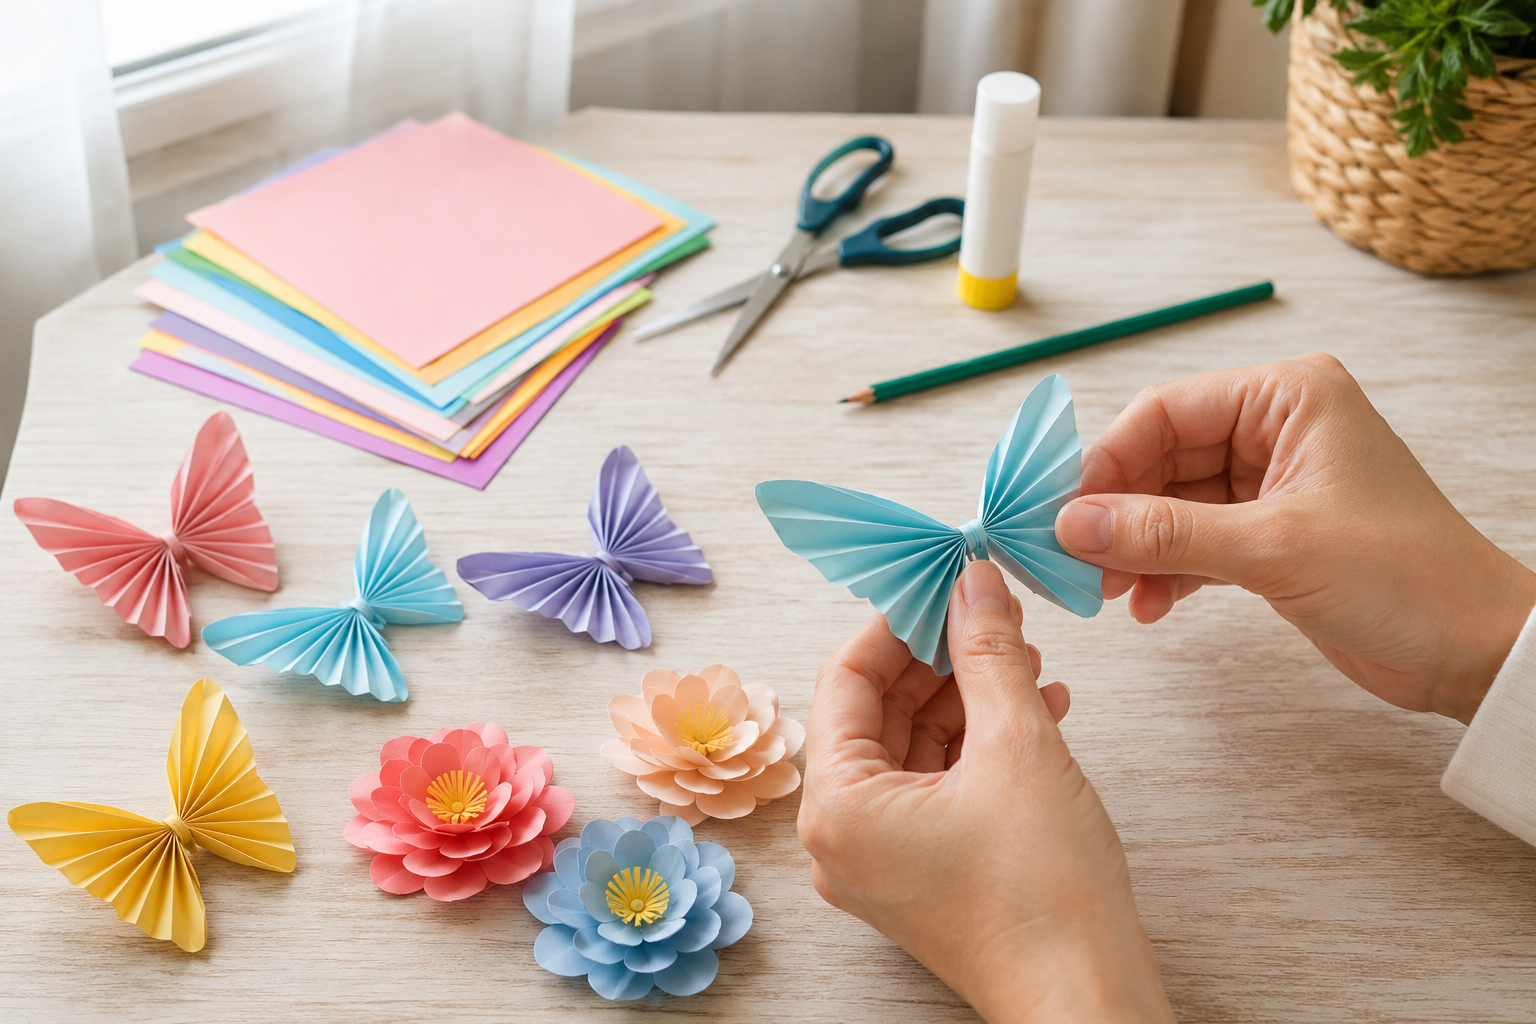
Folded paper butterflies are simple, colorful, and useful for decorating walls, gift packages, cards, or a child’s bedroom. Start with two square pieces of paper. Accordion-fold each square from one edge to the other, then fold both pieces in half. Place the smaller folded square above the larger one to form the upper and lower wings.
Wrap a short piece of string, thin wire, or a narrow paper strip around the center to hold the wings together. Gently spread the folds, then add paper antennae if desired. Use patterned scrapbook paper for a decorative look or let children color plain paper before folding it.
2. Easy Paper Flowers
Paper flowers are a beginner-friendly craft that can be used for bouquets, party decorations, gift toppers, or seasonal displays. Draw several simple flower shapes in different sizes, cut them out, and layer them from largest to smallest. Slightly bend or curl the petals upward to give the flower more dimension.
Glue a small paper circle, button, or rolled paper coil in the center. For stems, roll green paper into thin tubes or attach the flowers to wooden craft sticks. You can make a full bouquet in one color family or mix bright shades for a cheerful arrangement.
3. Paper Chain Garland
A paper chain is one of the quickest crafts to make and works well for birthdays, holidays, classroom celebrations, or rainy-day fun. Cut paper into strips of equal length. Form the first strip into a loop and secure the ends with glue or tape. Thread the next strip through the first loop before closing it.
Continue adding loops until the garland reaches the length you need. Use two or three coordinated colors for a polished look, or use leftover paper scraps for a playful mixed-color design. Younger children can practice color patterns by repeating the same sequence of paper strips.
4. Woven Paper Placemats
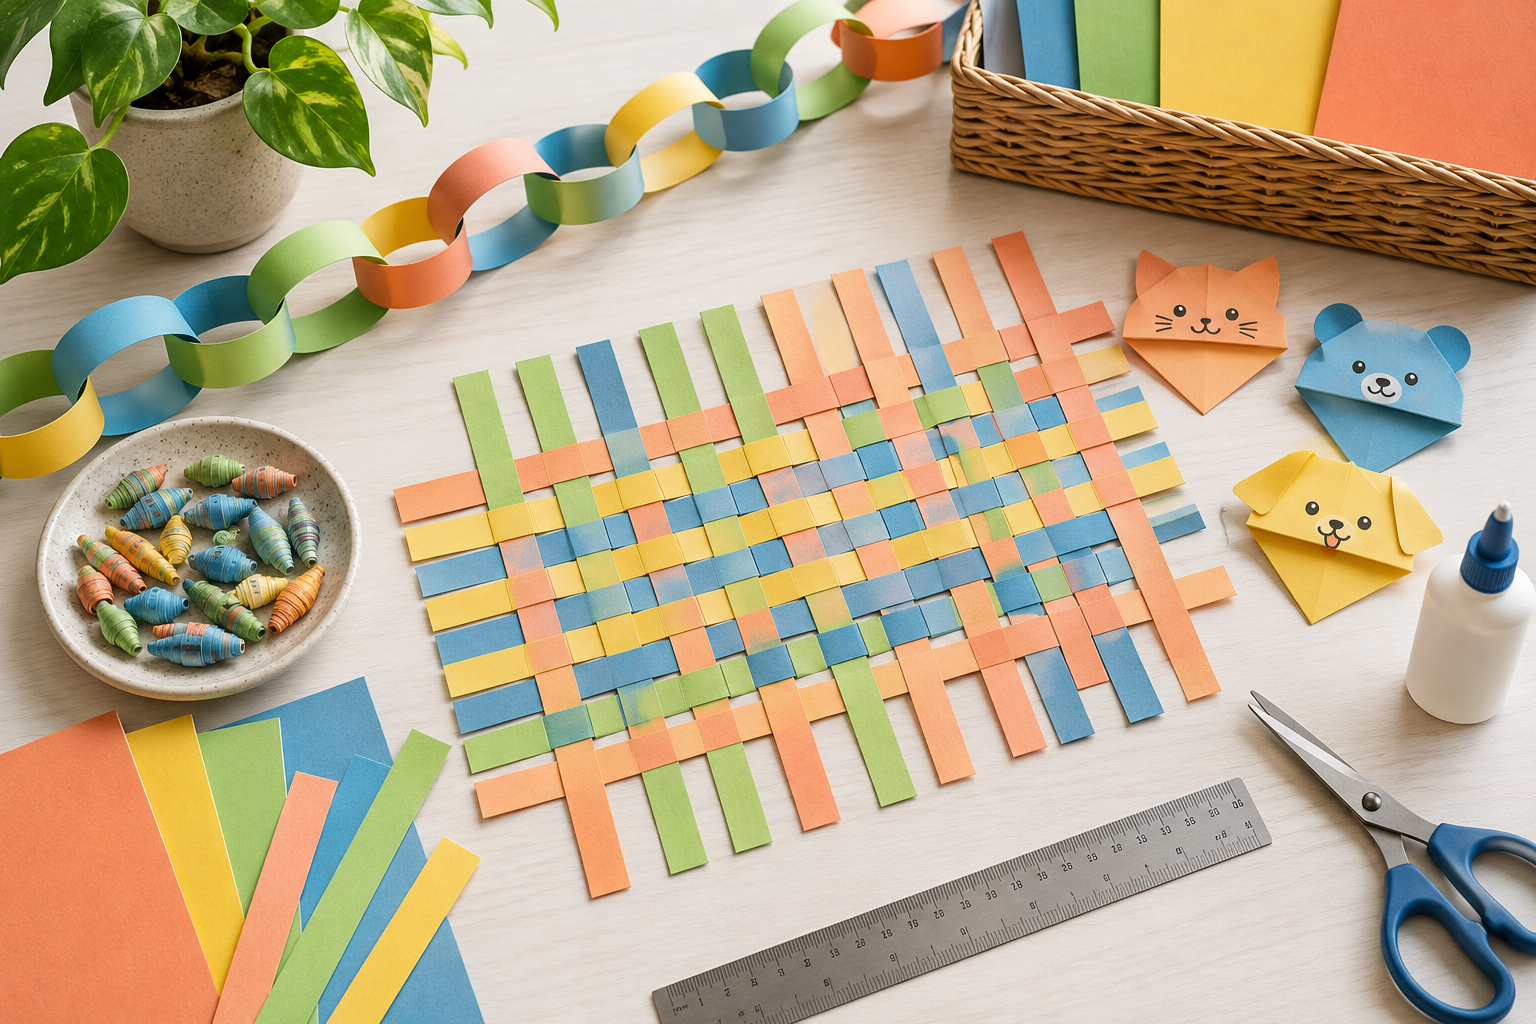
Paper weaving is a useful beginner project because it teaches pattern, spacing, and basic hand coordination. Fold a sheet of paper in half and cut several evenly spaced lines from the folded edge toward the open edge, stopping about one inch before the end. Open the paper to create the base.
Cut strips from another color of paper and weave them over and under the cut sections. Alternate the starting position of each strip so the pattern forms correctly. Glue the loose ends in place. The finished piece can be used as a decorative placemat, a background for artwork, or the front of a handmade card.
5. Rolled Paper Beads
Rolled paper beads turn magazine pages, wrapping paper, or scrapbook scraps into lightweight jewelry and decorations. Cut long triangular strips of paper. Starting at the wide end, roll each strip tightly around a toothpick, skewer, or thin pencil. Add a small amount of glue near the pointed end to secure the bead.
Once dry, slide the bead off the tool and thread it onto string or elastic. Make several beads for bracelets, necklaces, keychains, or hanging ornaments. Adults can coat the finished beads with a thin layer of decoupage glue for extra durability, while children can enjoy mixing colors and patterns.
6. Simple Origami Bookmarks
Corner bookmarks are practical, quick, and easy to personalize. Begin with a square piece of paper. Fold it diagonally into a triangle, then bring the two side corners up to meet the top corner. Unfold those corners, fold the top layer of the triangle downward, and tuck the side corners into the pocket.
Decorate the finished bookmark with paper eyes, ears, teeth, flowers, or simple drawn patterns. Make animals, monsters, fruit, or clean geometric designs. Because the bookmark fits over the corner of a page, it is useful without adding much bulk to a book.
7. Paper Fan Decorations
Accordion paper fans can be made in a few minutes and look impressive when grouped together. Fold a rectangular sheet of paper back and forth in even sections. Fold the finished strip in half, then glue the two inner sides together to create a half-circle fan.
Join two matching half circles to make a full round fan. Hang several fans on a wall for party decor, attach small versions to cards, or use them as gift toppers. Try solid paper for a modern look or patterned paper for a more festive design.
8. Cut-Paper Greeting Cards
Handmade cards do not need complicated techniques. Fold a piece of cardstock in half, then decorate the front with simple cut-paper shapes. Layer circles into flowers, cut triangles for a banner, create candles from narrow rectangles, or build a simple landscape from curved strips.
Keep the shapes large and uncomplicated for a clean result. Add a short handwritten message inside. This project is easy to adapt for birthdays, thank-you notes, holidays, congratulations, or everyday encouragement. It is also a useful way to use small paper scraps that might otherwise be thrown away.
9. Paper Animal Puppets
Paper puppets encourage both crafting and imaginative play. Cut a simple animal head and body from cardstock or construction paper. Add ears, eyes, spots, stripes, feathers, or other details with smaller paper pieces and markers. Attach the finished animal to a folded paper handle or a wooden craft stick.
For a moving puppet, connect the arms or legs with paper fasteners. Children can create a group of farm animals, jungle animals, pets, or imaginary creatures, then use them to tell stories. Adults can prepare basic shapes ahead of time for younger children who are still learning to use scissors.
10. Paper Houses and Mini Buildings
Simple paper houses can become shelf decorations, play pieces, or part of a small paper village. Draw a basic house shape with a front, back, side walls, and roof tabs, or use separate rectangles for the walls and a folded rectangle for the roof. Cut out the pieces and glue them together.
Add windows, doors, shutters, flowers, signs, or roof patterns with markers and paper scraps. Create several buildings in different sizes, such as a house, shop, school, or library. For an easier version, fold a single piece of cardstock into a standing triangle or rectangle and decorate the front like a building.
11. Layered Paper Art
Layered paper art creates depth without requiring painting or drawing skills. Choose a simple scene, such as mountains, waves, clouds, leaves, or a sunset. Cut each part of the scene from a different color of paper. Arrange the pieces from background to foreground and glue them onto a sturdy sheet of cardstock.
Leave a small amount of space between some layers by using folded paper tabs or foam adhesive. This creates a shadow-box effect. Frame the finished artwork, use it on a card, or make a set of coordinated pieces for a small gallery wall.
12. Paper Bow Gift Toppers
Paper bows make plain gift bags and wrapped packages look more finished. Cut one long paper strip with pointed or rounded ends, one short strip for the center, and two ribbon-tail shapes. Bend the ends of the long strip toward the middle and glue them in place to create the bow loops.
Wrap the short strip around the center and attach the tails underneath. Use cardstock for a structured bow or lightweight paper for a softer shape. Coordinate the bow with the wrapping paper, or use contrasting paper to make it stand out.
13. Paper Spinner Toys
Paper spinners are easy to make and fun to test. Cut two matching circles from cardstock and decorate both sides with bold lines, spirals, or blocks of color. Glue the circles together with the decorated sides facing outward. Punch two small holes near the center.
Thread a long piece of string through both holes and tie the ends together. Hold the looped string with both hands, twist the spinner several times, and gently pull outward. The circle will spin as the string tightens and releases. This project is a simple way to explore color blending and motion.
14. Folded Paper Storage Pockets
Small folded paper pockets can hold notes, stickers, receipts, gift cards, or tiny craft supplies. Start with a square or rectangular piece of sturdy paper. Fold the lower section upward, then fold the sides inward to create a pocket shape. Secure the side edges with glue or double-sided tape.
Add a paper flap, label, button closure, or decorative edge. Attach several pockets to a poster board for a simple organizer, glue one inside a notebook, or use a single pocket as part of a greeting card. This project is especially useful for older children and adults who enjoy functional crafts.
15. Paper Mobile With Clouds, Stars, or Leaves
A paper mobile is a calm, decorative project that can be customized for a bedroom, nursery, reading corner, or seasonal display. Cut matching shapes from cardstock, such as clouds, stars, moons, birds, leaves, or raindrops. For double-sided pieces, glue two identical shapes around a length of string.
Tie several strings to a hoop, branch, dowel, or sturdy paper ring. Vary the string lengths so the shapes hang at different levels. Keep the mobile lightweight and place it where it will not be pulled or handled. Neutral colors create a soft decorative look, while bright colors work well for a playful child-friendly version.
How to Make Paper Crafts Look Neater
Simple techniques can make even beginner paper crafts look more polished. Start by making light pencil marks before cutting, especially when you need straight lines or repeated shapes. Use a ruler for strips, folds, and geometric pieces. Fold paper firmly by running a fingernail or the edge of a ruler along the crease.
- Use the right glue: A glue stick works well for flat paper layers, while a small amount of craft glue is better for rolled or three-dimensional pieces.
- Apply less adhesive: Too much glue can wrinkle thin paper or leave visible marks.
- Choose coordinated colors: Limiting a project to three or four colors often creates a cleaner result.
- Trim rough edges: Small corrections can improve the final shape before pieces are glued together.
- Let layers dry: Allow glued pieces to set before adding more decorations or handling the project.
Ways to Adapt These Crafts for Children
Most of these easy paper craft ideas can be adjusted for different ages. For younger children, prepare the shapes in advance, offer washable glue sticks, and choose larger pieces that are easier to handle. Projects such as paper chains, layered flowers, puppets, and simple cards are good starting points.
Older children can measure strips, follow folding instructions, create their own templates, and experiment with more detailed designs. Always supervise scissor use and avoid small decorative pieces when crafting with children who may put objects in their mouths.
How to Use Leftover Paper Scraps
Save medium and small scraps in a shallow box or envelope instead of discarding them. They are useful for flower centers, puppet details, card decorations, tiny banners, labels, mosaic art, and layered designs. Sorting scraps by color can make them easier to use later.
Frequently Asked Questions About Easy Paper Crafts
What type of paper is best for beginners?
Construction paper and medium-weight printer paper are easy to cut and fold. Cardstock is better for crafts that need structure, such as puppets, bookmarks, houses, and mobiles. Scrapbook paper is useful when you want decorative patterns without adding extra details.
What can I use if I do not have craft glue?
A standard glue stick works for most flat paper projects. Clear tape or double-sided tape can also hold simple pieces together. For three-dimensional crafts, use a small amount of white school glue and allow it to dry fully.
Which paper crafts are fastest to make?
Paper chains, folded butterflies, simple flowers, fan decorations, and cut-paper cards can often be completed in less than 30 minutes. More detailed projects, such as paper houses and mobiles, may take longer because they require several pieces.
Start With One Simple Paper Project
You do not need a complicated plan to enjoy paper crafting. Choose one idea, gather the paper you already have, and make a simple version first. Once you understand the basic steps, you can change the colors, size, patterns, and decorations to create something completely different.
These 15 easy paper craft ideas are flexible enough for quiet afternoons, family craft time, classroom activities, handmade gifts, or inexpensive home decorations. With a few basic supplies and a little imagination, ordinary paper can become something useful, playful, and worth displaying.