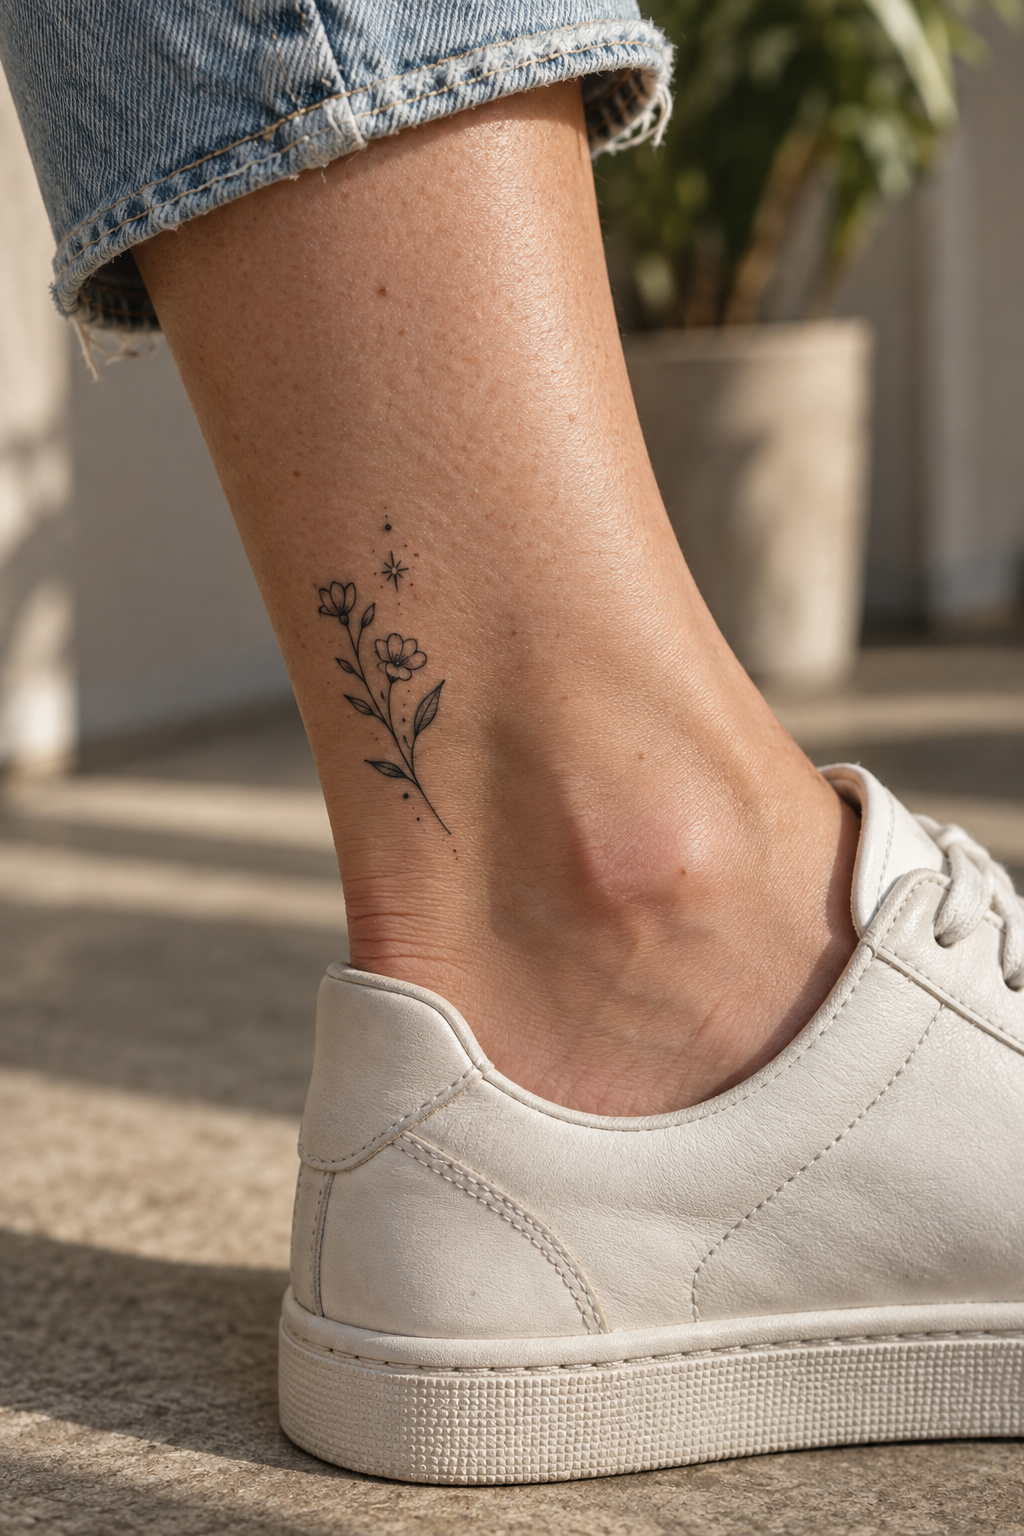
Ankle Tattoo Placement Ideas: How to Choose the Right Spot
Ankle tattoos have a natural advantage if you want something delicate, personal, and easy to style around. The area gives you several distinct placement options without requiring a large design, and a small piece can look intentional whether it sits just above the ankle bone, follows the side of the foot, or wraps subtly around the lower leg.
But choosing a beautiful design is only part of the decision. The exact placement matters. Shoes, socks, ankle movement, sun exposure, skin thickness, and everyday friction can all affect how a tattoo heals and how easy it is to live with afterward.
The best ankle tattoo placement ideas balance appearance with practicality. A design that looks perfect in a reference photo may need to move slightly higher, lower, forward, or backward to work with your anatomy and the shoes you normally wear.
If you are considering a delicate ankle tattoo, use this guide to compare the main placement areas, understand potential friction points, and arrive at your appointment with a clearer idea of what will work for you.
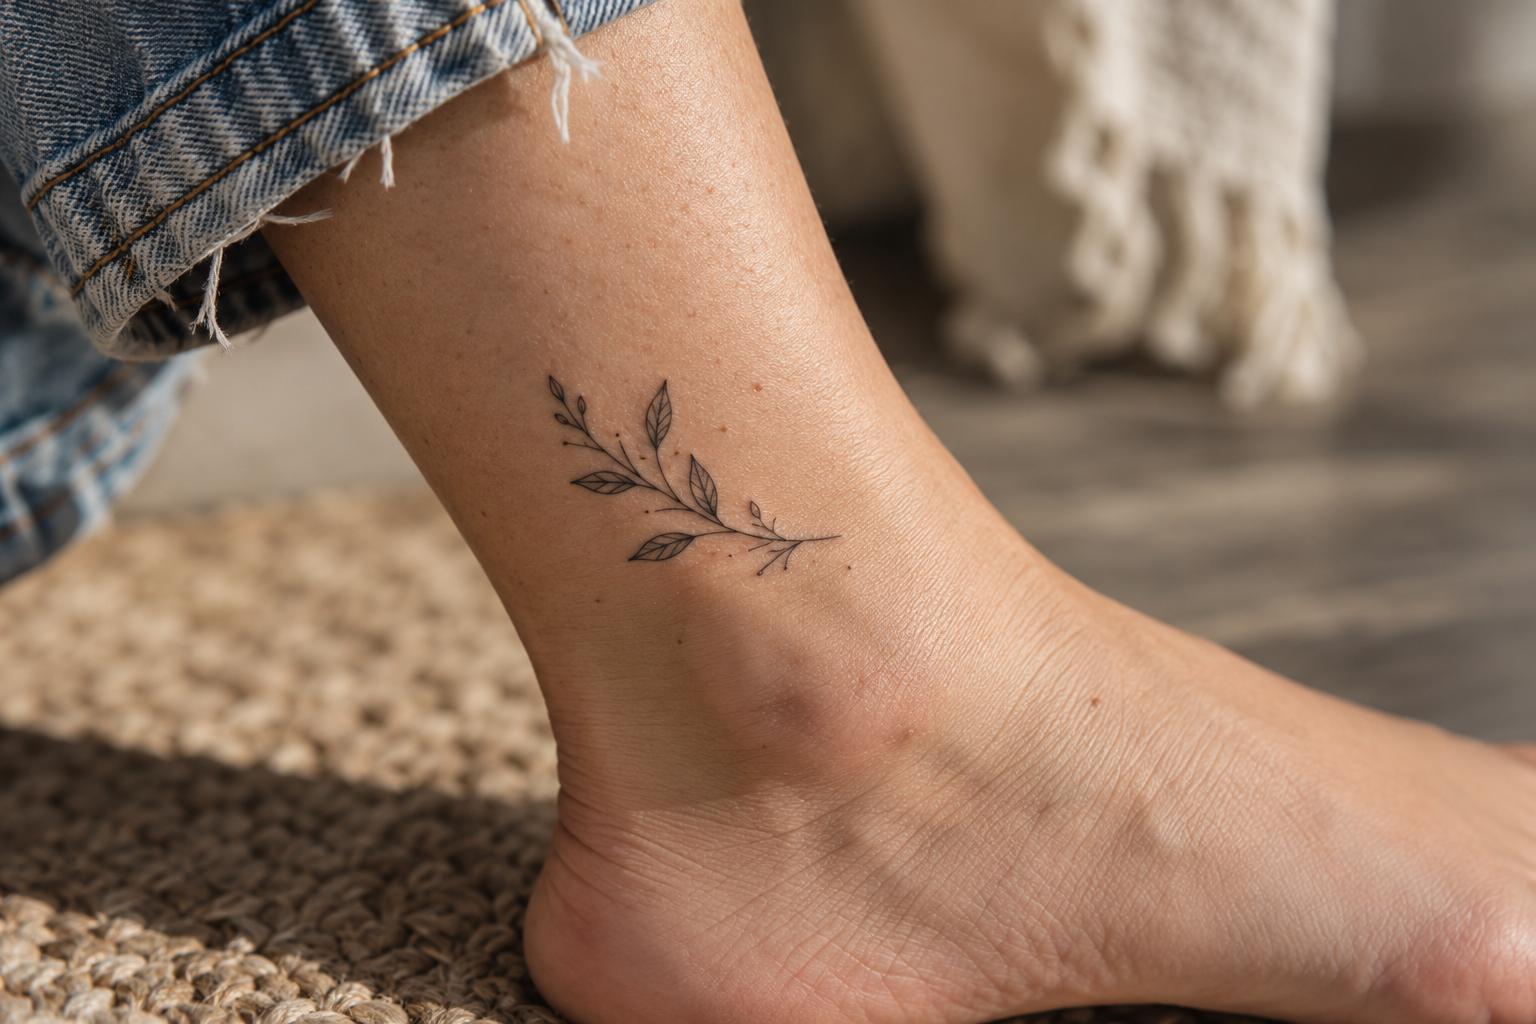
Why Ankle Placement Works So Well for Delicate Tattoos
The ankle provides a relatively compact canvas with clearly defined natural landmarks. The ankle bones, Achilles tendon, lower calf, and top of the foot give a tattoo artist several lines to work with when positioning a small design.
That makes the area particularly suitable for fine-line florals, tiny symbols, minimalist animals, stars, moons, short botanical stems, small script, ornamental details, and abstract linework.
An ankle tattoo can also change character depending on where it is placed. A tiny design above the outer ankle bone can feel understated and modern, while a botanical piece extending upward can look more decorative. A small symbol near the inner ankle can feel discreet and personal.
The key is to think about placement and design together instead of treating them as two separate choices.
1. Just Above the Outer Ankle Bone
One of the most versatile placements is slightly above the outer ankle bone. It gives a small tattoo enough open skin to remain visually clear while keeping it unmistakably in the ankle area.
This position works especially well for a delicate ankle tattoo because an artist can often avoid placing the most important lines directly over the strongest contour of the bone.
Good design possibilities include:
- Small wildflowers or botanical sprigs
- Tiny moths and butterflies
- Minimalist stars and celestial symbols
- Small birds or animal outlines
- Simple geometric motifs
- Short vertical ornamental designs
Before settling on the height, put on a few pairs of shoes you wear frequently. The upper edge of a boot or high-top sneaker may land differently from a low-cut shoe. If the tattoo sits exactly where footwear repeatedly rubs, moving it slightly upward may make the placement more practical.
2. Inner Ankle Placement
The inner ankle is popular for small, restrained tattoos because the design can remain relatively discreet when viewed from the front. It is a good option if you want your tattoo to reveal itself more gradually rather than becoming the first detail people notice.
Small flowers, initials, meaningful symbols, fine-line hearts, tiny stars, dates, and miniature illustrations can all fit naturally here.
The area is not completely flat, however. A design should be positioned according to the shape of your ankle rather than copied from a photograph of someone else’s placement.
Ask your artist to apply the stencil while you are standing as well as while your leg is relaxed. Seeing the tattoo from normal viewing angles can make it easier to judge whether the design appears balanced.
3. Above the Inner Ankle Bone
If you like the privacy of an inner ankle tattoo but want a little more breathing room, moving the design upward can be useful.
This placement can work beautifully for narrow vertical designs such as stems, branches, ornamental lines, tiny snakes, or a sequence of small celestial details.
Raising the design can also help separate it from some common shoe edges. Exactly how much space you need depends on your footwear, anatomy, and the dimensions of the tattoo.
For fine-line work, that extra visual space can be valuable. Very small tattoos still need enough room between individual lines for the design to remain readable as it settles into the skin.
4. Back of the Ankle Above the Heel
The back of the ankle offers a centered placement that can look especially striking with symmetrical or vertically oriented artwork.
Consider small florals, minimalist ornaments, celestial motifs, tiny insects, narrow leaves, or a simple symbol positioned above the heel.
Footwear deserves particular attention here. Many shoes have a heel counter or upper edge that repeatedly contacts the back of the ankle. A tattoo placed directly in a high-friction zone can make the early healing period less convenient.
Bring your everyday footwear into the placement conversation. Your artist can help determine whether raising the stencil slightly would preserve the visual effect while avoiding a troublesome contact point.

5. Slightly Above the Ankle for More Breathing Room
You do not have to place an ankle tattoo directly beside the ankle bone. Moving a design a little higher onto the lower leg can still read as ankle placement while giving the artwork additional space.
This is one of the strongest options for designs containing multiple delicate elements. A botanical stem, small arrangement of stars, fine ornamental motif, or miniature illustration may benefit from the extra room.
A slightly higher position can also be easier to coordinate with socks and some styles of footwear. It is worth checking the exact height against your wardrobe before finalizing the stencil.
6. Ankle Wrap Tattoos
An ankle wrap uses the circumference of the lower leg rather than treating the tattoo as a single isolated image. The result can resemble a delicate anklet, vine, chain, ribbon, or ornamental border.
Popular concepts include:
- Fine botanical vines
- Minimalist ornamental bands
- Tiny connected stars
- Delicate leaves
- Abstract continuous lines
- Small floral chains
Wraparound designs require careful stencil planning. The design needs to look intentional from several viewing angles, and the ends should connect or terminate cleanly.
If you want an extremely fine band, discuss long-term readability with your artist. Making every element microscopic is not necessarily the best way to create a delicate effect. Strategic spacing and restrained detail can make a design feel light without forcing everything into an extremely small area.
7. Front and Side Ankle Placement
The front-side transition of the ankle can create an interesting placement for artwork designed to follow the body’s natural lines.
Instead of positioning a motif like a sticker on a flat surface, an artist can angle it so that a stem, branch, snake, or ornamental line travels naturally with the ankle.
This works particularly well for designs that have movement. A small botanical piece can lean upward toward the lower leg, for example, while a delicate abstract design can follow the ankle’s contour.
Placement should still be checked while standing. A stencil that looks perfectly straight while your foot is extended may appear different when you stand naturally.
8. Near the Top of the Foot
Moving below the ankle toward the top of the foot creates a different look. It can be beautiful, particularly for small florals, stars, ornamental designs, and minimalist illustrations, but footwear becomes an even more important part of planning.
Closed shoes may cover or contact much of this area. That does not automatically rule out the placement, but you should discuss your normal shoes, work requirements, exercise routine, and aftercare period with your tattoo artist before booking.
If your priority is an ankle tattoo that avoids frequent shoe contact, a position farther above the shoe opening may be easier to manage.

Ankle Tattoo Placement and Shoe Friction
Shoes are one of the most practical considerations when comparing ankle tattoo ideas. The issue is not simply whether footwear covers the tattoo. What matters is where repeated pressure and rubbing occur.
Boot collars, sneaker openings, straps, stiff heel counters, and other footwear components can contact different parts of the ankle.
Before your tattoo appointment, examine several pairs of shoes you wear regularly. Pay attention to:
- Where the top edge touches your ankle
- Whether the heel rubs when you walk
- Where sandal straps cross the skin
- How high your everyday socks sit
- Whether work footwear limits your options during healing
This information is more useful than choosing placement based solely on an online reference image. Your wardrobe and anatomy are specific to you.
How Socks Affect Ankle Tattoo Placement
Socks are another detail that is easy to overlook. Depending on the style, a sock can sit below an ankle tattoo, directly over it, or end exactly across the design.
During healing, follow the aftercare instructions provided by your tattoo artist regarding clothing and contact with the tattoo. If your daily routine requires particular socks or footwear, mention that before the appointment so your artist can factor it into placement and aftercare planning.
For the long term, choosing a location based on where your favorite socks end can also affect how often the tattoo is visible. If you want a piece that peeks above ankle socks, test the stencil at that height before committing.
Ankle Tattoo Pain: What to Expect
Ankle tattoo pain varies considerably from person to person. The ankle includes areas with relatively little cushioning over bone as well as areas with somewhat more soft tissue.
Placement directly around prominent bony areas may feel different from placement slightly higher on the lower leg. Tattoo size, session length, technique, and individual sensitivity can also affect the experience.
Rather than choosing a placement solely according to a generalized pain chart, choose the location that works for your design and discuss any concerns with your tattoo artist. A small fine-line piece may also require a much shorter session than a large, heavily shaded ankle design.
How Small Should a Delicate Ankle Tattoo Be?
Delicate does not have to mean microscopic. This distinction is particularly important when planning fine-line tattoos.
A design can look refined because of its line weight, composition, spacing, and subject matter rather than because it has been reduced to the smallest possible dimensions.
If an intricate reference design becomes difficult to read when scaled to your preferred size, consider simplifying the artwork or making it slightly larger. Removing unnecessary internal details can often preserve the delicate appearance better than compressing every line.
Your artist should be able to recommend a size that suits both the design and your ankle.
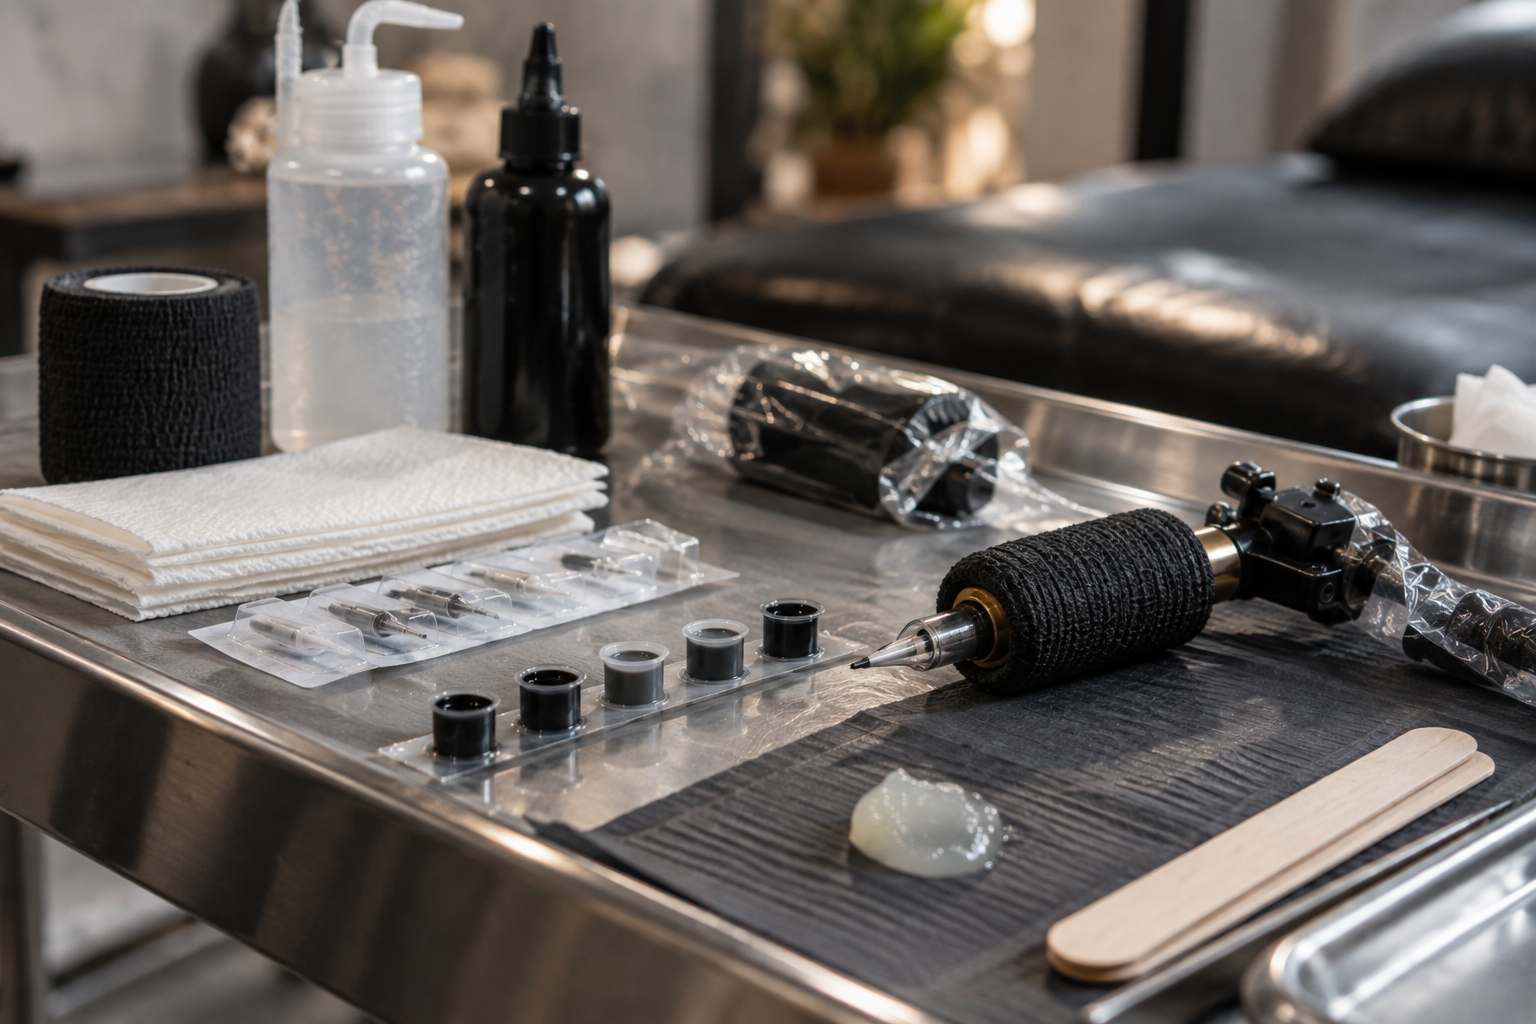
Designs That Naturally Suit the Ankle
The most successful ankle designs usually complement the available space. Rather than forcing a wide composition into a narrow location, look for artwork that can follow the ankle’s shape.
Strong possibilities include:
- Botanical stems: naturally follow a vertical or slightly curved placement.
- Tiny florals: work well as individual motifs or small clusters.
- Celestial designs: moons and stars can be spaced around the ankle without creating visual heaviness.
- Butterflies and moths: create a recognizable focal point at a small scale when appropriately simplified.
- Minimalist symbols: useful when you want something subtle and meaningful.
- Fine ornamental work: can echo the appearance of jewelry.
- Small script: can work when the lettering remains sufficiently legible at the chosen size.
How to Test Placement Before Your Appointment
You do not have to decide the exact position from imagination alone. Testing approximate placement beforehand can reveal practical issues you might otherwise miss.
- Choose the shoes you wear most often. Include sneakers, boots, work shoes, or sandals if they are part of your normal routine.
- Check where each shoe touches your ankle. Pay particular attention to stiff edges and straps.
- Check your common sock heights. Decide whether you want the tattoo hidden, partially visible, or above the sock line.
- Mark an approximate placement. A temporary visual reference can help you judge position and scale without committing.
- Look at it while standing. An ankle changes position when the foot moves, so evaluate the design naturally.
- Photograph it from several angles. Check the front, side, and back rather than relying on one viewpoint.
- Bring your preferences to your artist. Treat your test as a starting point rather than a fixed stencil requirement.
Common Ankle Tattoo Placement Mistakes
A common mistake is choosing a location based entirely on a close-up inspiration photo. The reference may not show the person’s shoes, ankle structure, or how the tattoo looks while standing.
Another is placing a detailed design too small. Fine lines still require intentional spacing and a composition suited to the scale.
Other mistakes to avoid include:
- Ignoring the edge of your everyday shoes
- Forgetting about required work footwear
- Choosing the stencil position only while seated
- Trying to squeeze too much detail into a tiny tattoo
- Assuming every ankle has identical proportions
- Prioritizing symmetry without considering natural anatomy
- Failing to discuss your normal activities before the appointment
Fresh Ankle Tattoo Healing Considerations
Before getting tattooed, think through the first part of your healing period. Ankle tattoos are located in an area affected by walking, footwear, socks, and daily movement, so planning ahead can make the process more manageable.
Follow the specific aftercare directions from your tattoo artist. Avoid substituting generalized internet advice for the instructions given for your tattoo and dressing method.
It is useful to plan your clothing and footwear in advance. If possible, avoid scheduling situations immediately afterward that make it difficult to follow your artist’s guidance.
You should also consider sun exposure once the tattoo is healed. Tattoos on the lower legs and ankles can receive substantial sunlight when you wear shorts, skirts, sandals, or low-cut shoes. Following appropriate long-term sun protection practices can help protect both your skin and the appearance of the tattoo.
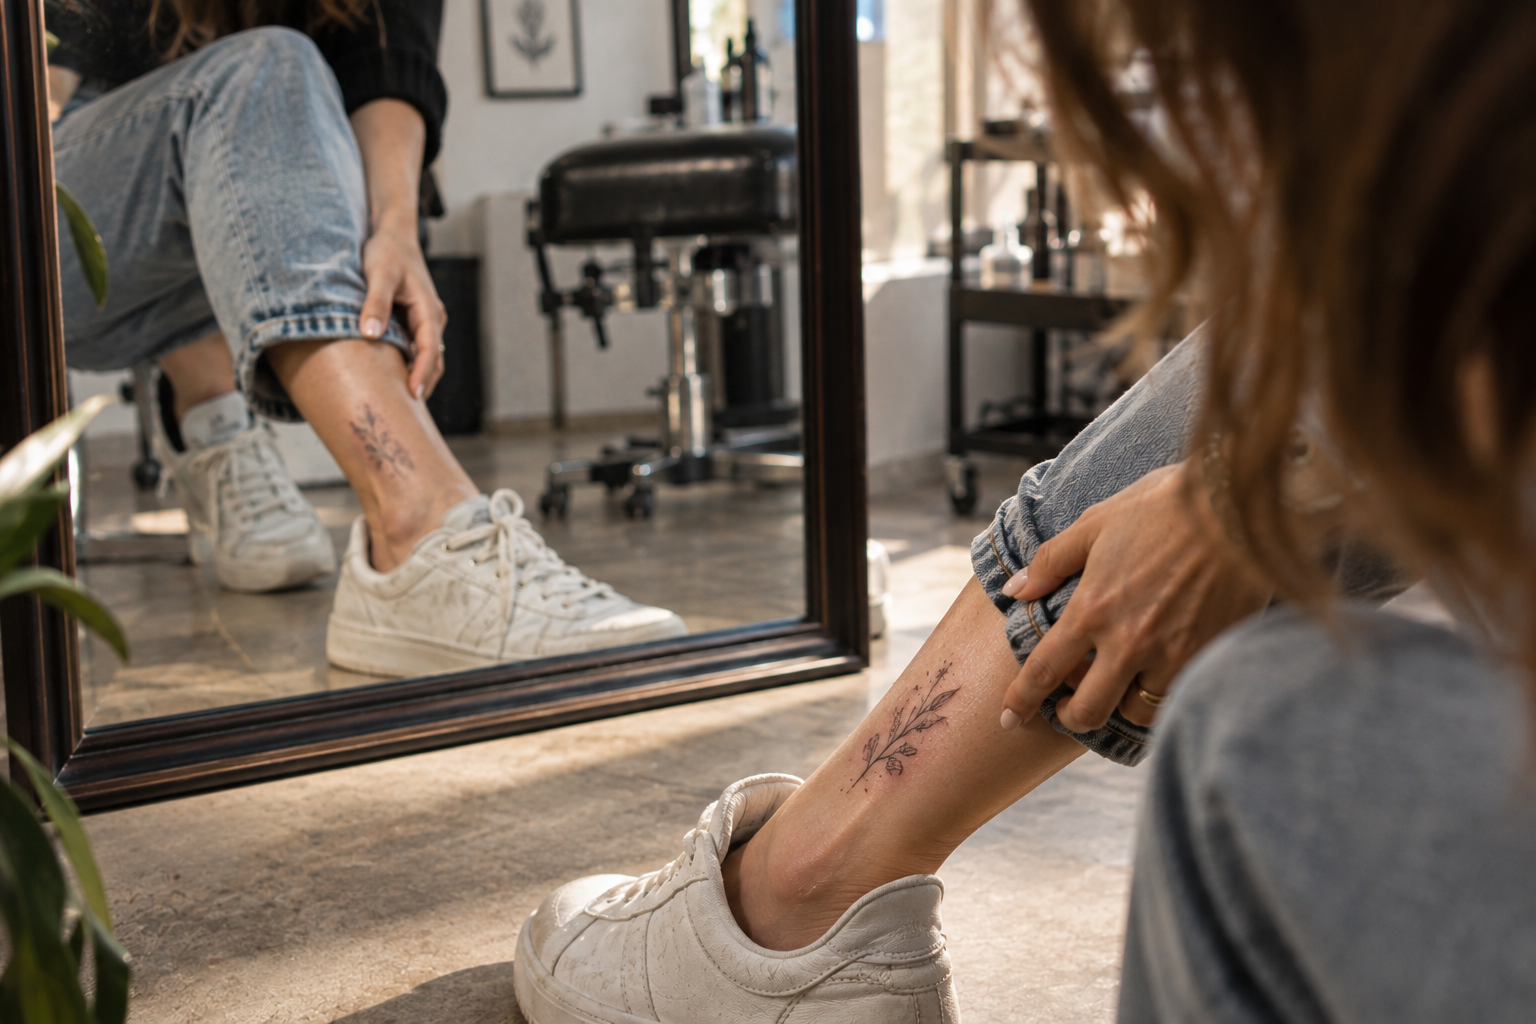
How to Choose Between Inner, Outer, and Back Ankle Placement
If several placements appeal to you, compare them according to visibility, design direction, footwear, and anatomy.
The outer ankle is useful for a clear standalone motif and offers strong visibility from the side. The inner ankle can create a quieter, more discreet effect. The back of the ankle provides a centered vertical position but requires careful consideration of heel friction. A slightly higher placement can provide additional room and move the design away from some footwear edges.
None of these positions is universally best. The strongest choice is the one that suits your particular design, body, and daily routine.
Questions to Ask Your Tattoo Artist Before Final Placement
Your consultation is the right time to move from inspiration to a placement designed specifically for you. Useful questions include:
- Will this amount of detail remain readable at the size I want?
- Should the tattoo sit above or beside the ankle bone?
- How will this design look when I am standing?
- Does the stencil follow the natural shape of my ankle?
- Would moving it slightly higher reduce interference from my usual footwear?
- Is the design too small for its current level of detail?
- What should I plan for regarding shoes and socks during healing?
- What aftercare instructions do you recommend for this specific tattoo?
A skilled artist may recommend adjusting the size, angle, or exact position even when you arrive with a specific reference. Those small changes can help adapt the concept to your anatomy.
Choosing an Ankle Tattoo Placement You Will Feel Good About
The best ankle tattoo is not simply the smallest or most hidden option. Good placement creates a relationship between the artwork, your anatomy, and the way you actually live.
If you love delicate designs, consider the outer ankle for a clear focal point, the inner ankle for a subtler effect, the lower leg for extra breathing room, or a carefully planned wrap for an ornamental look. Then check that location against your everyday shoes and socks.
Take time with the stencil. Stand up, walk around, view it from different angles, and ask for an adjustment if something feels slightly off. Moving a stencil before tattooing is far easier than wishing the permanent design sat a centimeter higher afterward.
Ultimately, the most useful ankle tattoo placement ideas are the ones that combine delicate aesthetics with realistic everyday wear. Choose a design with enough space to stay visually clear, consider where footwear touches your skin, and work with an experienced tattoo artist to adapt the final placement to your ankle rather than copying someone else’s.