30 Budget Halloween DIY Decor Ideas Under $20
Halloween decorating does not have to mean filling a shopping cart with expensive seasonal pieces that spend most of the year packed in a storage bin. Some of the most atmospheric Halloween spaces can be created with inexpensive supplies, thrifted finds, natural materials, and ordinary household items used in unexpected ways.
These budget Halloween DIY decor ideas focus on projects that can generally be made for less than $20 each, especially when you reuse materials you already have. The overall look is spooky-cute rather than overly theatrical: think black candlesticks, dried branches, painted pumpkins, gauzy fabric, aged glass, warm candlelight, and subtle vintage details.
You do not need advanced crafting skills, either. Many of these ideas can be completed in one afternoon with paint, yarn, paper, fabric, jars, or inexpensive dollar-store supplies. Choose a few projects that complement one another rather than trying to use every Halloween theme at once. Repeating a limited palette of black, cream, warm brown, muted orange, and aged metallics can make inexpensive decorations feel much more intentional.
1. Paint Mini Pumpkins Matte Black
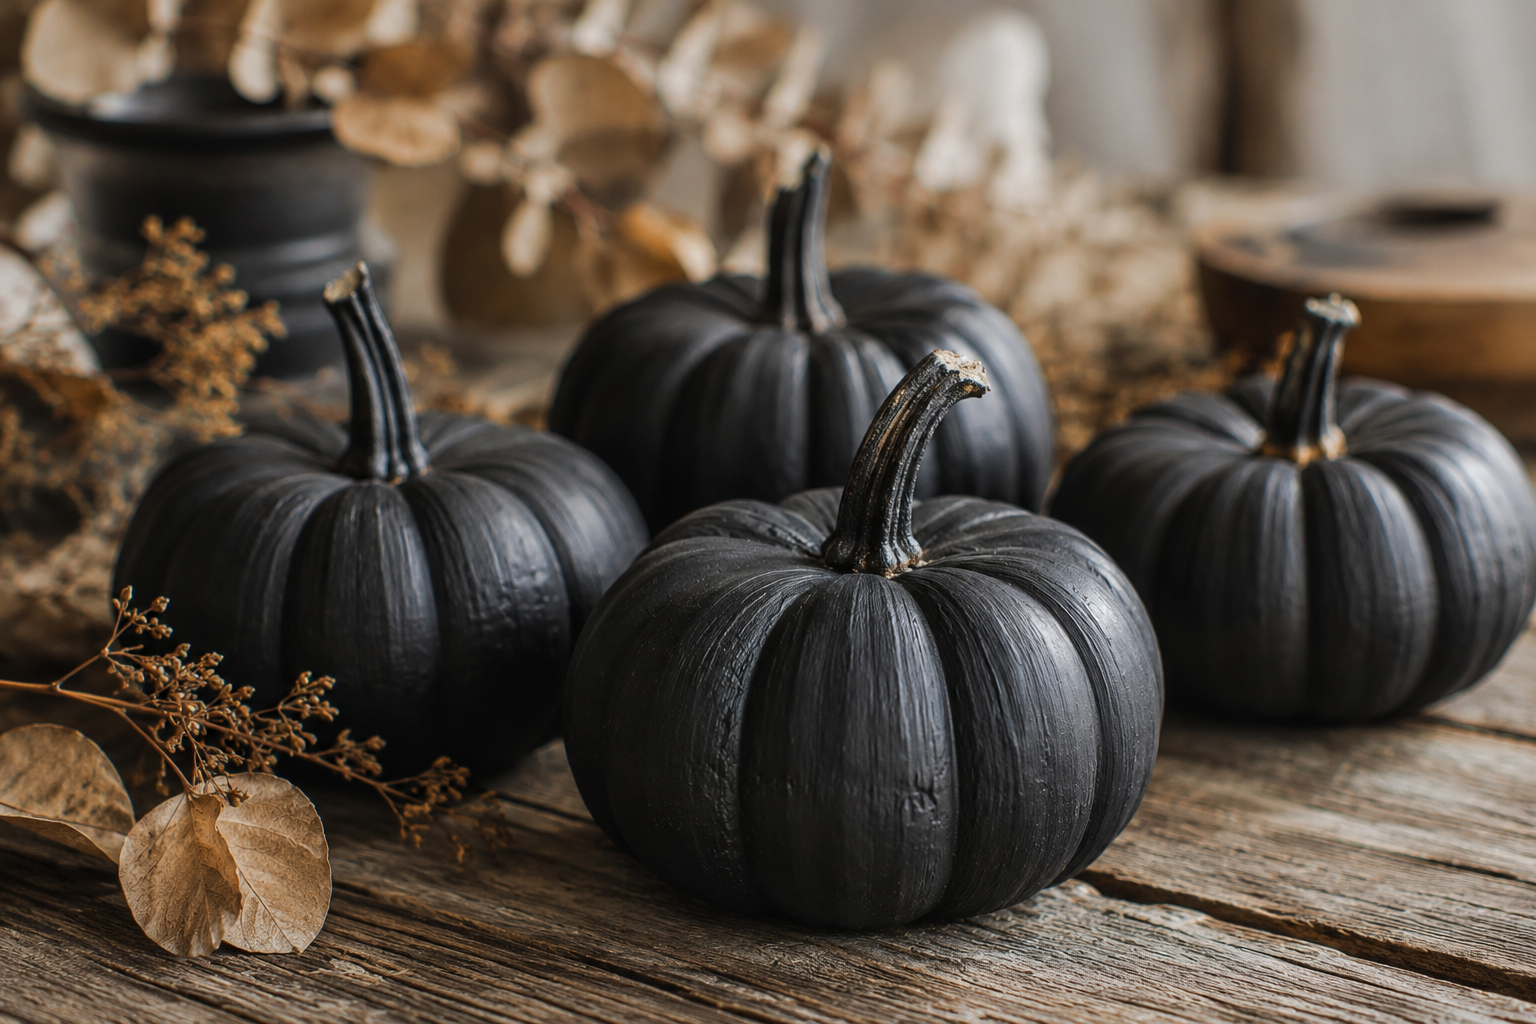
Turn inexpensive mini pumpkins into simple Halloween accents with matte black craft paint. Real pumpkins, inexpensive artificial pumpkins, and older orange decorations you already own can all work.
Apply two light coats rather than one thick coat so the natural ridges remain visible. Once dry, group three or five pumpkins on a mantel, bookshelf, coffee table, or entry console. Mix them with wood, dried leaves, and candles so the black does not feel too flat.
2. Make a Black Candlestick Mantel Display
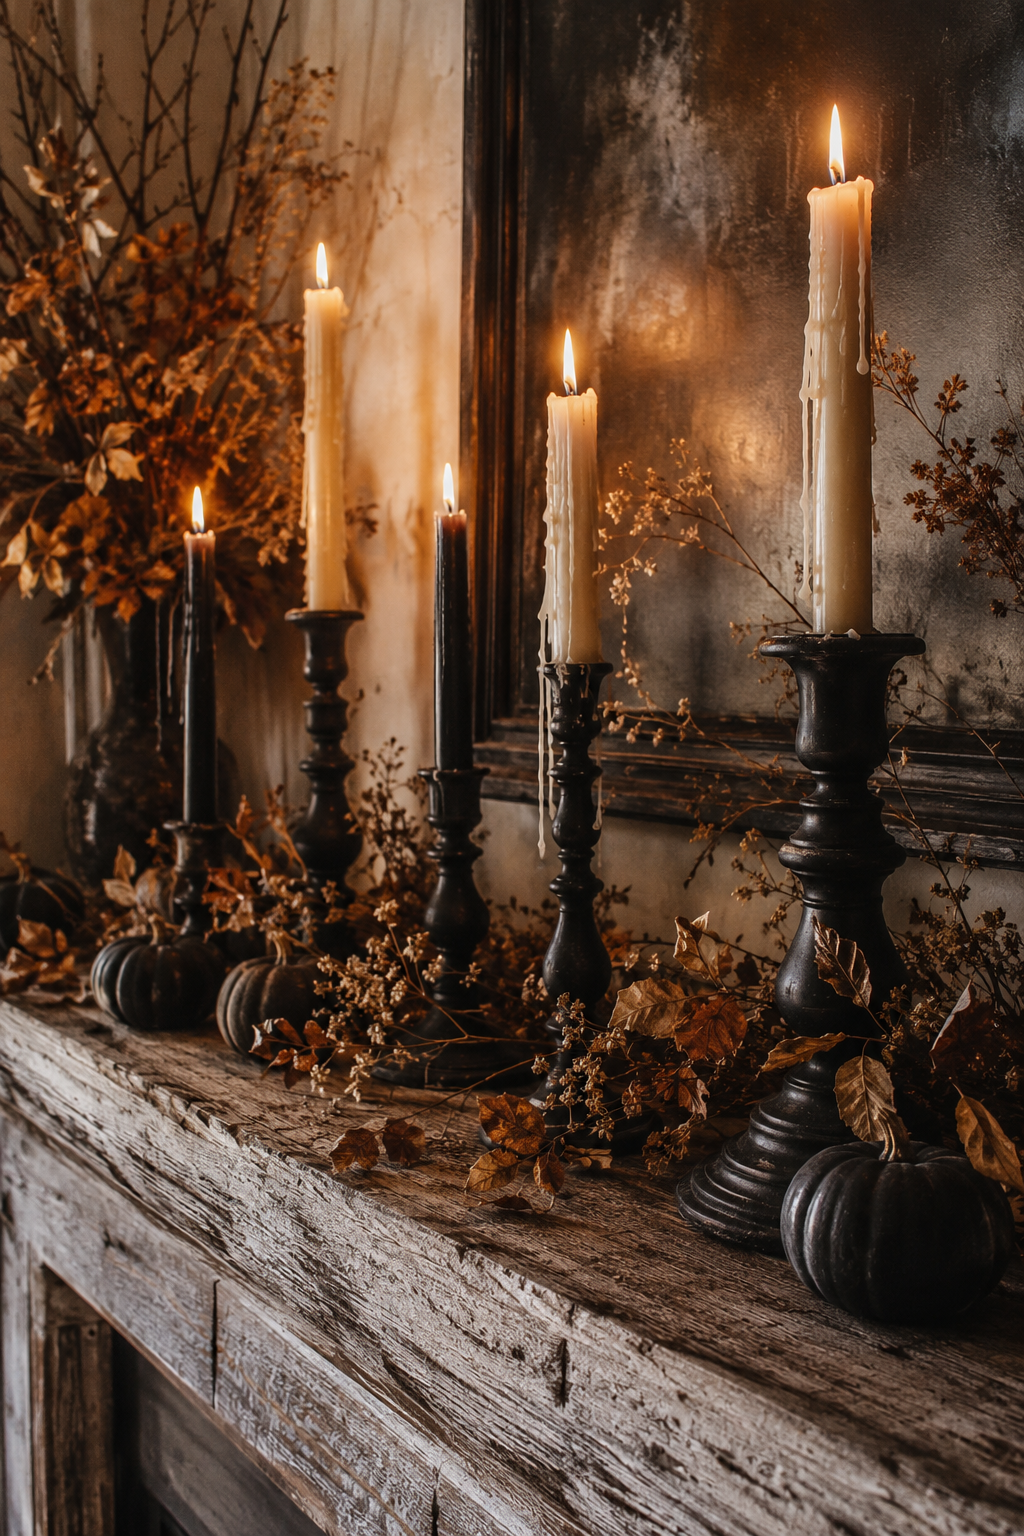
One of the easiest ways to create dramatic DIY Halloween decor is by grouping candlesticks at different heights. Look around your home first, then check thrift stores for mismatched wood or metal candleholders.
Paint inexpensive pieces matte black if necessary. Add cream, ivory, or black taper candles and allow a little wax to drip naturally down the sides. Surround the display with dried foliage or bare branches for a slightly haunted, old-house appearance.
3. Create Black Yarn Spider Webs
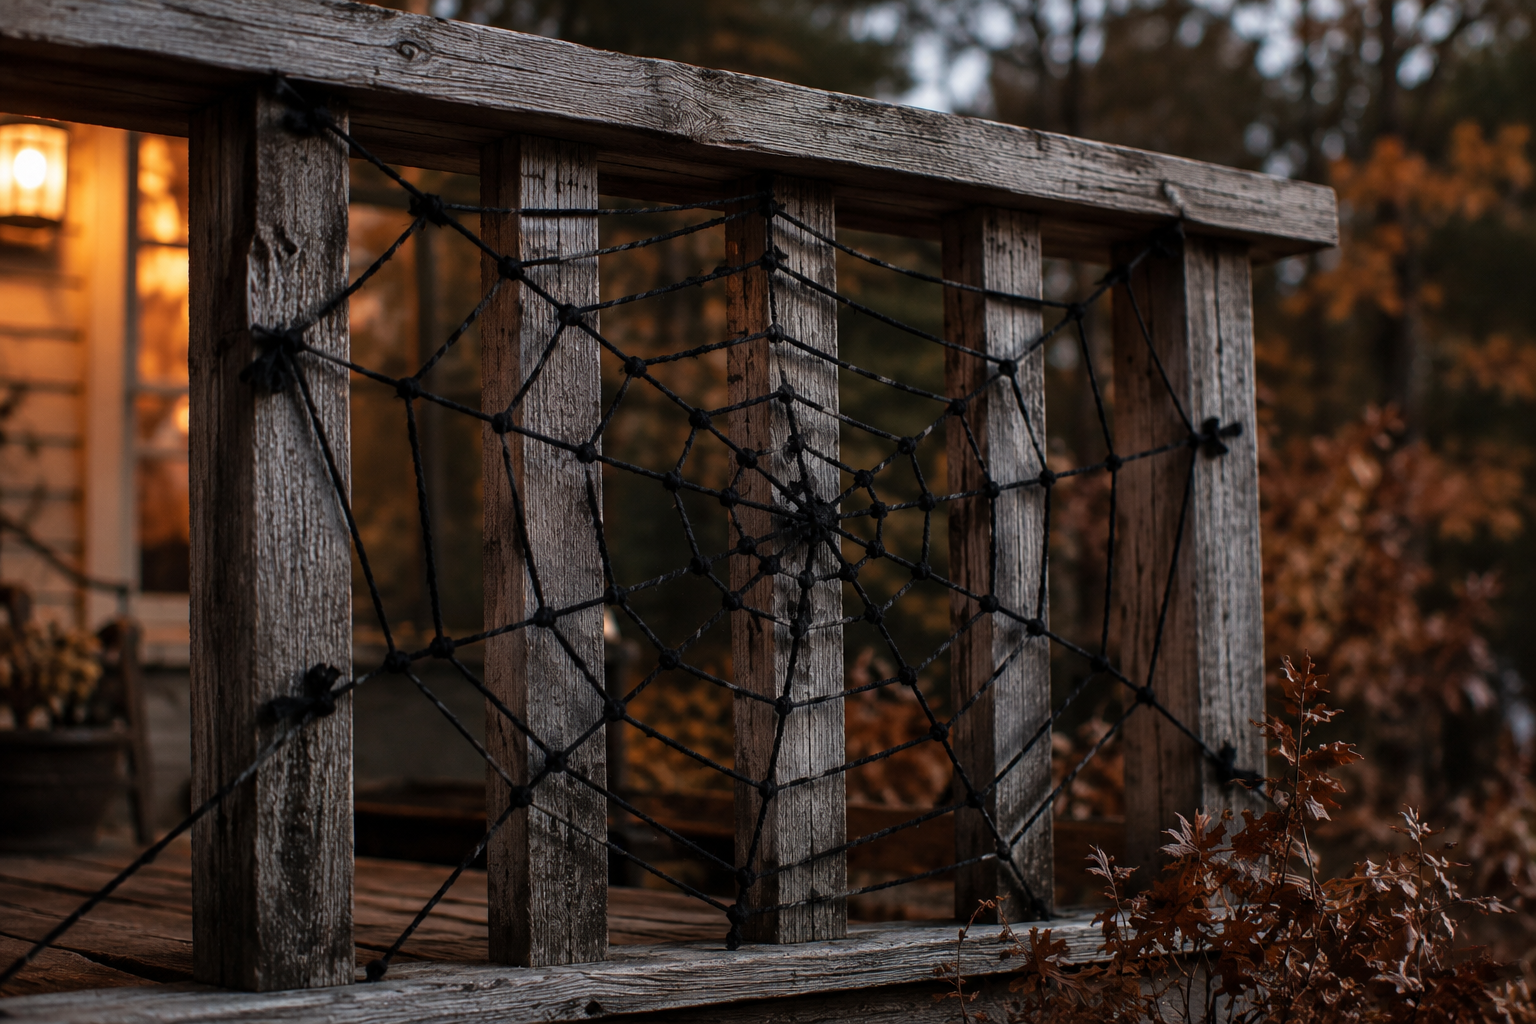
A ball of black yarn can decorate a surprisingly large area for very little money. Tie several long strands across a porch railing, empty frame, window, or wall and connect them with shorter pieces to form an oversized web.
Do not worry about making the web perfectly symmetrical. Slight irregularity makes the finished project more interesting. This idea is especially useful for renters because it can be installed with removable hooks and taken down after Halloween.
4. Turn Glass Jars Into Moody Candleholders
Save pasta sauce, jam, or mason jars and remove their labels. Add black ribbon, twine, torn gauze, or small pieces of lace around the outside. Place battery-operated tea lights inside for a warm glow.
Use several jars together instead of displaying one by itself. The repeated glass catches the light and makes the arrangement look more substantial without requiring expensive accessories.
5. Make a Dried Black Rose Arrangement
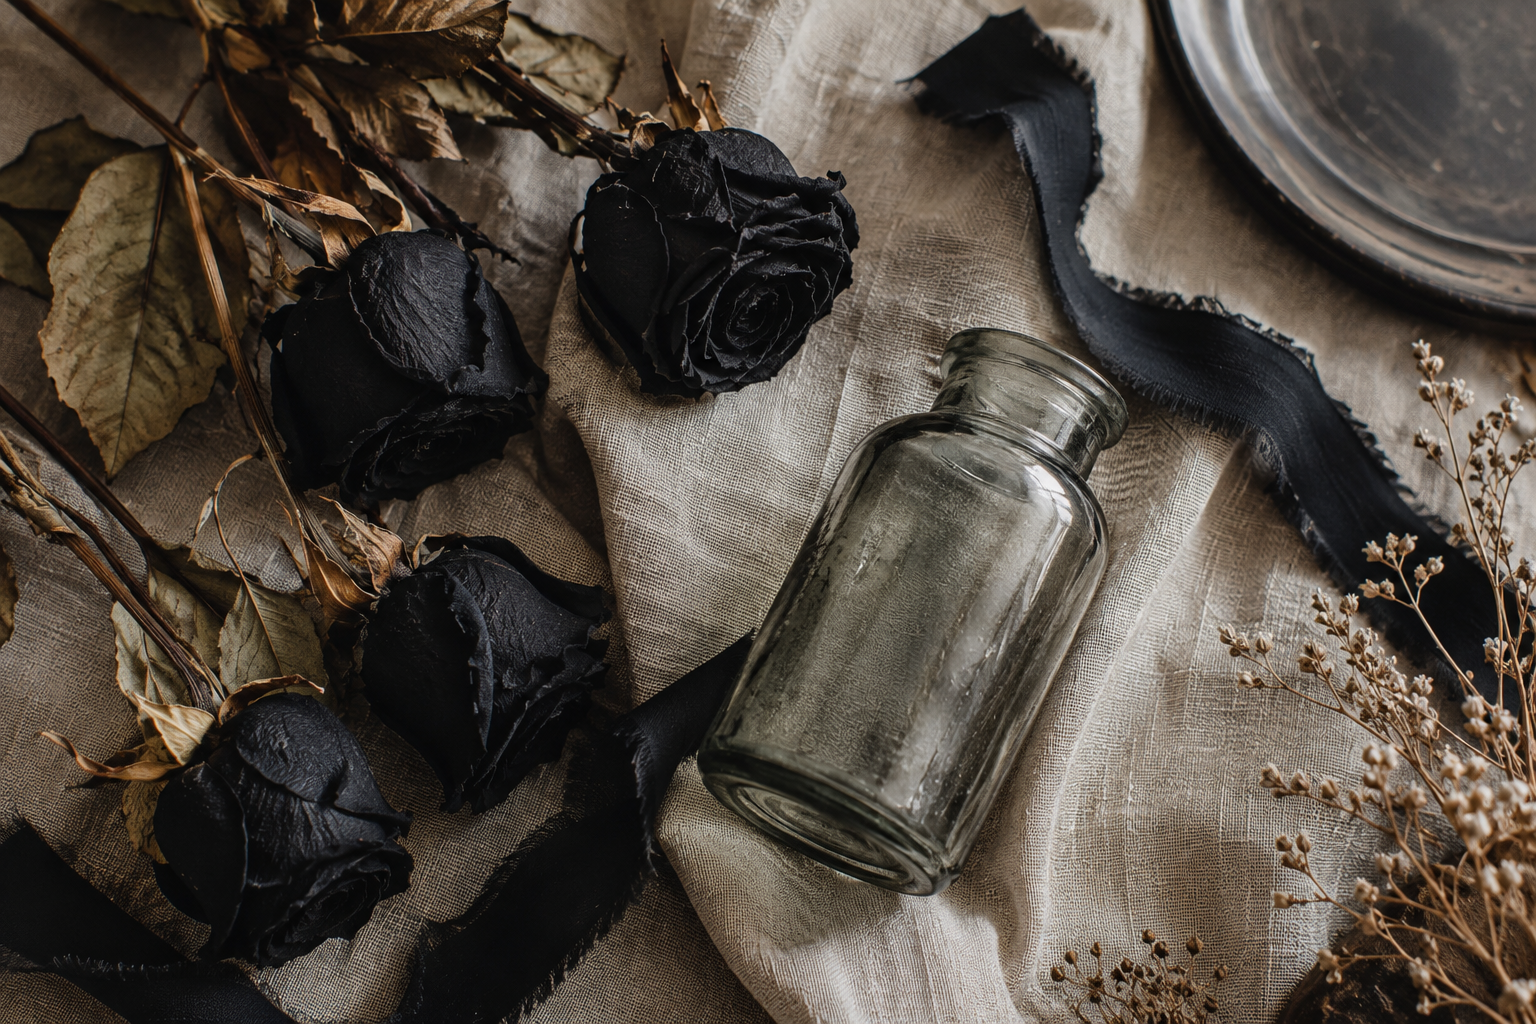
Artificial roses from discount stores can become convincing moody Halloween flowers with black or deep burgundy paint. Choose flowers with realistic shapes and avoid overly shiny plastic petals.
Arrange the finished roses loosely in a thrifted glass bottle or ceramic vase. Add a few bare branches so the bouquet feels wild rather than formal. Black ribbon tied casually around the neck of the container adds another inexpensive layer of texture.
6. Create Floating Paper Bats
Black cardstock is one of the best supplies for cheap Halloween decorations. Cut simple bat silhouettes in several sizes, fold the wings slightly forward, and attach them to a wall with removable adhesive.
Arrange the bats in a loose upward curve rather than evenly spacing them. Starting with larger bats and gradually transitioning to smaller ones creates movement and makes the display feel more deliberate.
7. Fill a Vase With Bare Branches
Some of the best Halloween materials are completely free. Collect fallen branches from your yard where permitted, clean them, and place them in a sturdy vase.
Leave the branches natural for a rustic look or lightly paint them matte black. Add a few paper bats or tiny hanging ornaments if you want more obvious Halloween character.
8. Make Ghosts From Cheesecloth
Cheesecloth has the perfect lightweight texture for soft, slightly eerie ghosts. Drape pieces over small forms made from foil, bottles, or balloons and stiffen the material with diluted craft glue or fabric stiffener.
After everything dries, remove the forms. The finished ghosts can sit on a console or hang from nearly invisible thread. Keep the faces extremely simple or leave them blank for a more understated look.
9. Create a Vintage Halloween Book Stack
Turn old books into seasonal decorations without damaging books you value. Choose inexpensive thrift-store hardcovers and wrap them in removable black, brown, or cream paper.
Stack three together and tie them with black velvet ribbon, twine, or gauze. A small pumpkin or candle placed on top completes an easy vignette for a side table or bookshelf.
10. Make Potion Bottles From Recycled Glass
Small bottles and jars can become decorative apothecary bottles with paper labels, twine, and diluted brown paint. Use tea or coffee to age plain paper before creating simple fictional labels.
Group the bottles on a small wood tray with dried herbs or flowers. Keeping the colors muted makes the display feel more like a vintage collection than a costume-store prop.
11. Paint Thrifted Frames Black
Pick up several inexpensive frames in different sizes and paint them the same matte black. Leaving them empty creates a surprisingly effective Halloween wall arrangement.
You can also insert botanical sketches, old-looking landscape prints, silhouettes, or your own simple black-and-white artwork. Using one consistent frame color helps mismatched thrifted pieces look like a coordinated collection.
12. Make a Torn Fabric Table Runner
Instead of buying a seasonal table runner, use inexpensive muslin, cheesecloth, or another loosely woven neutral fabric. Tear the edges gently instead of cutting perfectly straight lines.
Layer it over a dark table or wood surface and add candlesticks, pumpkins, and dried foliage. The imperfect fabric adds movement and texture while keeping the tablescape simple.
13. Create Black Leaf Garlands
Collect fallen leaves with interesting shapes and allow them to dry completely. Paint them black and attach them to twine with small knots, clips, or glue.
Drape the garland loosely across a mantel, mirror, doorway, or open shelving. Because the natural leaf shapes remain visible, the finished decoration feels seasonal without relying on obvious plastic Halloween imagery.
14. Make a Minimalist Ghost Garland
Cut small ghost shapes from cream cardstock, white felt, or leftover fabric. Attach them to neutral twine with plenty of space between each shape.
A simple garland works especially well in apartments and small rooms where oversized Halloween decorations can quickly become overwhelming.
15. Transform Old Bottles With Matte Black Paint
Wine bottles and other decorative glass bottles can be repurposed as Halloween vases or candleholders. Remove labels and apply matte black paint suitable for the surface.
Once dry, place a taper candle in the top or add a single dried branch. A group of three bottles at different heights looks particularly effective on a mantel.
16. Create a Spooky Botanical Cloche
If you already own a glass cloche, cake dome, or large glass jar, turn it into a miniature Halloween botanical display. Place dried moss, twigs, seed pods, and a small black-painted pumpkin underneath.
This is a good example of Halloween decor on a budget because most of the impact comes from rearranging objects rather than buying a completely new decoration.
17. Make Candle Drip Bottles
Place inexpensive taper candles into dark glass bottles and allow wax to build gradually around the neck. For safety, create the wax effect while the bottles are supervised and display them later with battery-operated candles if desired.
Use bottles with different heights and shapes. The irregular wax texture gives the arrangement an aged, collected appearance.
18. Create a Halloween Silhouette Gallery
Cut simple black silhouettes from cardstock and place them inside frames you already own. Moths, ravens, moons, botanical stems, houses, and cats can all work without making the wall feel too childish.
Stick to black, cream, and muted sepia tones so the individual images feel connected.
19. Wrap Pillows With Temporary Halloween Covers
You do not need to purchase an entirely new set of decorative pillows. Make envelope-style covers from inexpensive black or cream fabric, or temporarily wrap existing pillows with fabric and secure it discreetly at the back.
Textured materials such as linen, cotton, and velvet usually look more polished than shiny seasonal fabric.
20. Build a Mini Pumpkin Centerpiece
Arrange mini pumpkins along the center of your dining table with dried leaves, seed pods, and a few candles. Paint only some of the pumpkins black or cream and leave others natural.
The combination keeps the centerpiece connected to fall while adding enough dark color to feel appropriate for Halloween.
21. Make a Moon Phase Wall Hanging
Cut moon shapes from heavy cardstock or thin cardboard and paint them black, cream, or muted gold. Attach the phases vertically to string or thin cord.
This project works well beyond Halloween, making it particularly useful if you prefer decorations that can remain up throughout fall.
22. Create a Black Lace Candle Wrap
Wrap scraps of black lace around plain glass candleholders and secure them neatly. Battery-operated candles provide warm illumination behind the lace and reveal its pattern.
Use this technique on jars you already own to keep the project inexpensive. Several matching candleholders can instantly transform an ordinary table.
23. Make Tiny Clay Ghosts
Air-dry clay can be shaped into small, intentionally imperfect ghosts. Form a simple rounded body, add two tiny eye holes, and allow the clay to dry according to its instructions.
Display the ghosts between books, beside candles, or among miniature pumpkins. Their handmade irregularities are part of the charm.
24. Turn a Thrifted Mirror Into a Haunted Accent
A small secondhand mirror can become Halloween decor with removable details around the frame. Add black ribbon, dried vines, paper bats, or temporary faux cobweb material.
Avoid covering the entire mirror. Leaving plenty of reflective surface visible makes the arrangement look more sophisticated and helps candlelight bounce around the room.
25. Make a Rustic Halloween Door Swag
Instead of buying a large wreath, bundle several dried branches, grasses, or preserved leaves together and secure them with wire or strong twine. Tie a black or taupe ribbon around the center.
Hang the arrangement vertically on the door. This understated alternative to a traditional wreath can work from early fall through Halloween.
26. Create a Spooky Lantern From a Jar
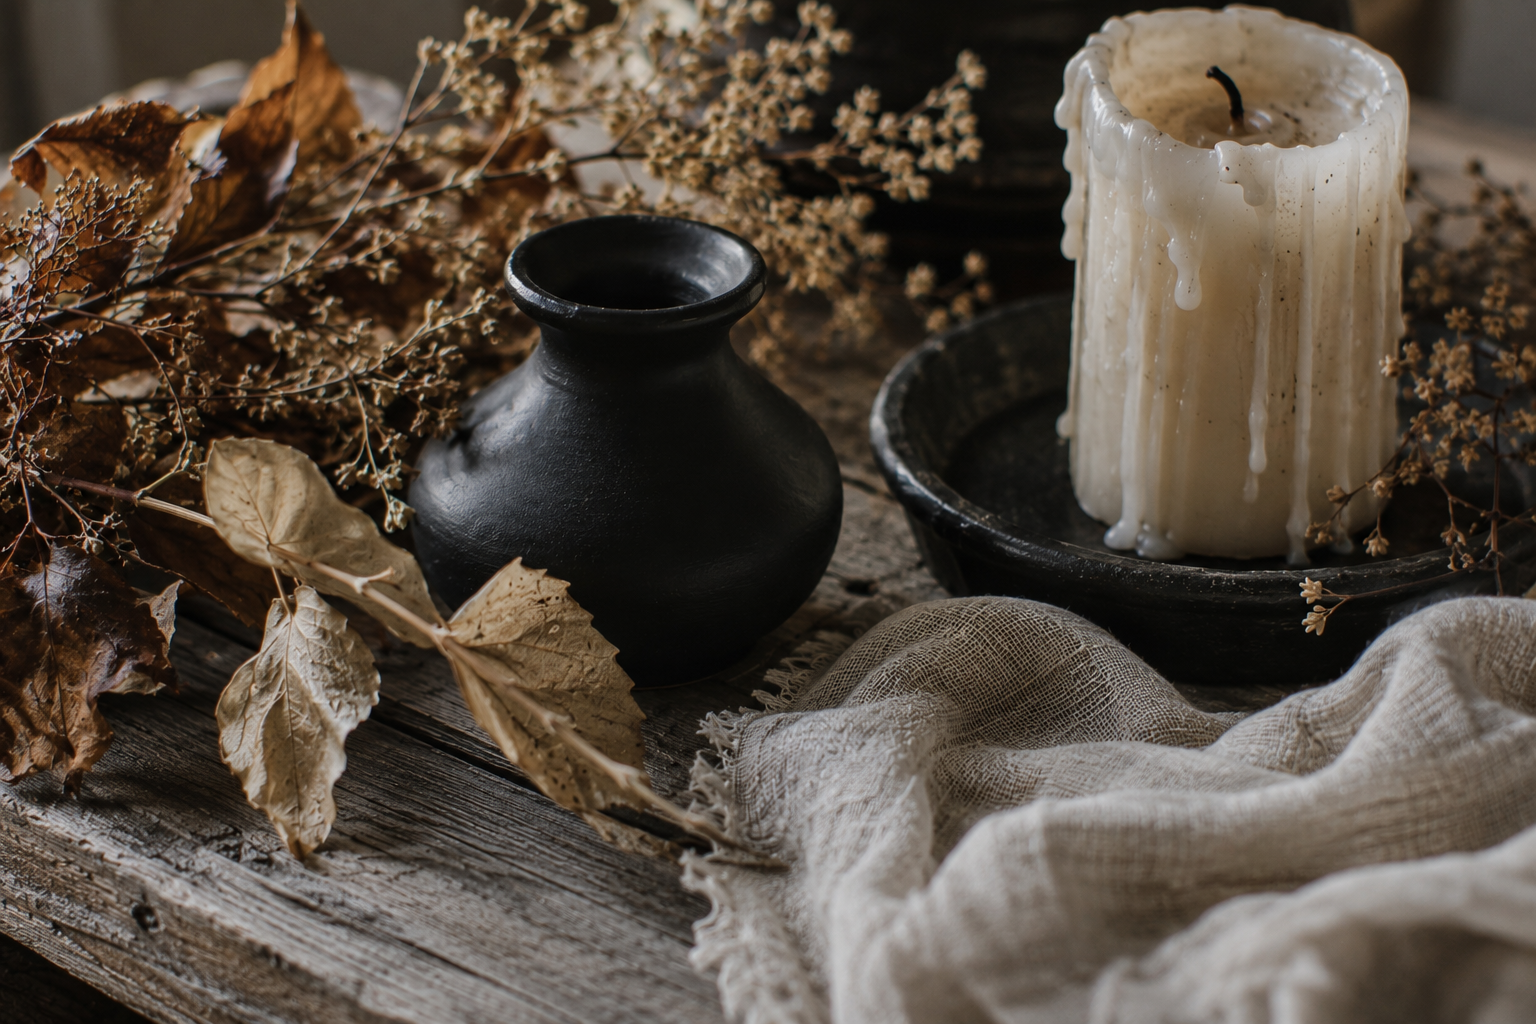
Cut a simple haunted-house, moon, or tree silhouette from black paper and position it inside a clean glass jar. Place a battery-operated tea light behind the paper.
When illuminated, the silhouette becomes the focus. This is an inexpensive project that works well on windowsills, shelves, and covered porch tables.
27. Make a Black-and-Cream Halloween Tablescape
Use ordinary neutral dishes as the foundation rather than buying Halloween-specific dinnerware. Add black napkins, dark ribbon, miniature pumpkins, and warm candles.
A limited color palette is one of the easiest ways to make inexpensive decorations appear coordinated. Repeating two or three colors throughout the table creates a stronger result than adding many unrelated seasonal pieces.
28. Create Dried Foliage Candle Rings
Arrange small amounts of dried leaves or foliage around the base of battery-operated pillar candles. Place everything on a wood board or ceramic tray to create a defined vignette.
Keep dried materials safely away from open flames. Battery-operated candles are the easiest choice when combining candlelight with paper, fabric, dried leaves, or other flammable craft materials.
29. Make an Oversized Cardboard Crescent Moon
Cut a large crescent shape from clean shipping cardboard and paint it matte black, warm cream, or muted metallic gold. Hang it on a blank wall with lightweight removable mounting supplies appropriate for the finished weight.
The oversized scale creates a strong focal point even though the material costs almost nothing. Pair the moon with a few small paper stars or bats rather than filling the entire wall.
30. Style a Halloween Corner With Things You Already Own
Before purchasing anything new, gather objects from around your home that fit your Halloween palette. Look for black books, wood trays, cream ceramics, dark glass, neutral blankets, baskets, candles, and dried plants.
Choose one small surface and build a vignette using different heights. A stack of books can elevate a small pumpkin, while a vase or candlestick creates vertical interest. Add one unmistakably Halloween element, such as a paper bat, tiny ghost, or black pumpkin.
This approach is often more effective than scattering dozens of inexpensive decorations throughout the room.
How to Make Cheap Halloween Decorations Look More Expensive
The difference between budget decor that feels stylish and budget decor that feels cluttered is often the way it is arranged. You can use very inexpensive materials and still create an intentional Halloween atmosphere.
Limit Your Color Palette
Choose two or three main colors and repeat them throughout the room. Black, warm cream, natural wood, and muted orange work particularly well together. Deep burgundy, brown, and aged brass can add richness without introducing too many competing colors.
Use Natural Texture
Weathered wood, dried foliage, linen, cotton, wax, paper, glass, and matte ceramic help soften inexpensive craft materials. Natural textures also photograph beautifully, which makes them useful if you enjoy creating Pinterest-inspired seasonal spaces.
Decorate in Groups
Instead of placing one small Halloween object on every surface, create a few focused arrangements. Try grouping three candlesticks together or arranging five small pumpkins across one mantel.
Concentrated displays create more visual impact and leave breathing room elsewhere in the room.
Mix Halloween Decor With Fall Decor
You do not have to completely redecorate when October arrives. Start with your existing fall decor and introduce darker accents. Pumpkins, dried wheat, wood, knit textiles, and autumn leaves already provide the seasonal foundation.
Add black candles, bats, dark flowers, or gauzy fabric and the room can shift toward Halloween without requiring a second collection of decorations.
What to Buy First When Your Halloween DIY Budget Is $20
If you are starting with almost no craft supplies, prioritize versatile materials that can be used in several projects instead of buying supplies for one complicated decoration.
- Matte black craft paint: Use it on pumpkins, frames, bottles, leaves, branches, and thrifted candlesticks.
- Black cardstock: Ideal for bats, silhouettes, labels, moons, stars, and small wall decorations.
- Twine or black yarn: Useful for garlands, spider webs, hanging decorations, and bundled foliage.
- Battery-operated tea lights: Add warm atmosphere to recycled jars, lanterns, and tablescapes without an open flame.
- Inexpensive fabric: Cheesecloth, muslin, linen remnants, and lace can become ghosts, runners, pillow covers, or decorative layers.
Combine those supplies with recycled jars, cardboard boxes, fallen branches, existing vases, and thrift-store finds and you can complete several projects without repeatedly returning to the craft store.
A Simple One-Afternoon Halloween Decorating Plan
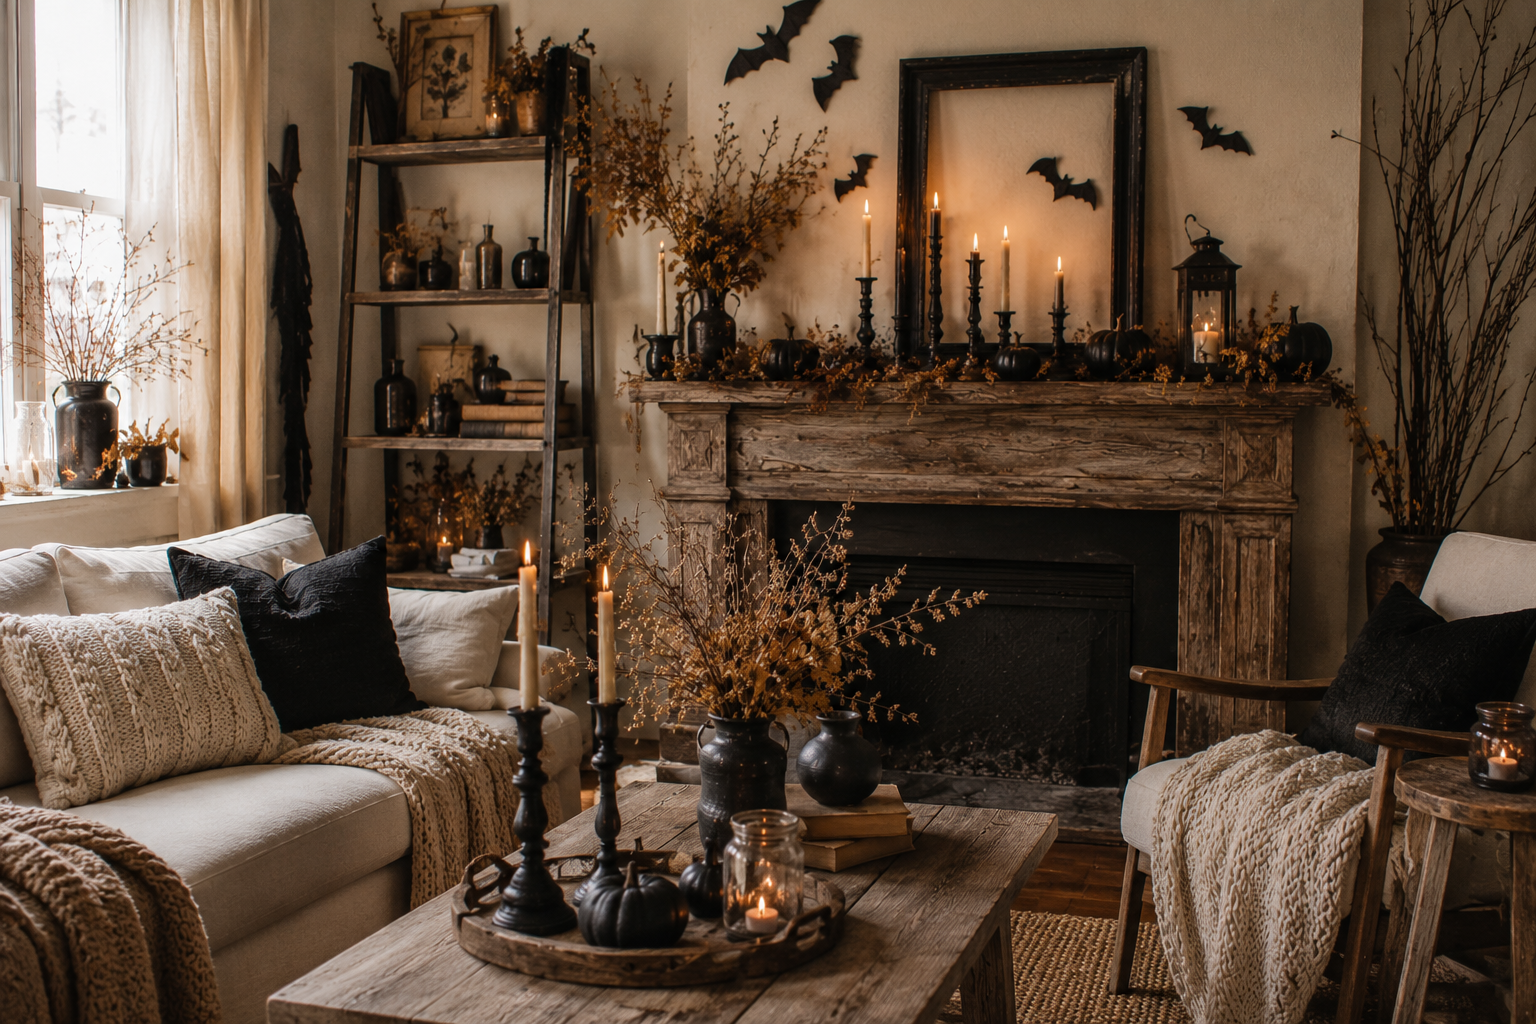
If you want your home decorated quickly, avoid starting five complicated projects simultaneously. Work from the largest visual change to the smallest finishing details.
- Choose one color palette. Decide which existing items can stay and which colors you want to repeat.
- Decorate one focal area. Start with the mantel, entry table, dining table, or another surface that immediately catches the eye.
- Add one easy wall project. Paper bats, an oversized moon, or a simple garland can fill blank space inexpensively.
- Introduce warm lighting. Add candles or battery-operated lights to jars and lanterns.
- Finish with natural materials. Use branches, dried leaves, pumpkins, or foliage to soften the darker Halloween elements.
By the end of the afternoon, you can have a room that feels noticeably different without buying bins of new decorations.
The Budget Halloween Decor Mistake to Avoid
The easiest mistake to make when decorating cheaply is trying to compensate for inexpensive materials by using too many decorations. More objects do not automatically create more atmosphere. In a small room especially, dozens of competing Halloween pieces can make the space feel crowded.
Instead, decide what you want someone to notice first. It might be an atmospheric mantel with black candles, a flock of paper bats over the sofa, or a simple dining table filled with mini pumpkins and candlelight.
Build around that focal point and repeat only a few details elsewhere. For example, if your mantel contains matte black candlesticks and dried foliage, repeat a black candle and a small dried arrangement on the coffee table. The repetition connects the room without making every surface compete for attention.
It also helps to avoid buying an object simply because it is inexpensive. Ask whether its shape, material, and color work with the rest of your home. A $3 decoration you do not really like is still wasted money.
Budget Halloween Decorating Can Still Feel Special
Creating a memorable Halloween home is less about how much you spend and more about choosing a clear mood. Black paint, paper bats, dried branches, recycled jars, warm candlelight, mini pumpkins, and thrifted objects can create plenty of atmosphere without pushing a single project beyond a modest budget.
Start with two or three of these budget Halloween DIY decor ideas and use materials you already own whenever possible. If you love the result, add another project later rather than buying everything at once.
The best budget decorating projects are often the ones that encourage you to look at ordinary objects differently. An empty bottle becomes a candleholder. Shipping cardboard becomes an oversized crescent moon. Fallen branches become a dramatic centerpiece. A handful of mini pumpkins becomes a coordinated mantel after one coat of paint.
Keep the palette consistent, emphasize real texture, and leave enough empty space for each arrangement to stand out. With a few inexpensive supplies and an afternoon of DIY projects, your Halloween decor can feel spooky, cozy, and thoughtfully styled while staying comfortably under budget.